Introduction: The Benefits of Waxing
Waxing is a popular hair removal method that offers several benefits over other techniques such as shaving or using depilatory creams. Not only does waxing remove hair from the root, resulting in smoother and longer-lasting results, but it also helps exfoliate the skin, leaving it feeling soft and rejuvenated. While professional waxing services are available, many people prefer the convenience and cost-effectiveness of waxing at home. In this article, we will provide you with a step-by-step guide on how to create and use DIY wax strips for effective hair removal.
Section 1: Gathering Supplies
To begin your DIY waxing journey, you’ll need to gather the necessary supplies. Here’s a list of items you’ll require:
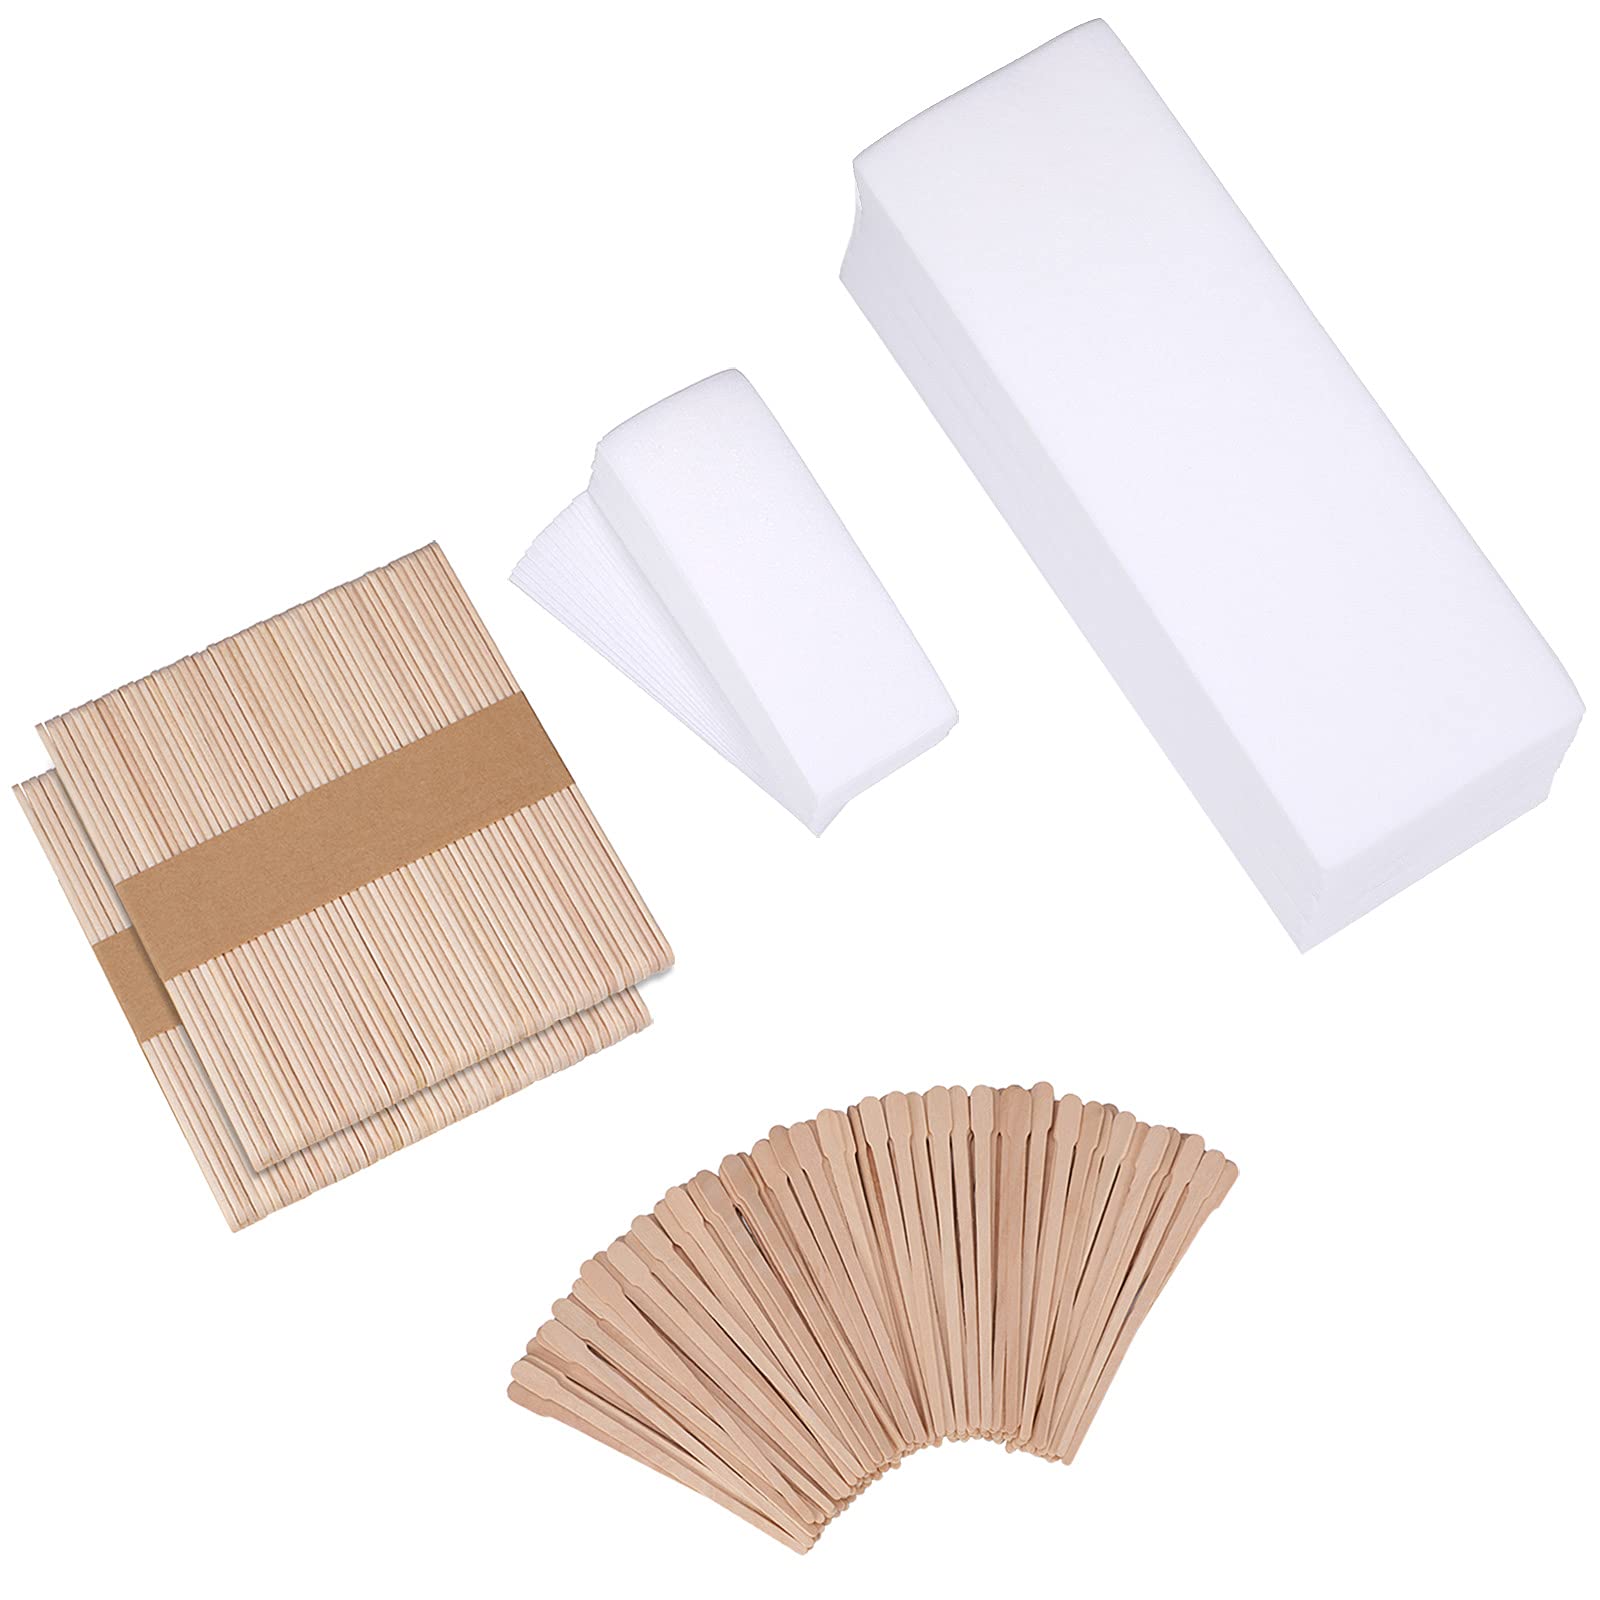
- Waxing Strips: You can either purchase pre-made waxing strips or make your own using cotton fabric or muslin cloth. Cut them into strips of appropriate length and width for different areas of your body.
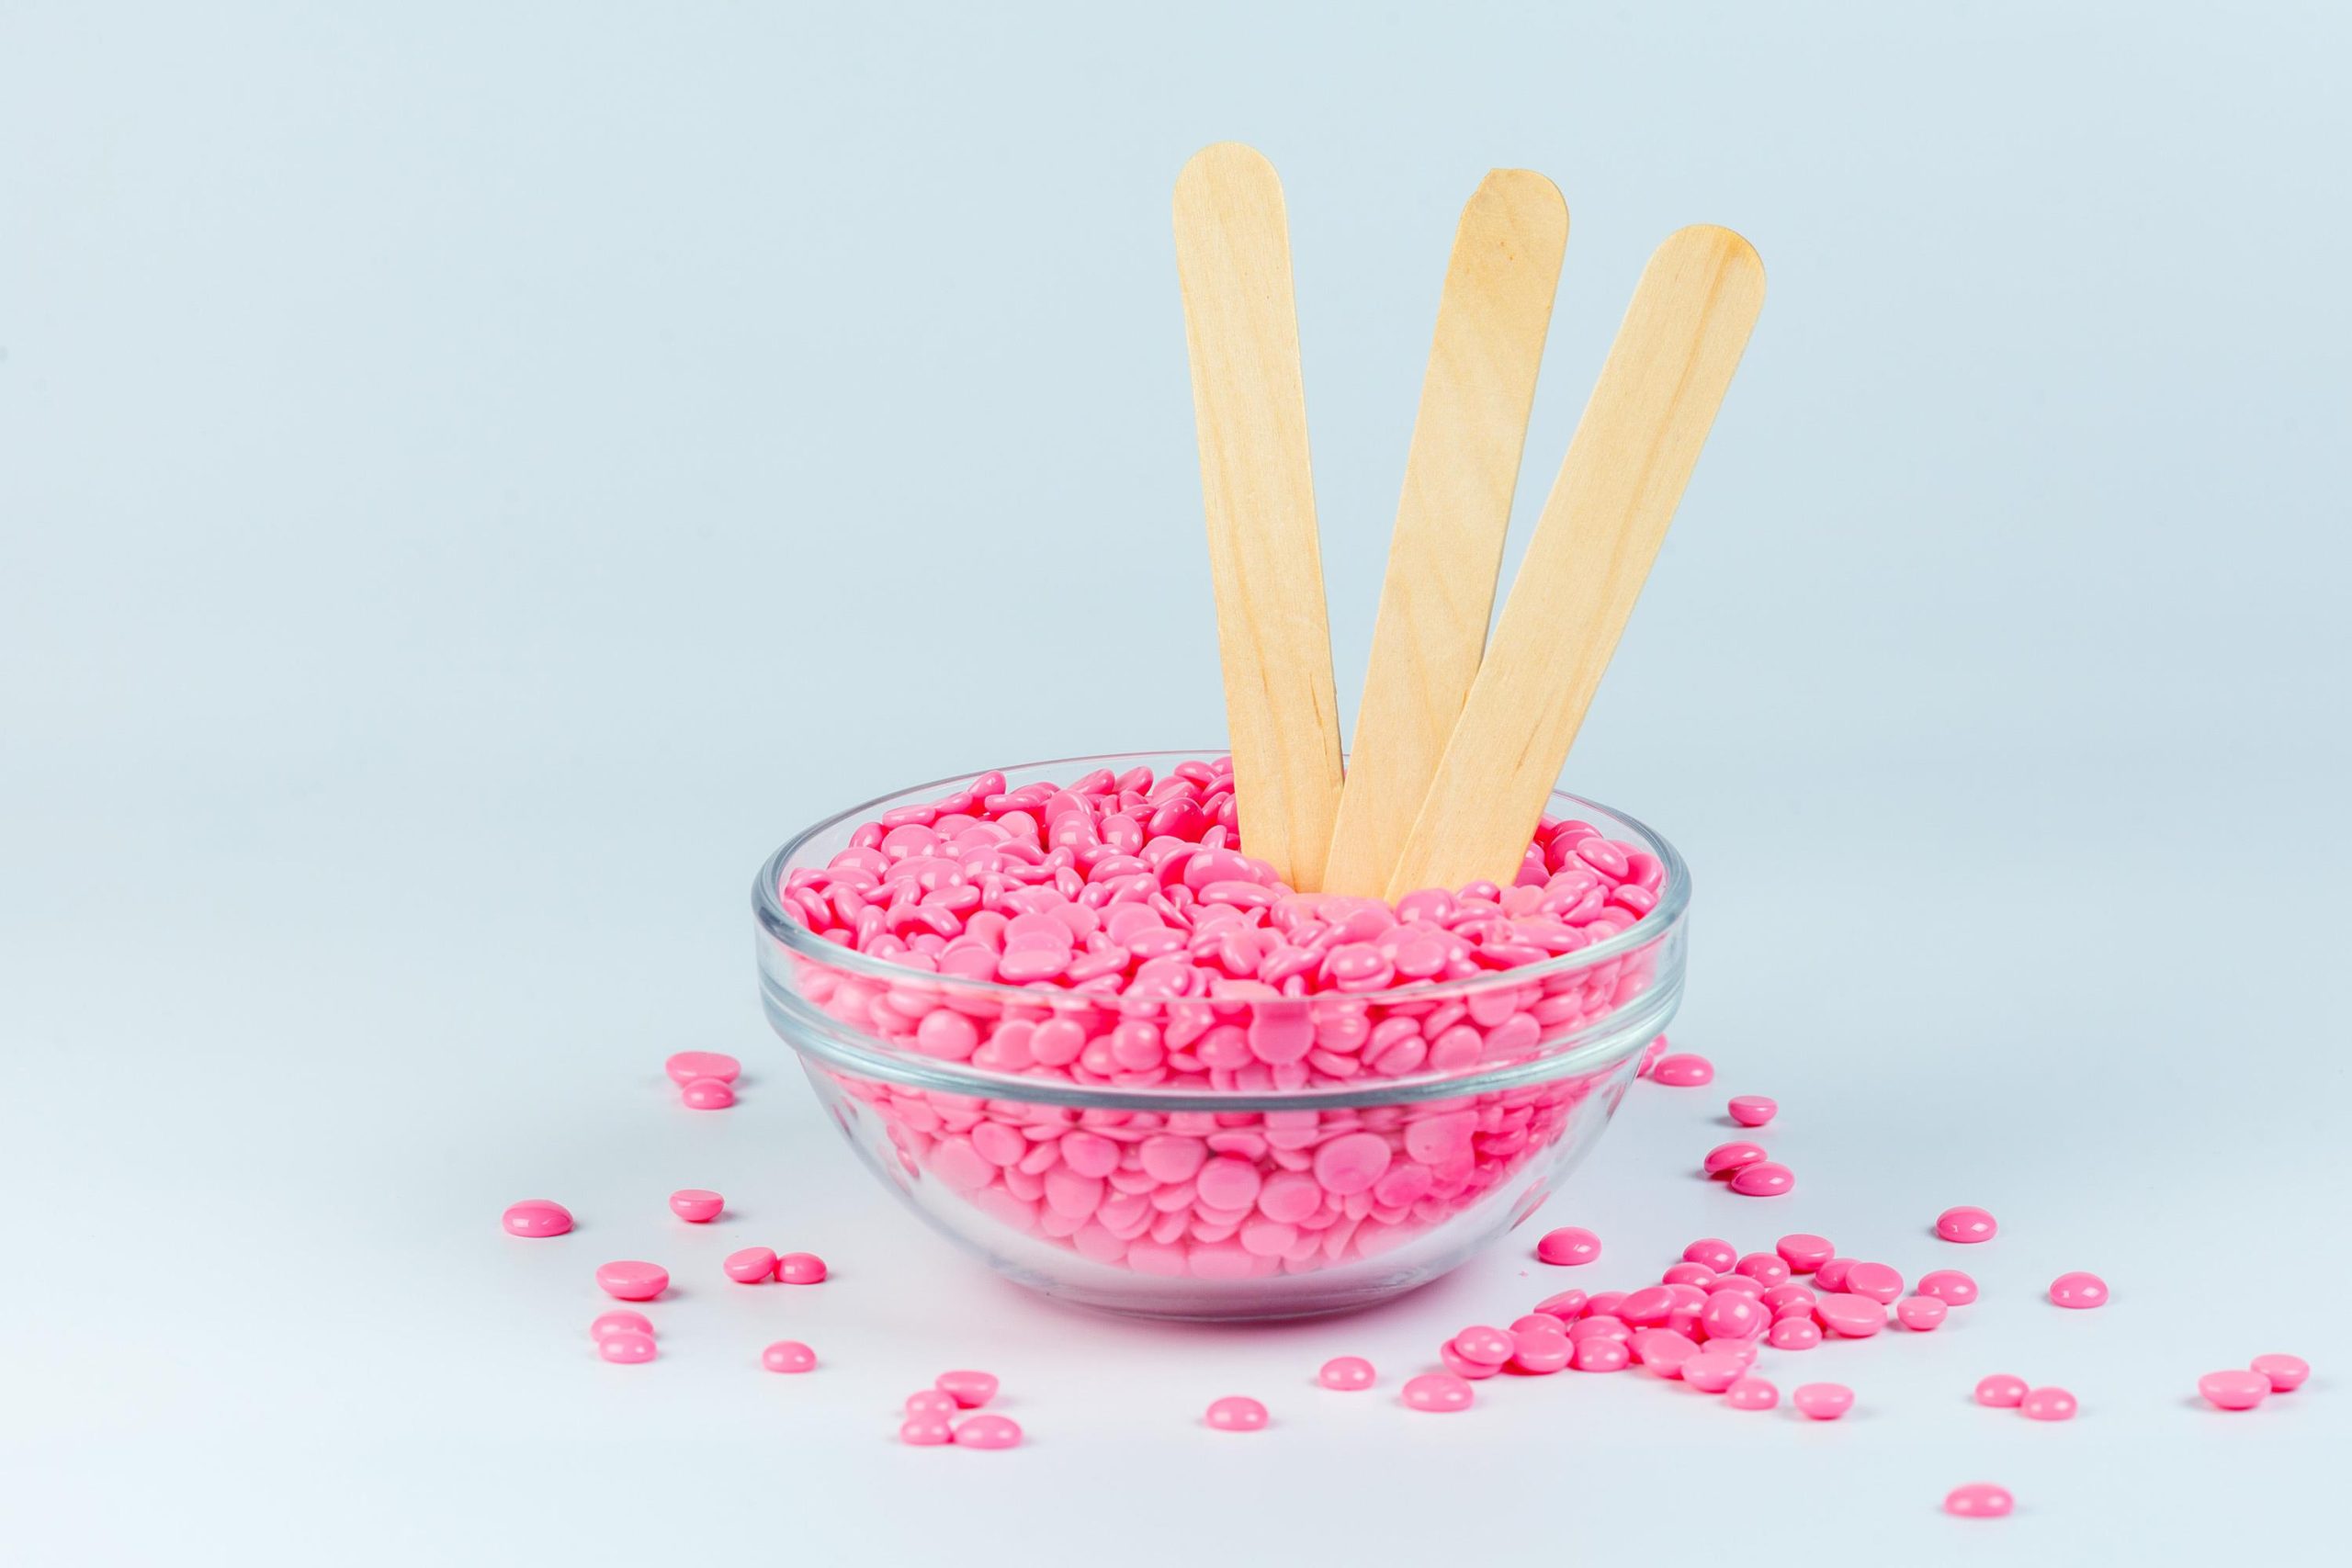
- Wax: Opt for a high-quality wax product specifically formulated for hair removal. You can choose between hard wax or soft wax, depending on your preference and the area you plan to wax.
- Wax Warmer: If you’re using hard wax, you’ll need a wax warmer to melt the wax to the right consistency. Soft wax typically comes in ready-to-use containers, eliminating the need for a wax warmer.
- Spatula or Applicator: You’ll require a spatula or an applicator to spread the wax evenly onto the skin.

Section 2: Preparing the Skin
Before applying wax, it’s essential to prepare your skin properly. Follow these steps for optimal results:
- Cleanse: Start by thoroughly cleansing the area you wish to wax to remove any dirt, oil, or residue. Dry the skin completely.
- Exfoliate: Gently exfoliate the skin using a scrub or exfoliating gloves to eliminate dead skin cells. This step helps prevent ingrown hairs and allows for smoother hair removal.
- Powder: Lightly dust some baby powder or talcum powder on the area to be waxed. This helps absorb any excess moisture and ensures better adhesion of the wax to the hair.
Section 3: Applying the Wax
Now that your skin is prepped, it’s time to apply the wax. Here’s how:
- Heating the Wax: If you’re using hard wax, follow the instructions on the packaging to heat it to the appropriate temperature using a wax warmer. With soft wax, no heating is necessary.
- Testing the Temperature: Before applying the wax to your skin, test its temperature on a small area of your wrist to avoid burns or discomfort.
- Spreading the Wax: Using a spatula or applicator, spread a thin layer of wax in the direction of hair growth. Ensure the wax adheres well to the skin and covers the entire area you want to wax.
Section 4: Removing the Hair
Once the wax is applied, it’s time to remove the unwanted hair. Follow these steps:
- Firm Pressure: Press down firmly on the waxed area to ensure a good grip on the hair.
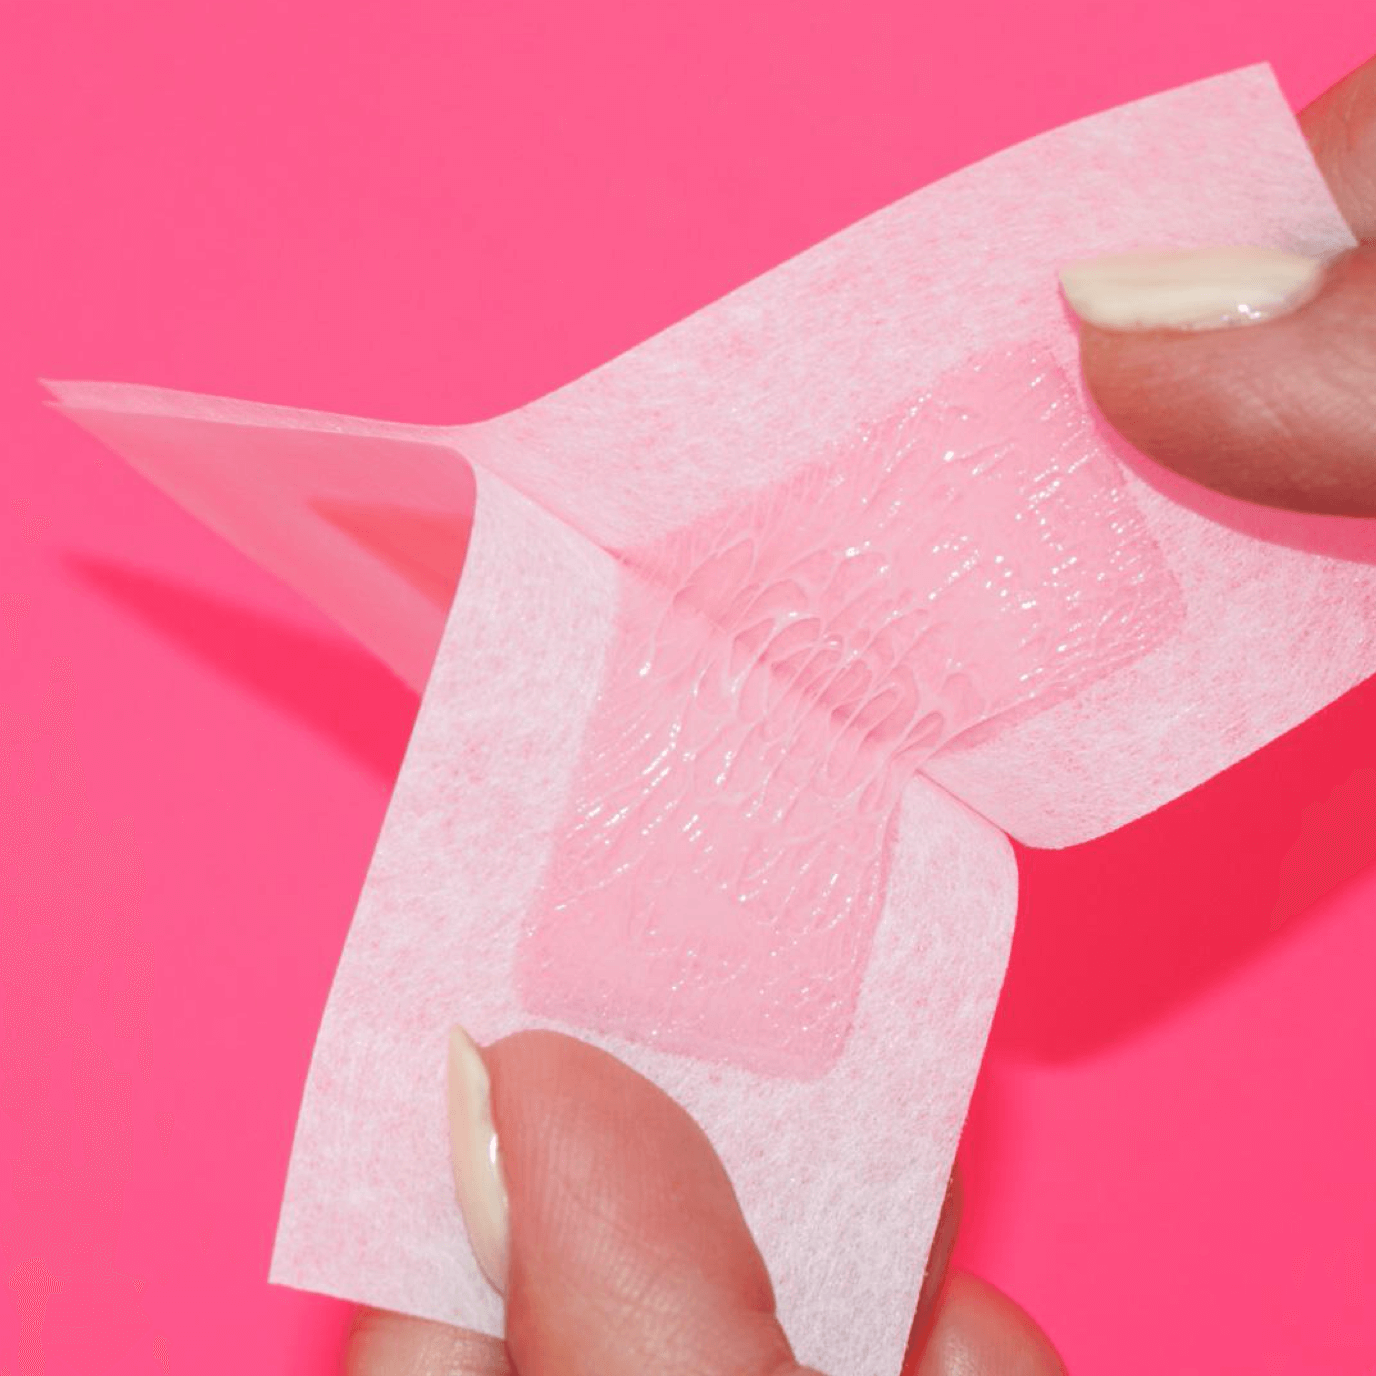
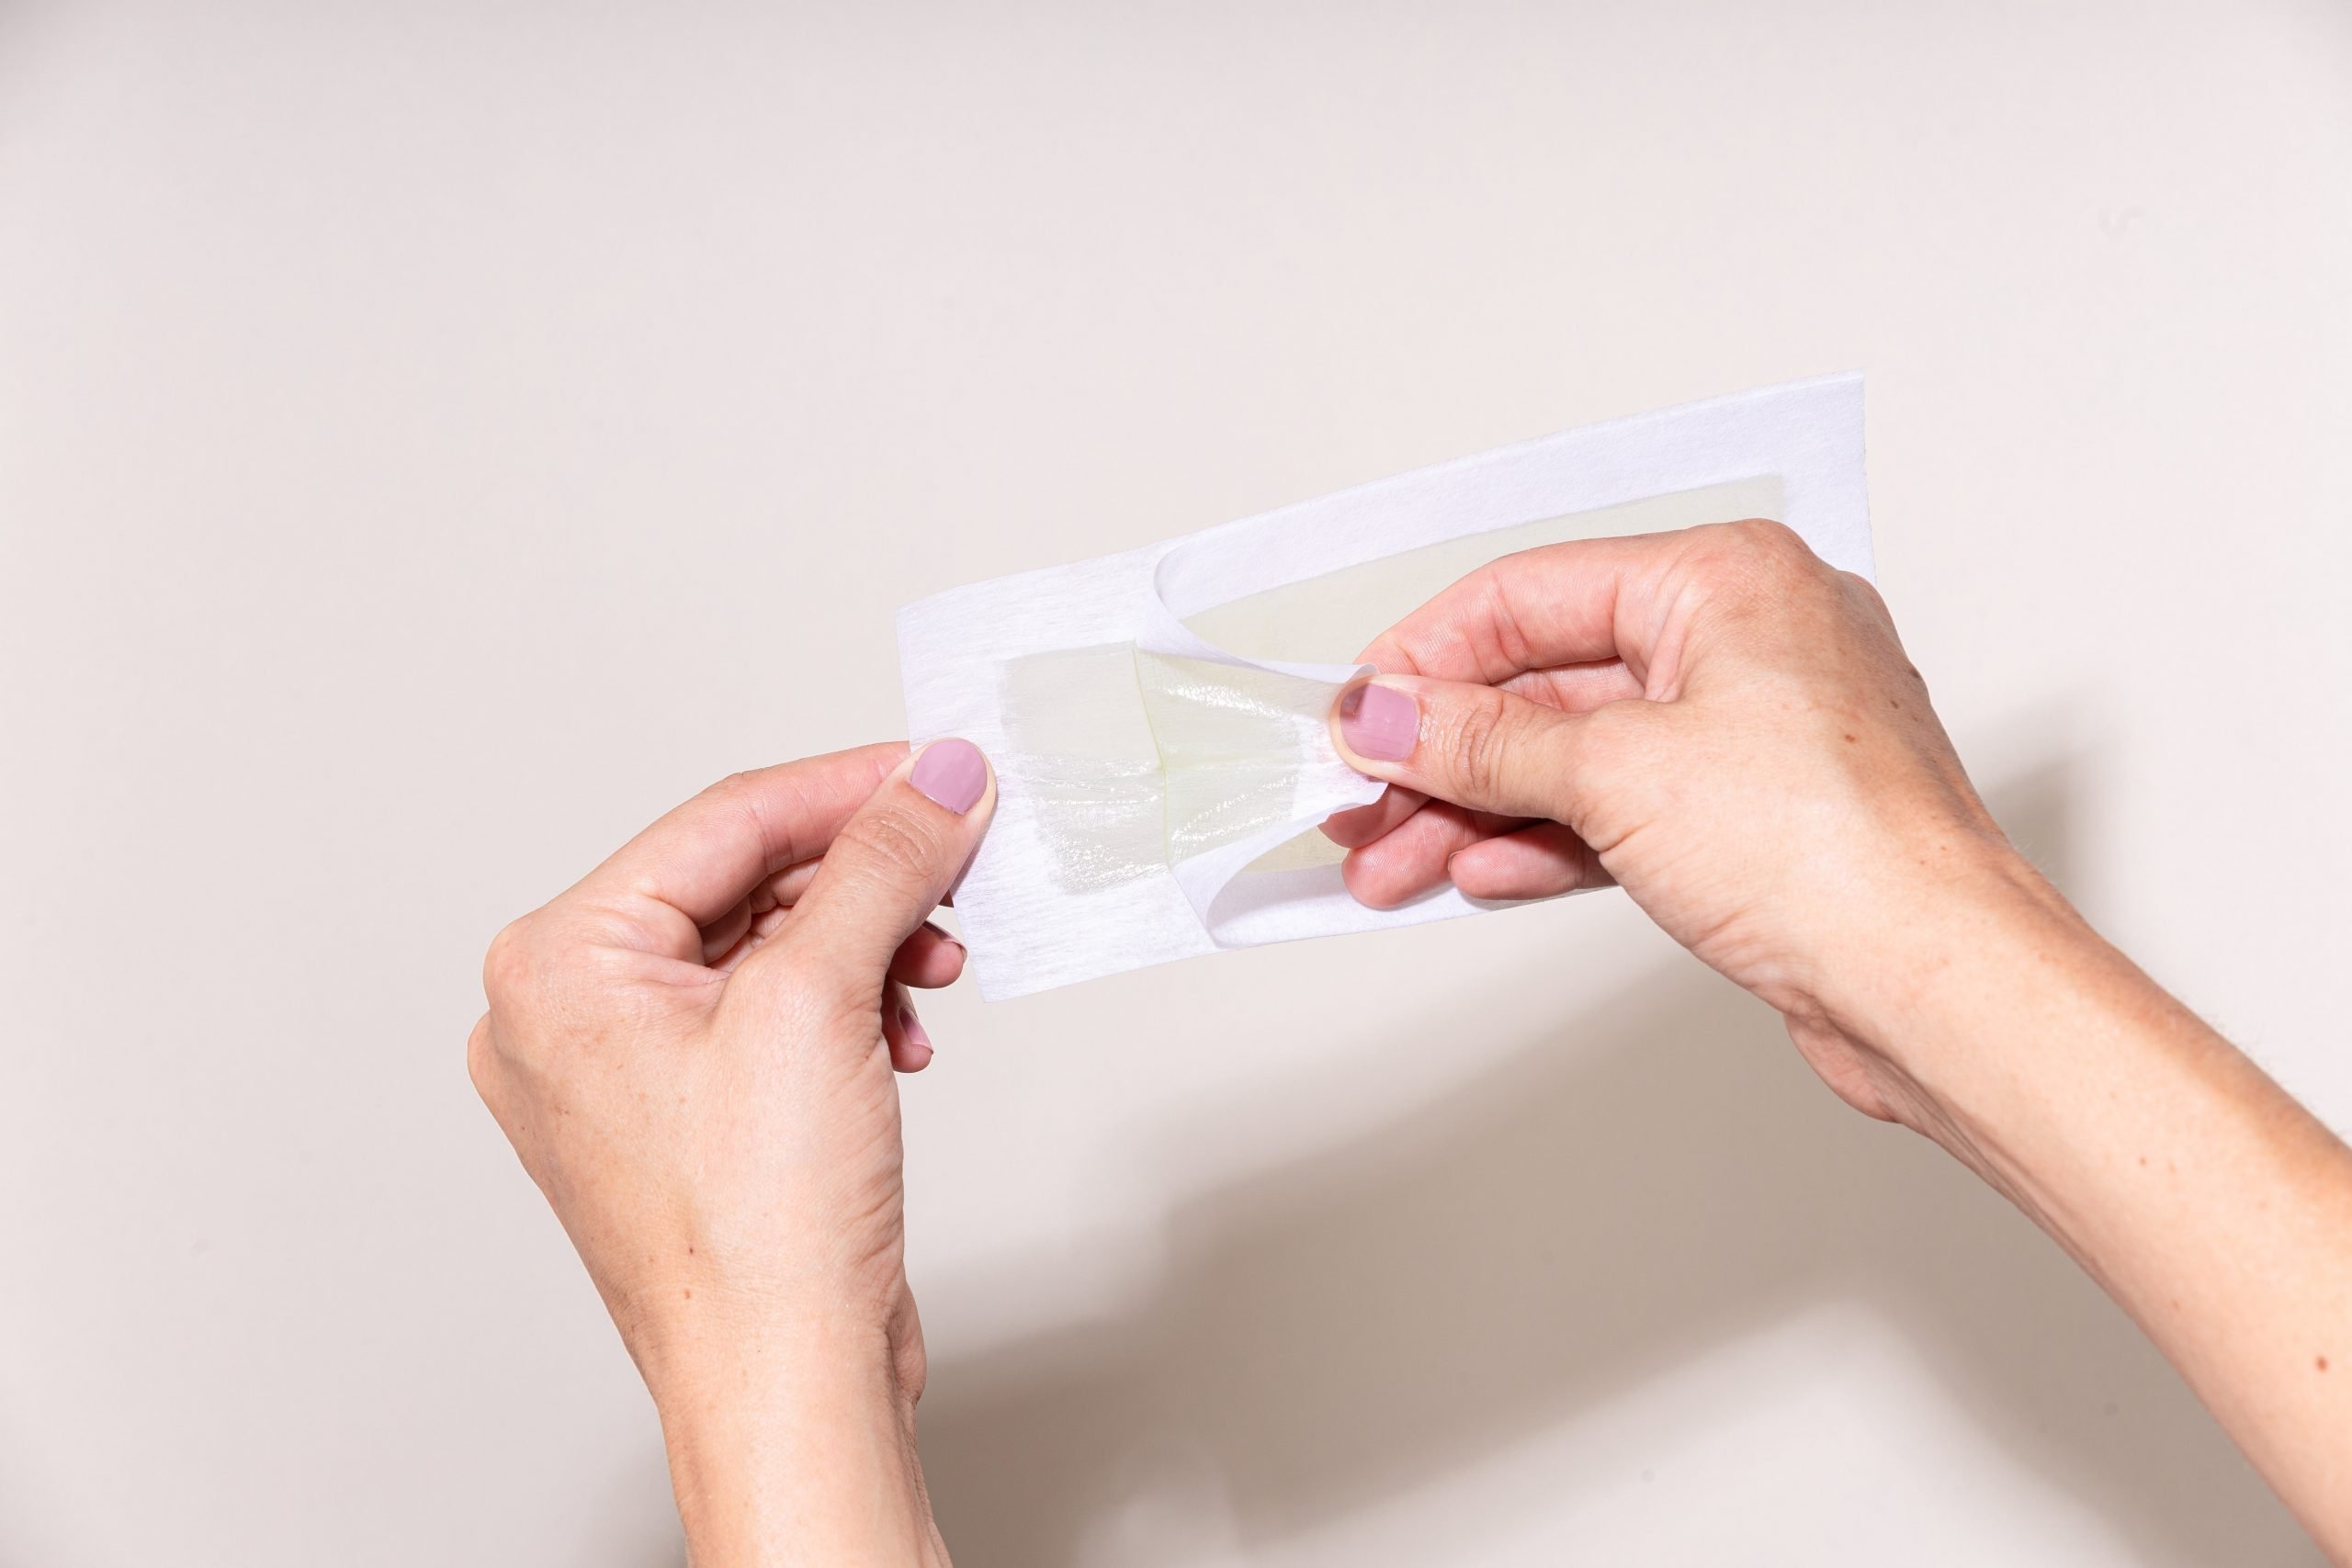
- Quick Motion: Hold the skin taut with one hand and swiftly pull off the wax strip in the opposite direction of hair growth. Remember to breathe out as you pull for better pain tolerance.
- Repeat: Continue the process, applying fresh wax and using new wax strips until you’ve removed all the desired hair.
Section 5: Post-Wax Care
After waxing, it’s crucial to care for your skin to minimize irritation and achieve the best results:
- Soothe the Skin: Apply a post-waxing oil or lotion to soothe the skin and alleviate any redness or discomfort.
- Avoid Heat and Friction: For the next 24-48 hours, avoid hot baths, saunas, sunbathing, and exercises that cause excessive sweating. Friction from tight clothing should also be avoided.
- Exfoliate Regularly: To prevent ingrown hairs, exfoliate your skin regularly, starting a few days after waxing.

Section 6: Tips and Tricks
Here are some additional tips and tricks to keep in mind when waxing at home:
- Choose the Right Wax: Select a wax that’s suitable for your skin type and hair texture. If you have sensitive skin, opt for a low-temperature wax or hypoallergenic formula.
- Don’t Wax Over the Same Area Twice: Avoid applying wax over the same area more than once, as it can cause skin irritation and increase the risk of ingrown hairs.
- Trim Hair to the Right Length: Ensure that the hair you plan to wax is the right length – not too long or too short. Typically, hair should be around 1/4 inch in length for optimal waxing results.
- Relax: Take deep breaths and relax your body before pulling off the wax strip to reduce discomfort.
- Seek Professional Help: If you’re new to waxing, consider seeking professional help for your first few sessions. This allows you to observe proper techniques and learn how to perform waxing safely and effectively.
Section 7: Post-Wax Care
After waxing, it’s important to take care of your skin to minimize irritation and maintain smooth results. Here are some post-wax care tips:
- Cool and Soothe the Skin: Apply a cool compress or aloe vera gel to soothe any redness or inflammation. This helps calm the skin and reduces discomfort.
- Avoid Hot Water and Harsh Products: For the next 24-48 hours, avoid hot showers, baths, saunas, or any activities that expose the waxed area to excessive heat. Also, avoid using harsh products such as exfoliants, fragranced lotions, or alcohol-based toners on the waxed skin.
- Moisturize Regularly: Keep the waxed area moisturized with a gentle, fragrance-free lotion or oil. This helps hydrate the skin and prevent dryness or flakiness.
- Protect from the Sun: After waxing, the skin may be more sensitive to the sun. Apply sunscreen with at least SPF 30 to protect the waxed area from harmful UV rays.
- Avoid Touching or Scratching: Refrain from touching or scratching the waxed area to prevent irritation, infection, or ingrown hairs.
Conclusion: Enjoy the Benefits of DIY Waxing
By following this step-by-step guide, you can successfully perform waxing at home using DIY wax strips. Remember to practice caution, follow proper techniques, and prioritize the care of your skin. With a little practice, you’ll enjoy the benefits of silky-smooth skin, longer-lasting results, and the convenience of DIY hair removal.