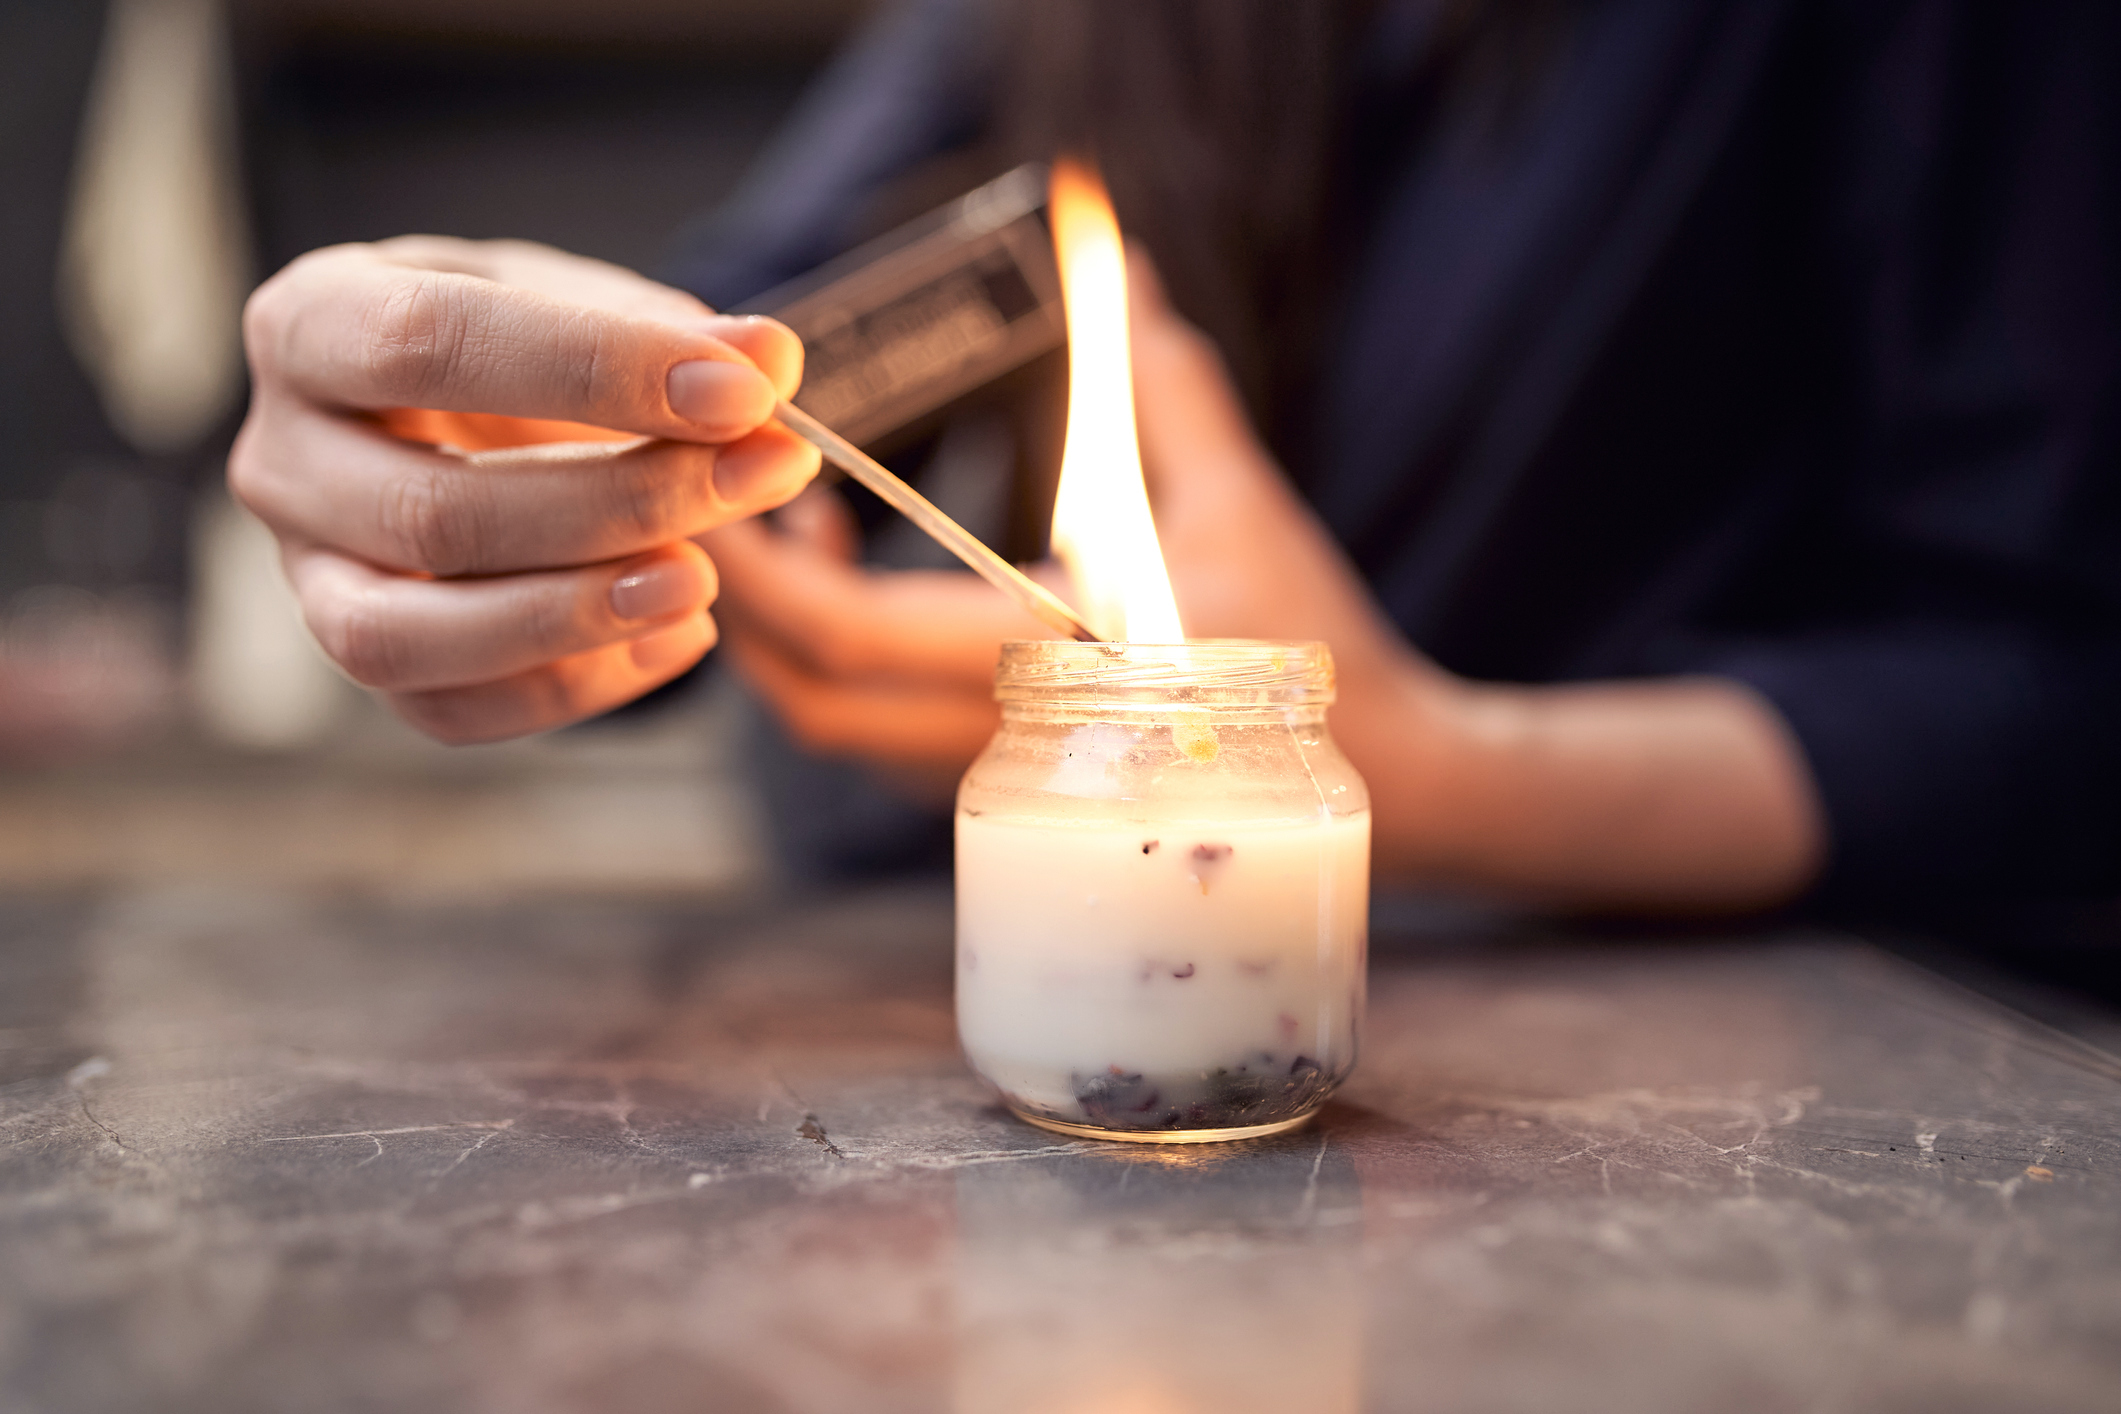
Candle enthusiasts know the joy of a flickering flame casting warm light across a room, filling it with soothing scents. However, once the wax has melted away, what’s left is often a beautiful but unusable candle jar coated with stubborn wax residue. Instead of tossing these jars into the recycling bin, why not give them new life? This guide presents easy yet effective techniques for transforming your empty candle containers into versatile household items or decorative pieces.
Understanding the Basics: Wax Types and Precautions
Before diving into cleaning methods, it’s crucial to understand the type of wax you’re dealing with. Most candles are made from paraffin, soy, beeswax, or a blend. Each wax has its own melting point and hardness, affecting the cleaning process. Always exercise caution when handling hot wax and use protective gear like gloves to avoid burns.
The Freeze Method: Nature’s Helper
Step 1: Cool It Down
Begin by placing the used candle jar in the freezer for at least a few hours or overnight. The cold will cause the wax to contract, making it easier to remove.
Step 2: Tap and Remove
Once thoroughly chilled, take the jar out and gently tap the bottom and sides. The wax should pop out in one solid piece or break off easily. Use a butter knife to help loosen any stubborn bits.
Warm Water Soak: Gentle Yet Effective
Step 1: Warm Water Immersion
Fill the sink or a large bowl with warm water, enough to cover the wax residue. Place the candle jar upside down, ensuring the water level doesn’t reach the wick or any glued parts to prevent damage.
Step 2: Soak and Soften
Let the jar soak for about 30 minutes to an hour. The warmth will soften the wax, allowing it to float to the surface or become easy to scrape off.
The Boiling Water Technique: For Stubborn Cases
Cautionary Note
This method requires extra care as boiling water can be dangerous. Ensure you have appropriate protection and handle the jar carefully.
Step 1: Boil and Submerge
Boil a pot of water and carefully place the candle jar (without the lid) upside down in the pot. The steam and heat will quickly melt the wax.
Step 2: Quick Removal and Cleaning
Using tongs, remove the jar after a few minutes, being cautious of hot water and steam. Immediately wipe away the melted wax with paper towels or a cloth.
Alcohol Bath: Dissolving Power
Step 1: Alcohol Application
Pour rubbing alcohol (isopropyl alcohol) into the candle jar until the wax residue is fully submerged. Let it sit for 10-15 minutes.
Step 2: Scrub and Rinse
Use a soft-bristled brush or a cloth to scrub away the softened wax. The alcohol breaks down the wax, making it simple to clean. Rinse thoroughly with warm water.
Microwave Magic: Quick Fix
Safety First
Only attempt this with microwave-safe glass jars. Avoid jars with metal components or decorations.
Step 1: Heat and Melt
Place the candle jar in the microwave and heat it in short bursts (10-15 seconds at a time) until the wax melts. Keep a close eye on it to prevent overheating.
Step 2: Wipe Clean
Remove the jar using oven mitts and wipe out the melted wax with a paper towel or cloth. Be cautious of hot surfaces.
Post-Cleaning Polish: Sparkling Finish
After removing the wax, there might be some residual marks or labels to tackle. Use a solution of equal parts white vinegar and warm water, or a specialized glass cleaner, to wipe the jar clean. For stubborn labels, apply a bit of oil or a label remover gel and let it sit before scraping gently.
Creative Repurposing: A New Lease on Life
Now that your candle jars are clean and sparkling, they’re ready for a fresh start. Transform them into chic storage containers for small items, herb gardens, tea light holders, or even as charming vases for dried flowers. With a little creativity, these jars can add a personal touch to your home decor.
DIY Candle Jar Makeover Ideas: Transforming Your Clean Containers
Now that you’ve successfully cleaned and prepped your empty candle jars, it’s time to unleash your creativity and transform them into unique and functional pieces. Here are some inspiring ideas to get you started:
1. Herb Garden Windowsill Pots
Transform your candle jars into mini herb gardens that not only brighten up your kitchen windowsill but also provide fresh herbs for cooking. Fill the jars with a layer of pebbles for drainage, followed by potting soil, and plant your favorite herbs such as basil, thyme, or mint. Don’t forget to add a small stick or label for each herb.
2. Jewelry and Trinket Holders
Add a touch of glamour to your dressing table by turning your candle jars into elegant jewelry holders. Arrange earrings, rings, and bracelets on a bed of decorative sand, beads, or even dried beans for a stylish and organized display.
3. Succulent Terrariums
Create mini succulent terrariums that bring a touch of nature indoors. Layer sand, small stones, activated charcoal, and potting soil in the jar, then plant a variety of small succulents. Top with decorative elements like tiny figurines or colored sand for a personalized touch.

4. Customized Votive Holders
Use glass etching cream or adhesive stencils to create personalized designs on your candle jars. Once etched, they become unique votive candle holders, perfect for adding ambiance to dinner parties or as thoughtful handmade gifts.
5. Spice Storage in the Kitchen
Organize your spice rack by transferring spices into your cleaned candle jars. Label each jar with chalkboard paint or cute stickers, and arrange them on a magnetic strip or in a drawer for easy access and a tidy look.
6. Tea Light Lanterns
Turn your jars into charming lanterns by attaching wire handles or hanging hooks. Place tea lights inside, and hang them outdoors for a magical glow during summer evenings or line your garden path for a whimsical touch.
Conclusion: From Waste to Wow
Reviving candle jars not only saves you money but also contributes to a more sustainable lifestyle. By adopting these straightforward techniques, you can turn yesterday’s wax-filled jars into tomorrow’s treasures. Each method outlined above caters to different preferences and wax types, ensuring there’s a solution for every candle lover’s needs. So, next time you finish burning a candle, don’t discard the jar—give it a new beginning instead.


