When it comes to hair removal, many people are turning to natural and DIY methods for a gentler and more affordable alternative to traditional waxing. One such method that has gained popularity is sugar waxing. Made from simple ingredients found in your kitchen, sugar wax is effective, easy to make, and gentle on the skin. In this guide, we’ll explore the benefits of sugar waxing and provide a step-by-step recipe for creating your own DIY sugar wax at home.
The Benefits of Sugar Waxing
Sugar waxing, also known as sugaring, has been used for centuries as a method of hair removal. Unlike traditional waxing, which can contain harsh chemicals and synthetic ingredients, sugar wax is made from natural ingredients such as sugar, water, and lemon juice. Here are some of the benefits of sugar waxing:
1. Gentle on the Skin: Sugar wax adheres to the hair rather than the skin, making it less painful than traditional waxing. It also exfoliates the skin, leaving it smooth and soft.
2. Less Irritation: Because sugar wax is made from natural ingredients, it is less likely to cause irritation or allergic reactions, making it suitable for sensitive skin types.
3. Cost-Effective: Sugar wax can be made at home using inexpensive ingredients, making it a more affordable option than salon waxing.
4. Environmentally Friendly: Since sugar wax is made from natural ingredients, it is biodegradable and environmentally friendly, making it a sustainable choice for hair removal.
5. Long-Lasting Results: Sugar waxing removes hair from the root, resulting in longer-lasting smoothness compared to shaving.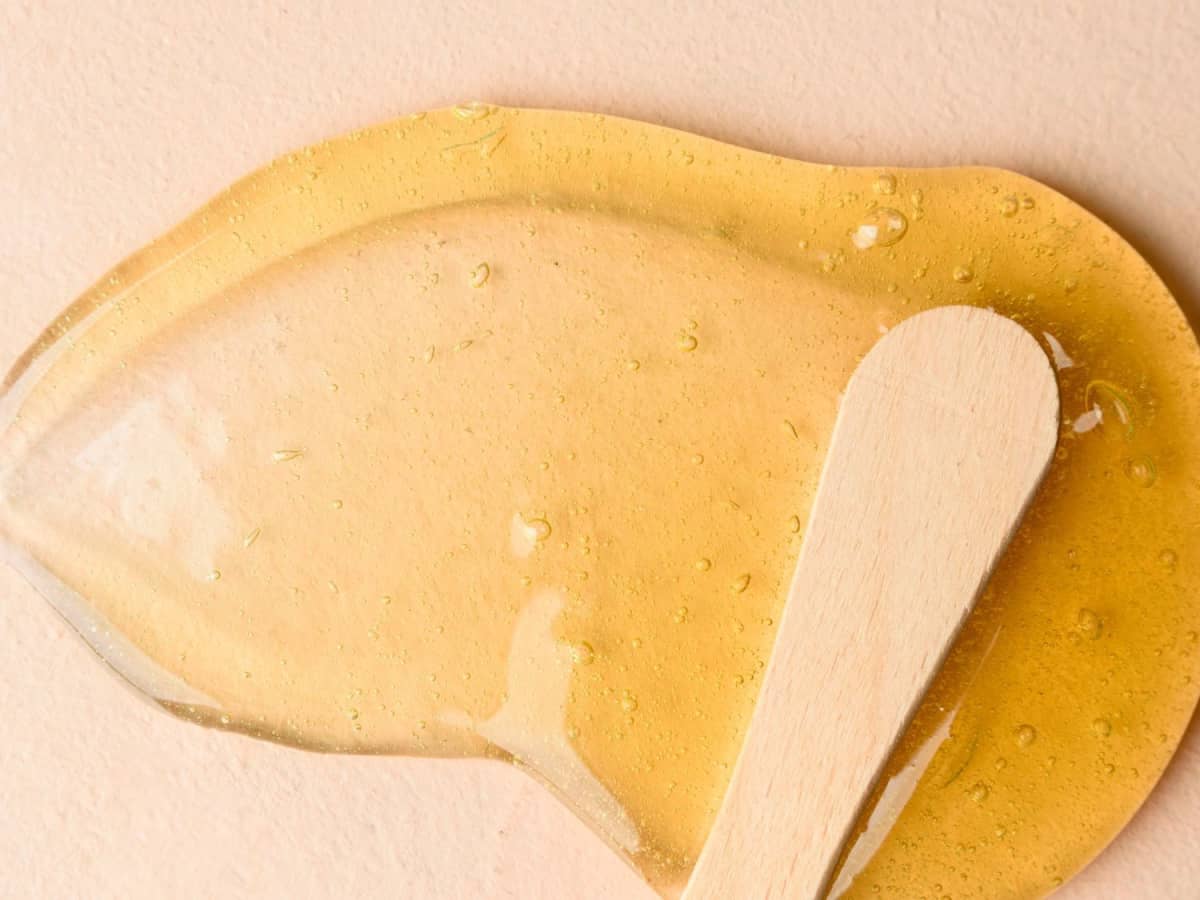
DIY Sugar Wax Recipe
Now that you know the benefits of sugar waxing, let’s dive into how to make your own DIY sugar wax at home. Here’s what you’ll need:
Ingredients:
- 2 cups white granulated sugar
- 1/4 cup lemon juice (freshly squeezed)
- 1/4 cup water
Instructions:
- Combine Ingredients: In a heavy-bottomed saucepan, combine the sugar, lemon juice, and water. Stir well to combine.
- Heat Mixture: Place the saucepan over medium heat and bring the mixture to a boil, stirring constantly to prevent burning. Once the mixture reaches a boil, reduce the heat to low and simmer for 10-15 minutes, or until the mixture thickens and turns a golden amber color.
- Test Consistency: To test the consistency of the wax, drop a small amount into a bowl of cold water. It should form a soft, pliable ball that holds its shape.
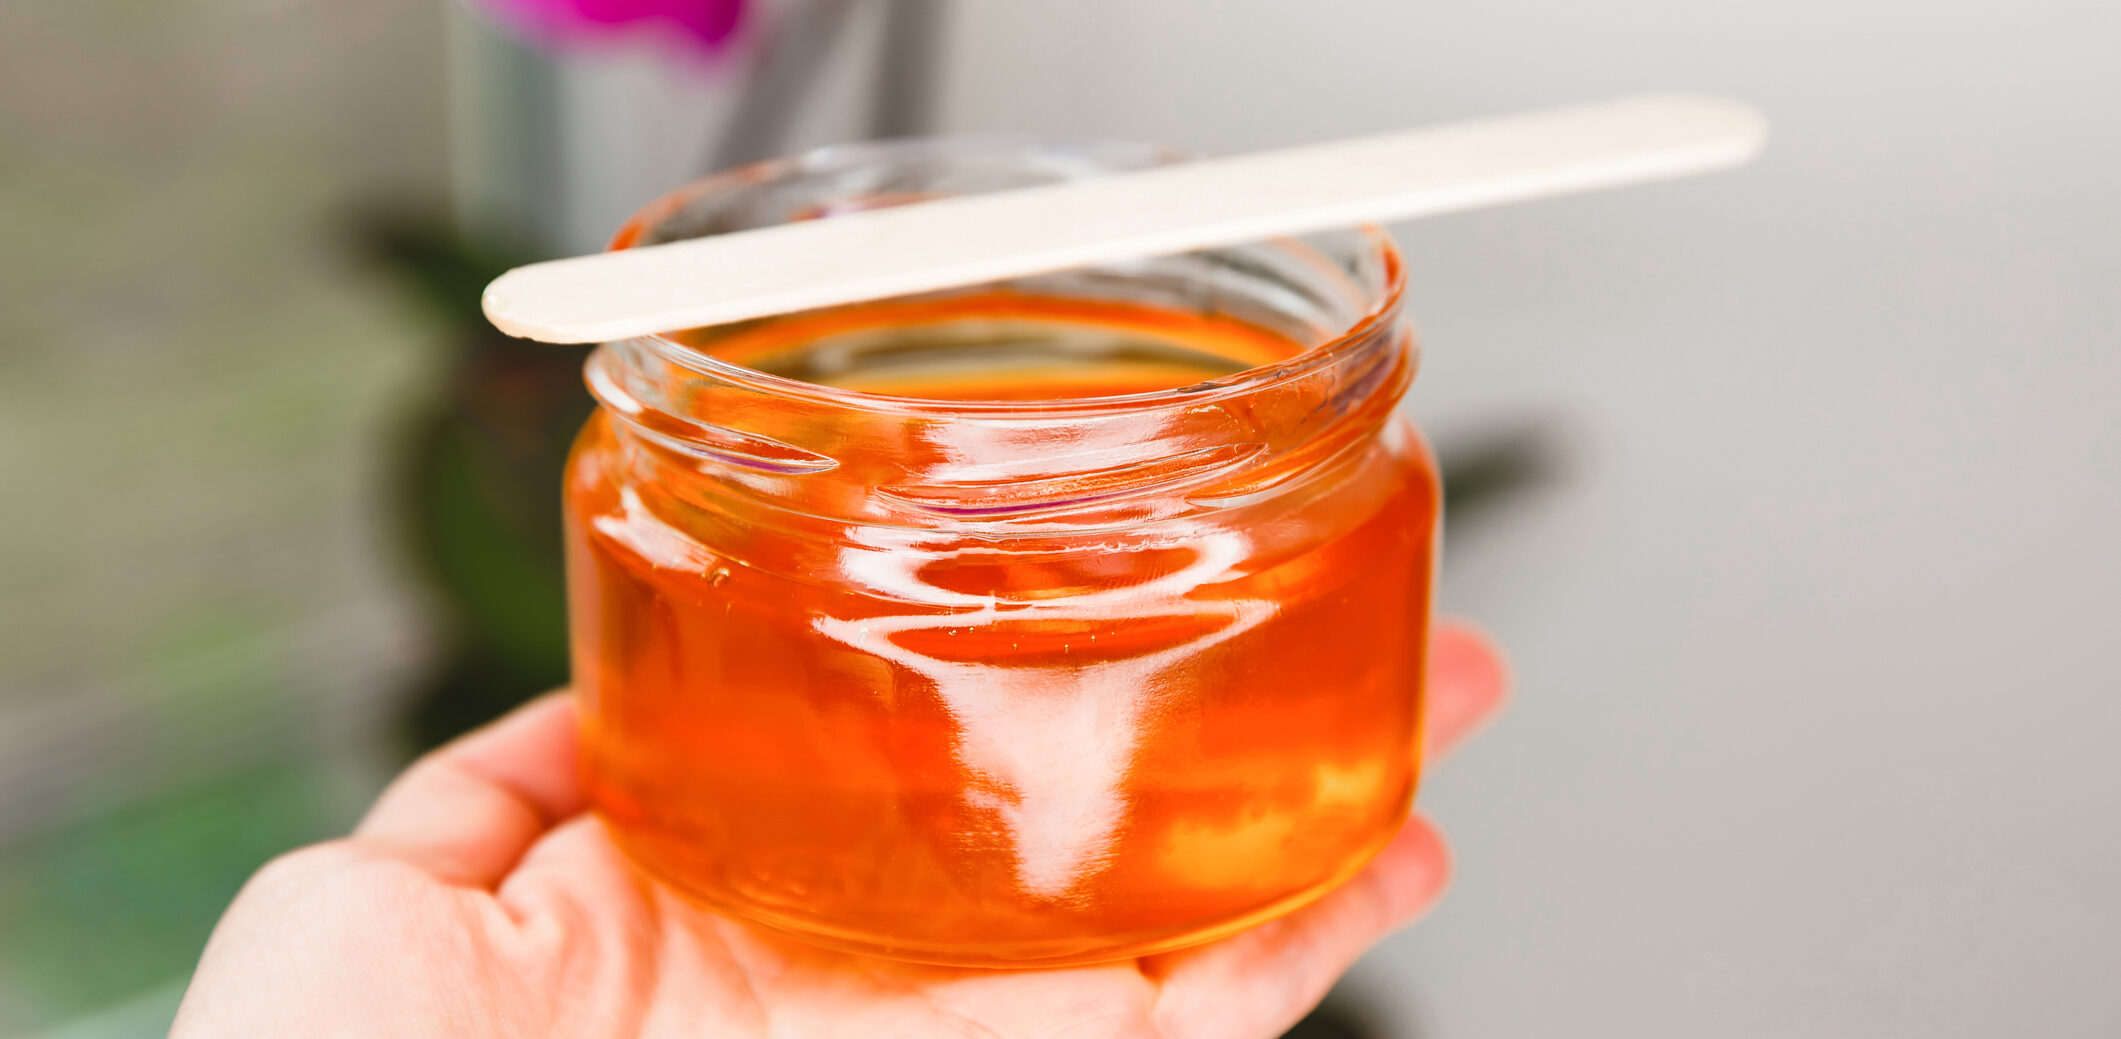
- Cool and Store: Once the mixture reaches the desired consistency, remove it from the heat and allow it to cool slightly. Transfer the sugar wax to a clean, airtight container for storage.
How to Use Sugar Wax
Now that you’ve made your sugar wax, here’s how to use it for hassle-free hair removal:
- Prep Your Skin: Start by cleansing the area to be waxed and drying it thoroughly. Dust the skin with a small amount of cornstarch or baby powder to absorb any excess moisture.
- Apply the Wax: Using a spatula or butter knife, spread a thin layer of sugar wax onto the skin in the direction of hair growth.
- Remove Hair: Place a cloth strip or muslin strip over the waxed area and smooth it down firmly. Hold the skin taut with one hand and quickly pull the strip off in the opposite direction of hair growth, keeping it parallel to the skin.
- Repeat as Needed: Continue waxing small sections of the skin, reapplying the sugar wax as needed, until the desired area is hair-free.
- Cleanse and Soothe: Once you’ve finished waxing, rinse the skin with warm water to remove any residue. Follow up with a soothing lotion or aloe vera gel to calm the skin and reduce redness.
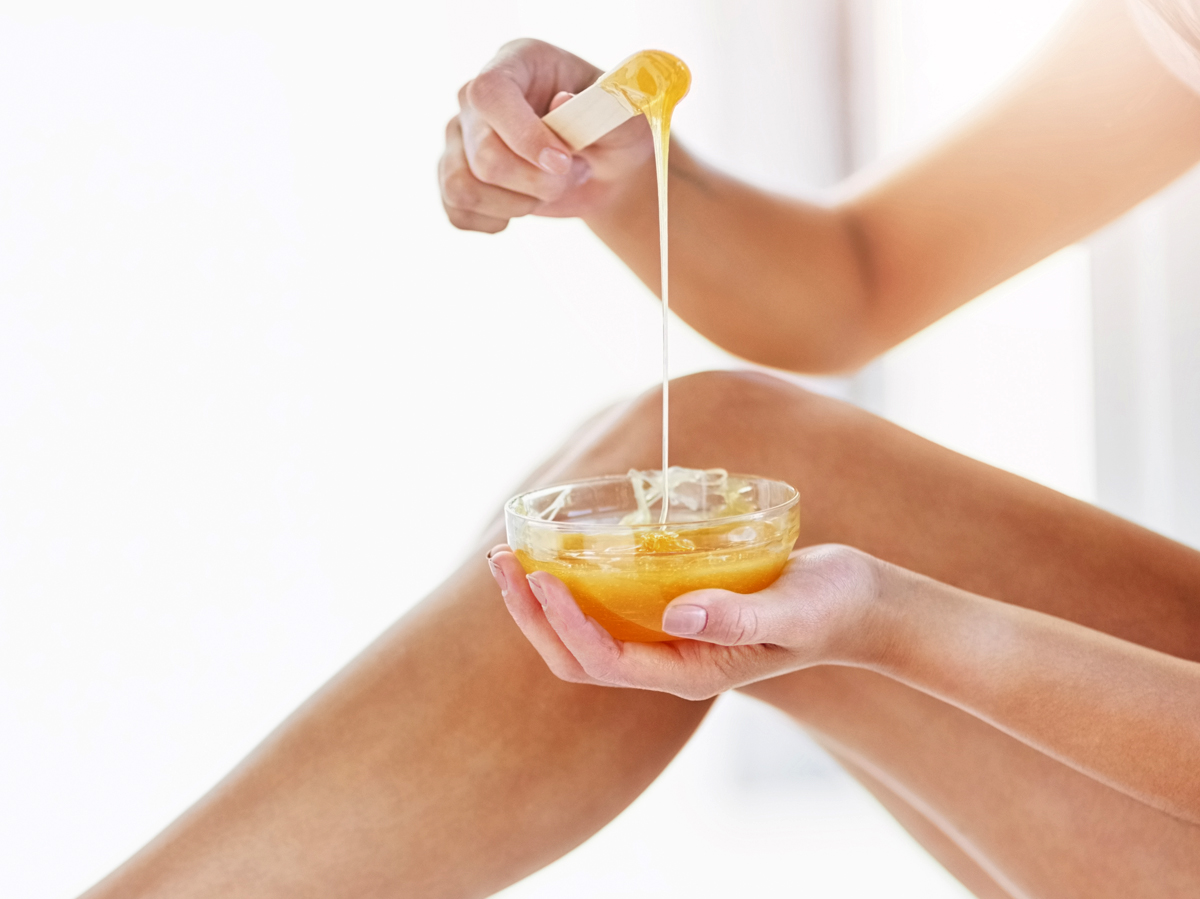
Natural honey sugar paste shugaring closeup. Procedure, clean. Sugar paste or honey for hair removing on flower background. Spa and Shugaring. Depilation and beauty concept
Tips for Successful Sugar Waxing
While sugar waxing is a relatively simple process, there are a few tips and tricks that can help ensure successful results:
- Consistency is Key: Achieving the right consistency for your sugar wax is crucial for effective hair removal. Be patient and allow the mixture to simmer until it thickens and turns a golden amber color. Testing the wax in cold water can help you determine if it’s ready for use.
- Proper Application: When applying the sugar wax to your skin, make sure to spread it in the direction of hair growth for optimal results. Using a thin layer will also help ensure that the wax adheres to the hair without pulling on the skin.
- Quick Removal: When removing the wax strips, remember to pull them off quickly and in the opposite direction of hair growth. This will help minimize discomfort and ensure that the hair is removed from the root.
- Take Your Time: While sugar waxing can be a quick and convenient hair removal method, it’s important to take your time and work in small sections. This will help ensure thorough coverage and minimize the risk of missed hairs.
- Aftercare is Essential: After waxing, be sure to rinse your skin with warm water to remove any wax residue. Follow up with a soothing lotion or aloe vera gel to calm the skin and reduce redness. Avoid exfoliating or using harsh products on the waxed area for at least 24 hours to prevent irritation.
By following these tips and using high-quality ingredients, you can enjoy smooth, hair-free skin with minimal hassle and expense. Give sugar waxing a try and experience the sweet satisfaction of DIY hair removal!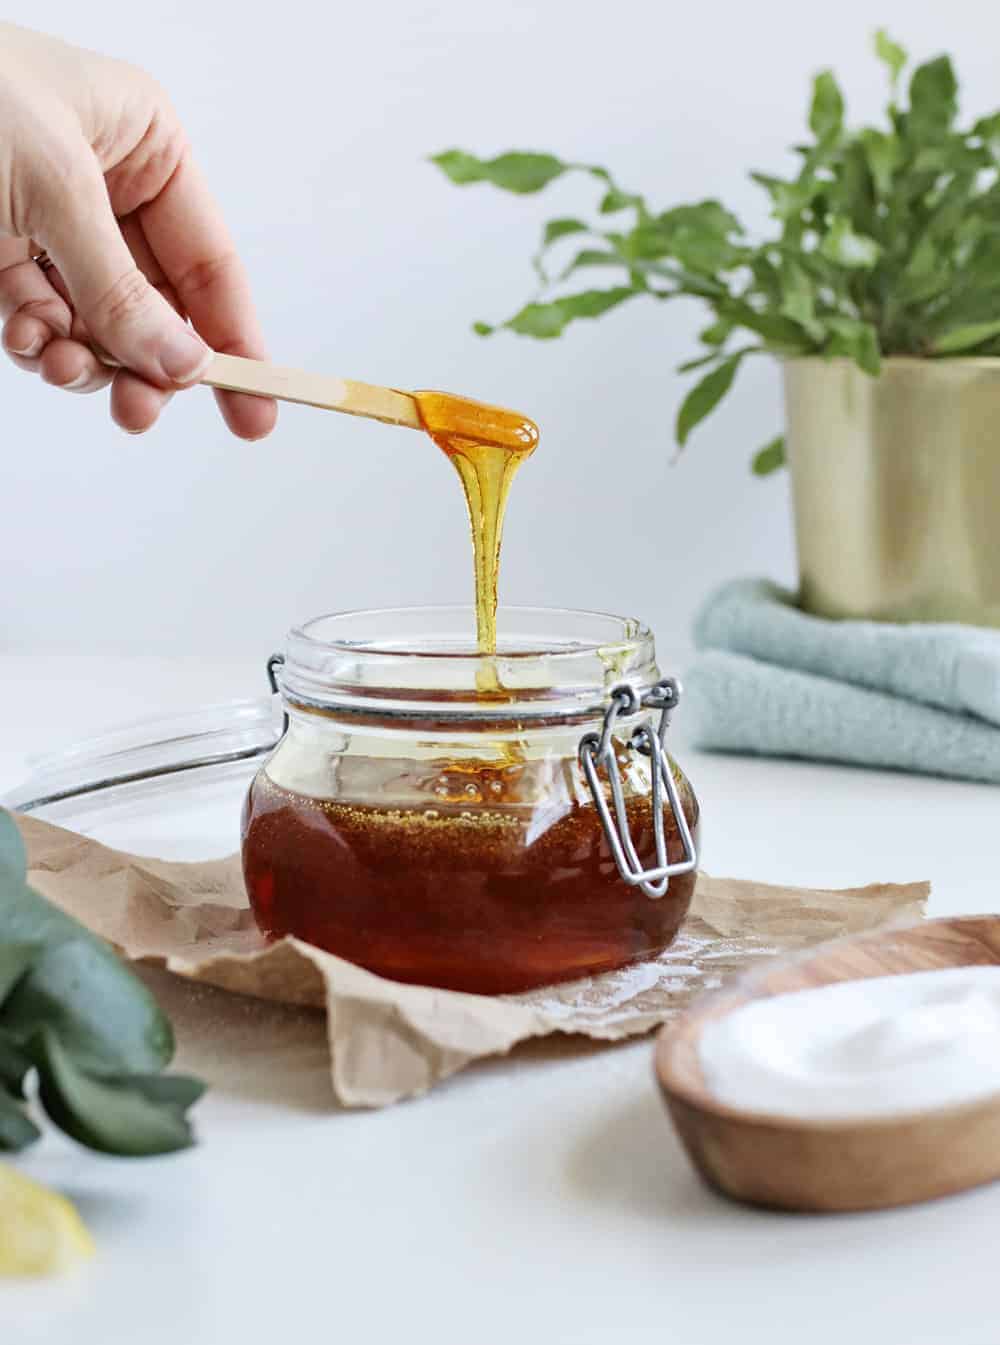
Choosing the Right Tools
Before diving into sugar waxing, it’s essential to gather the necessary tools and equipment for a successful experience. Here are the items you’ll need:
- Spatula or Butter Knife: A spatula or butter knife is essential for applying the sugar wax to your skin. Opt for a flat, smooth tool that allows for precise application.
- Cloth Strips or Muslin Strips: Cloth strips or muslin strips are used to remove the sugar wax from your skin. Cut them into small, manageable sizes for easy use.
- Heavy-Bottomed Saucepan: A heavy-bottomed saucepan is ideal for heating the sugar wax mixture evenly without burning. Choose a saucepan with a sturdy handle for easy pouring.
- Clean, Airtight Container: Once the sugar wax is ready, transfer it to a clean, airtight container for storage. This will help preserve its consistency and prevent contamination.
- Cornstarch or Baby Powder: Cornstarch or baby powder can be dusted onto the skin before waxing to absorb excess moisture and ensure a smooth application.
Safety Precautions
While sugar waxing is generally safe and gentle on the skin, it’s essential to take some safety precautions to prevent injury or irritation:
- Patch Test: Before using sugar wax on a larger area of your body, perform a patch test on a small, inconspicuous area of skin to check for any allergic reactions or irritation.
- Check Temperature: Always test the temperature of the sugar wax before applying it to your skin to avoid burns or discomfort. The wax should be warm but not scalding hot.
- Avoid Sun Exposure: After waxing, avoid exposing the waxed area to direct sunlight for at least 24 hours, as the skin may be more sensitive to UV rays and prone to sunburn.
- Seek Professional Advice: If you have sensitive skin, skin conditions, or are unsure about sugar waxing, consult with a dermatologist or skincare professional before proceeding.
Conclusion
Sugar waxing is a natural, effective, and affordable method of hair removal that offers many benefits over traditional waxing. By making your own DIY sugar wax at home, you can enjoy smooth, hair-free skin without the hassle or expense of salon treatments. Give it a try and experience the sweet satisfaction of sugar waxing for yourself!