Before diving into the melting process, it’s crucial to grasp the basics of candle wax. There’s a myriad of options available, each with its unique properties:
- Paraffin Wax: Derived from petroleum, paraffin is the most common and affordable choice. It offers excellent scent throw but lacks eco-friendliness.
- Soy Wax: Made from soybeans, it’s a renewable resource that burns cleaner than paraffin. Soy wax candles are known for their soft, natural appearance.
- Beeswax: Harvested from beehives, beeswax is all-natural and emits a subtle honey aroma. Its high melting point makes it ideal for long-burning candles.
- Gel Wax: A transparent wax that allows for unique visual effects, gel wax is perfect for embedding objects in candles.
Selecting the right wax depends on your preference for sustainability, fragrance throw, and the desired aesthetic.

Gathering Your Tools and Materials
To embark on your candle-making adventure, gather the following essentials:
- Wax: Choose your preferred type based on the primer above.
- Wick: Essential for burning; ensure it matches the diameter of your container.
- Double Boiler or a Wax Melting Pot: For safe wax melting without direct heat.
- Thermometer: To monitor wax temperature accurately.
- Pouring Pitcher: Facilitates easy transfer of melted wax into containers.
- Candle Dye or Color Blocks: Optional, for adding color to your candles.
- Fragrance Oils: To infuse your candles with delightful scents.
- Containers or Molds: Where your candles will take shape.
Preparing Your Workspace
Safety first! Set up your workspace in a well-ventilated area, free from flammable materials and distractions. Cover your work surface with newspaper or a silicone mat to catch any spills. Have a fire extinguisher nearby and wear protective gear like gloves and goggles.
Melting the Wax: A Step-by-Step Guide
Step 1: Weigh and Chop
Measure out the amount of wax needed, based on your container size. If using solid wax blocks, chop them into smaller pieces to facilitate faster melting.
Step 2: Setting Up the Double Boiler
If you don’t have a dedicated wax melting pot, create a makeshift double boiler by placing a heat-safe bowl over a pot of simmering water. Ensure the bottom of the bowl doesn’t touch the water to prevent overheating.
Step 3: Melting Magic
Add your wax chips or pellets into the top pan or bowl. Stir occasionally with a wooden or silicone spoon to ensure even heating. Monitor the temperature closely with a thermometer, aiming for the recommended melting point specific to your wax type (usually around 160°F for soy wax).
Step 4: Adding Color and Scent
Once the wax reaches the correct temperature, remove it from heat. Slowly stir in candle dye or color blocks until you achieve your desired hue. Follow this by adding fragrance oil—typically 6-10% of the wax weight for a strong scent throw. Mix thoroughly but gently to avoid creating air bubbles.
Step 5: Cooling and Pouring
Allow the wax to cool slightly to around 120-130°F for soy wax, ensuring the fragrance and color are fully incorporated. Secure your wick in the center of your container using a wick centering device or simply by pinching it between two pencils across the top. Slowly pour the wax into the container, avoiding spills and minimizing disturbance to the wick.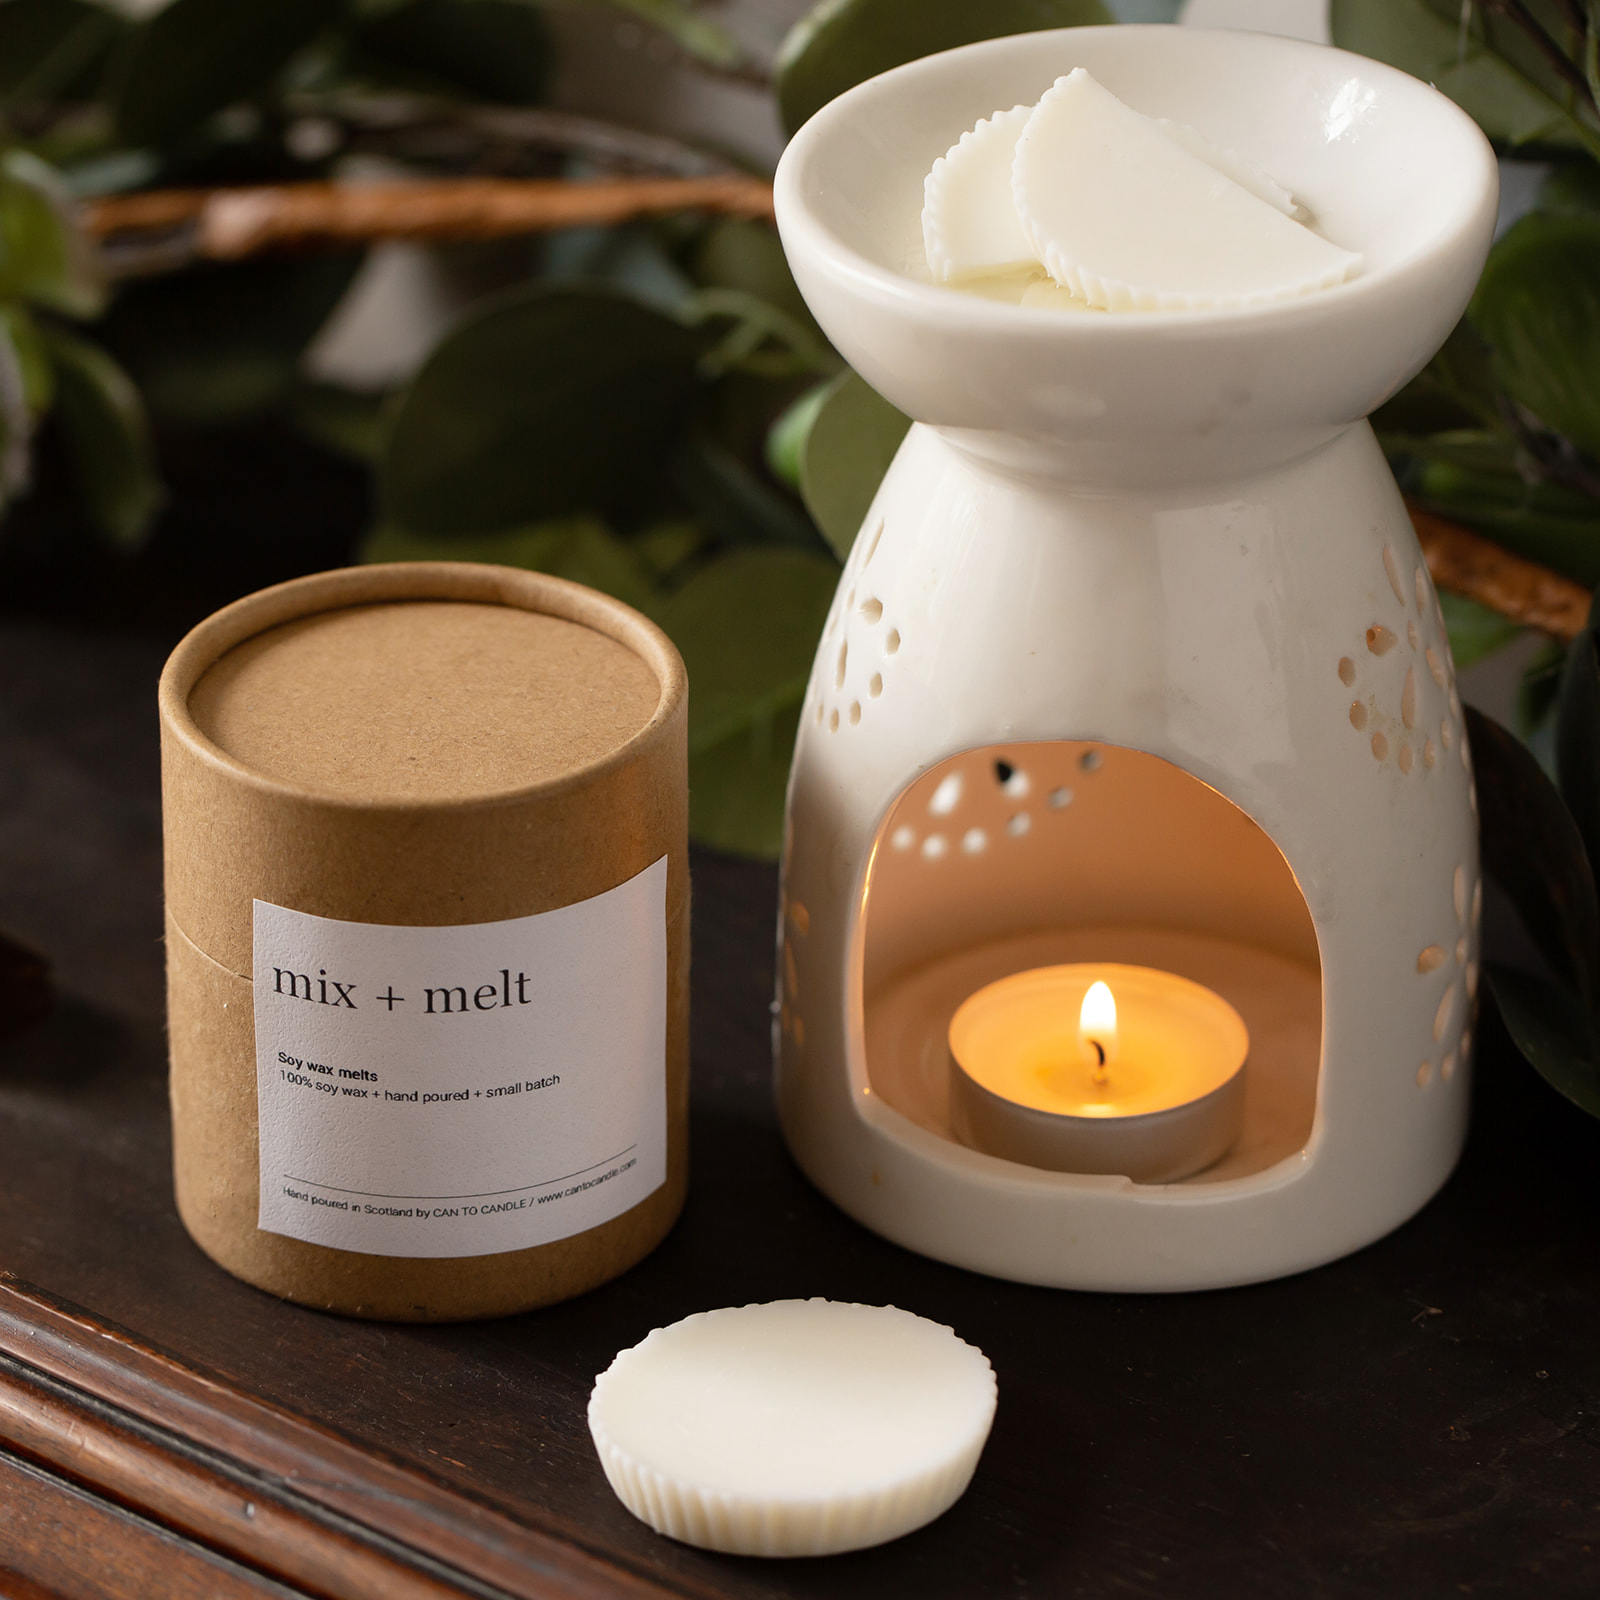
Post-Pouring Techniques
Wick Trimming and Setting
After pouring, let the candle cool and set undisturbed for several hours or overnight. Once hardened, trim the wick to ¼ inch to promote a clean burn.
Top Off and Finishing Touches
Inspect your candles for any sinkholes or uneven surfaces. If necessary, melt a small amount of additional wax and use it to fill in gaps, known as ‘topping off.’ Allow this layer to cool completely before final inspection.
Troubleshooting Common Issues
- Air Bubbles: Gently tap the sides of the container or use a heat gun to release trapped air.
- Wick Sinking: Use a wick stabilizer or ensure the wax has cooled slightly before pouring.
- Uneven Burning: Ensure the wick is centered and the top surface is level.
Exploring Creative Techniques and Advanced Concepts
As you delve deeper into candle making, you may wish to explore more advanced techniques and concepts that can elevate your creations from ordinary to extraordinary. Here are a few avenues to consider:
Layering and Embedding: Create visually stunning candles by layering different colored waxes or embedding small objects like dried flowers, seashells, or small toys within transparent gel wax. This technique requires precision in temperature control and pouring, ensuring each layer sets before adding the next.
Marbling and Swirling: Achieve a marbled effect by carefully pouring or swirling together two or more differently colored waxes while they’re still in a liquid state. The key to success here is working quickly yet cautiously to create intriguing patterns without overmixing.
Carving and Sculpting: For those interested in sculptural candles, beeswax and stearin are popular choices due to their firmness post-cooling. These can be carved into intricate designs or molded into unique shapes before or after the wax hardens, offering a platform for artistic expression.
Soy Blend Experiments: Experiment with blending different types of wax, such as combining soy wax with beeswax or stearin, to harness the best properties of each. This can result in candles with improved burn times, enhanced fragrance throw, or a more appealing texture.
Advanced Fragrance Layering: Take scent design to the next level by incorporating multiple fragrance oils at different stages of the cooling process. This technique, known as ‘fragrance layering,’ allows for complex and evolving scents that change as the candle burns down.
Natural Additives: Embrace the trend towards all-natural products by incorporating essential oils instead of synthetic fragrance oils, and experimenting with natural dyes derived from spices, herbs, or clays. This approach aligns with eco-conscious consumers and adds a unique selling point to your candles.
Embracing the Craft
Candle making is a rewarding pastime that combines artistry with science. With practice, you’ll refine your technique, experimenting with different waxes, colors, scents, and molds to create unique candles tailored to your taste. Remember, the key to mastering the art of candle making lies in understanding the properties of your materials, adhering to safety guidelines, and embracing the joy of creation. So, light up your creative spark and let your candles illuminate not just your space, but also your passion for this timeless craft.