Body waxing is a popular method of hair removal that offers smooth, long-lasting results. While salon waxing treatments can be effective, they can also be time-consuming and costly. The good news is that you can achieve the same silky smooth skin from the comfort of your own home. With the right tools, techniques, and preparation, DIY home body waxing can be a convenient and affordable alternative to professional treatments. In this comprehensive guide, we’ll walk you through the process of waxing at home, providing tips, safety precautions, and product recommendations to help you achieve flawless results.
Preparing Your Skin
The key to successful home waxing starts with proper skin preparation. Follow these steps to ensure your skin is ready for the waxing process:
- Exfoliate: A gentle exfoliation a day or two before waxing helps remove dead skin cells and allows the wax to adhere more effectively. Use a mild exfoliating scrub or a loofah to gently buff your skin.
- Cleanse: Make sure your skin is clean and free from oils, lotions, or any other products. Use a gentle cleanser and pat your skin dry before waxing.
- Trim Hair: If your hair is longer than a quarter of an inch, trim it to the appropriate length for effective waxing. Longer hair can be more painful to remove and may cause the wax to break.
- Patch Test: Before waxing a larger area, perform a patch test on a small section of skin to check for any allergic reactions or sensitivity to the wax.
Choosing the Right Wax
There are several types of waxes available for home use, each with its own advantages and applications. Choose the one that best suits your needs:
- Hard Wax: Ideal for sensitive areas like the bikini line and underarms, hard wax hardens as it cools and is removed without a strip.
- Soft Wax: Used with cloth strips, soft wax is best for larger areas such as the legs and arms. It adheres to the hair and is removed with a strip.
- Roll-on Wax: Convenient for at-home use, roll-on wax comes in a cartridge with a roller applicator. It allows for even application and is suitable for larger areas.
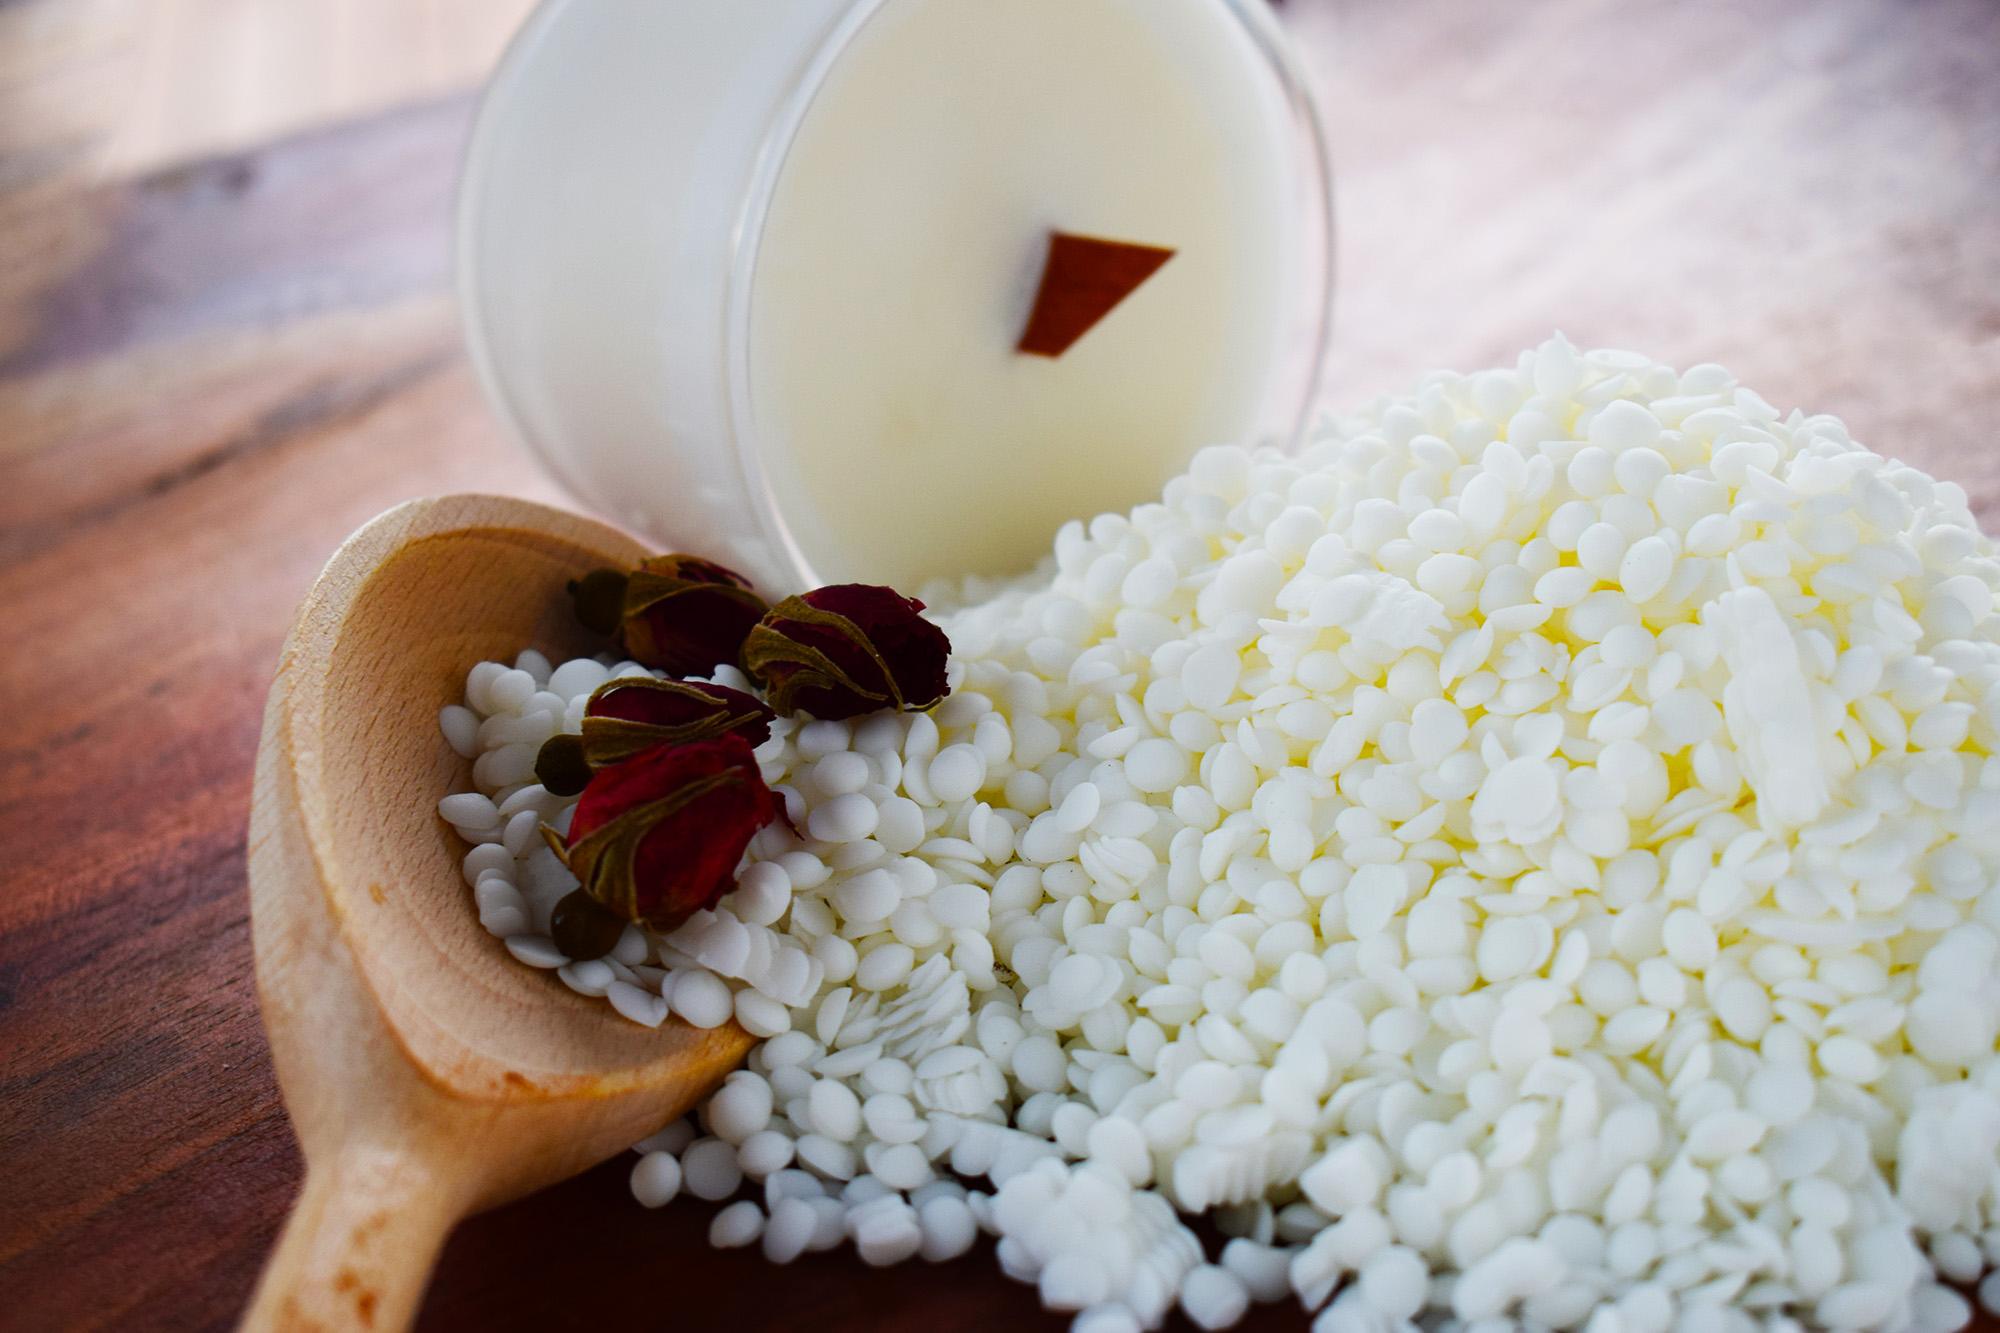
- Sugar Wax: A natural alternative to traditional wax, sugar wax is made from sugar, lemon juice, and water. It’s gentle on the skin and easy to clean up with water.
Setting Up Your Waxing Station
Before you begin waxing, set up a comfortable and well-lit area for the process. Here’s what you’ll need:
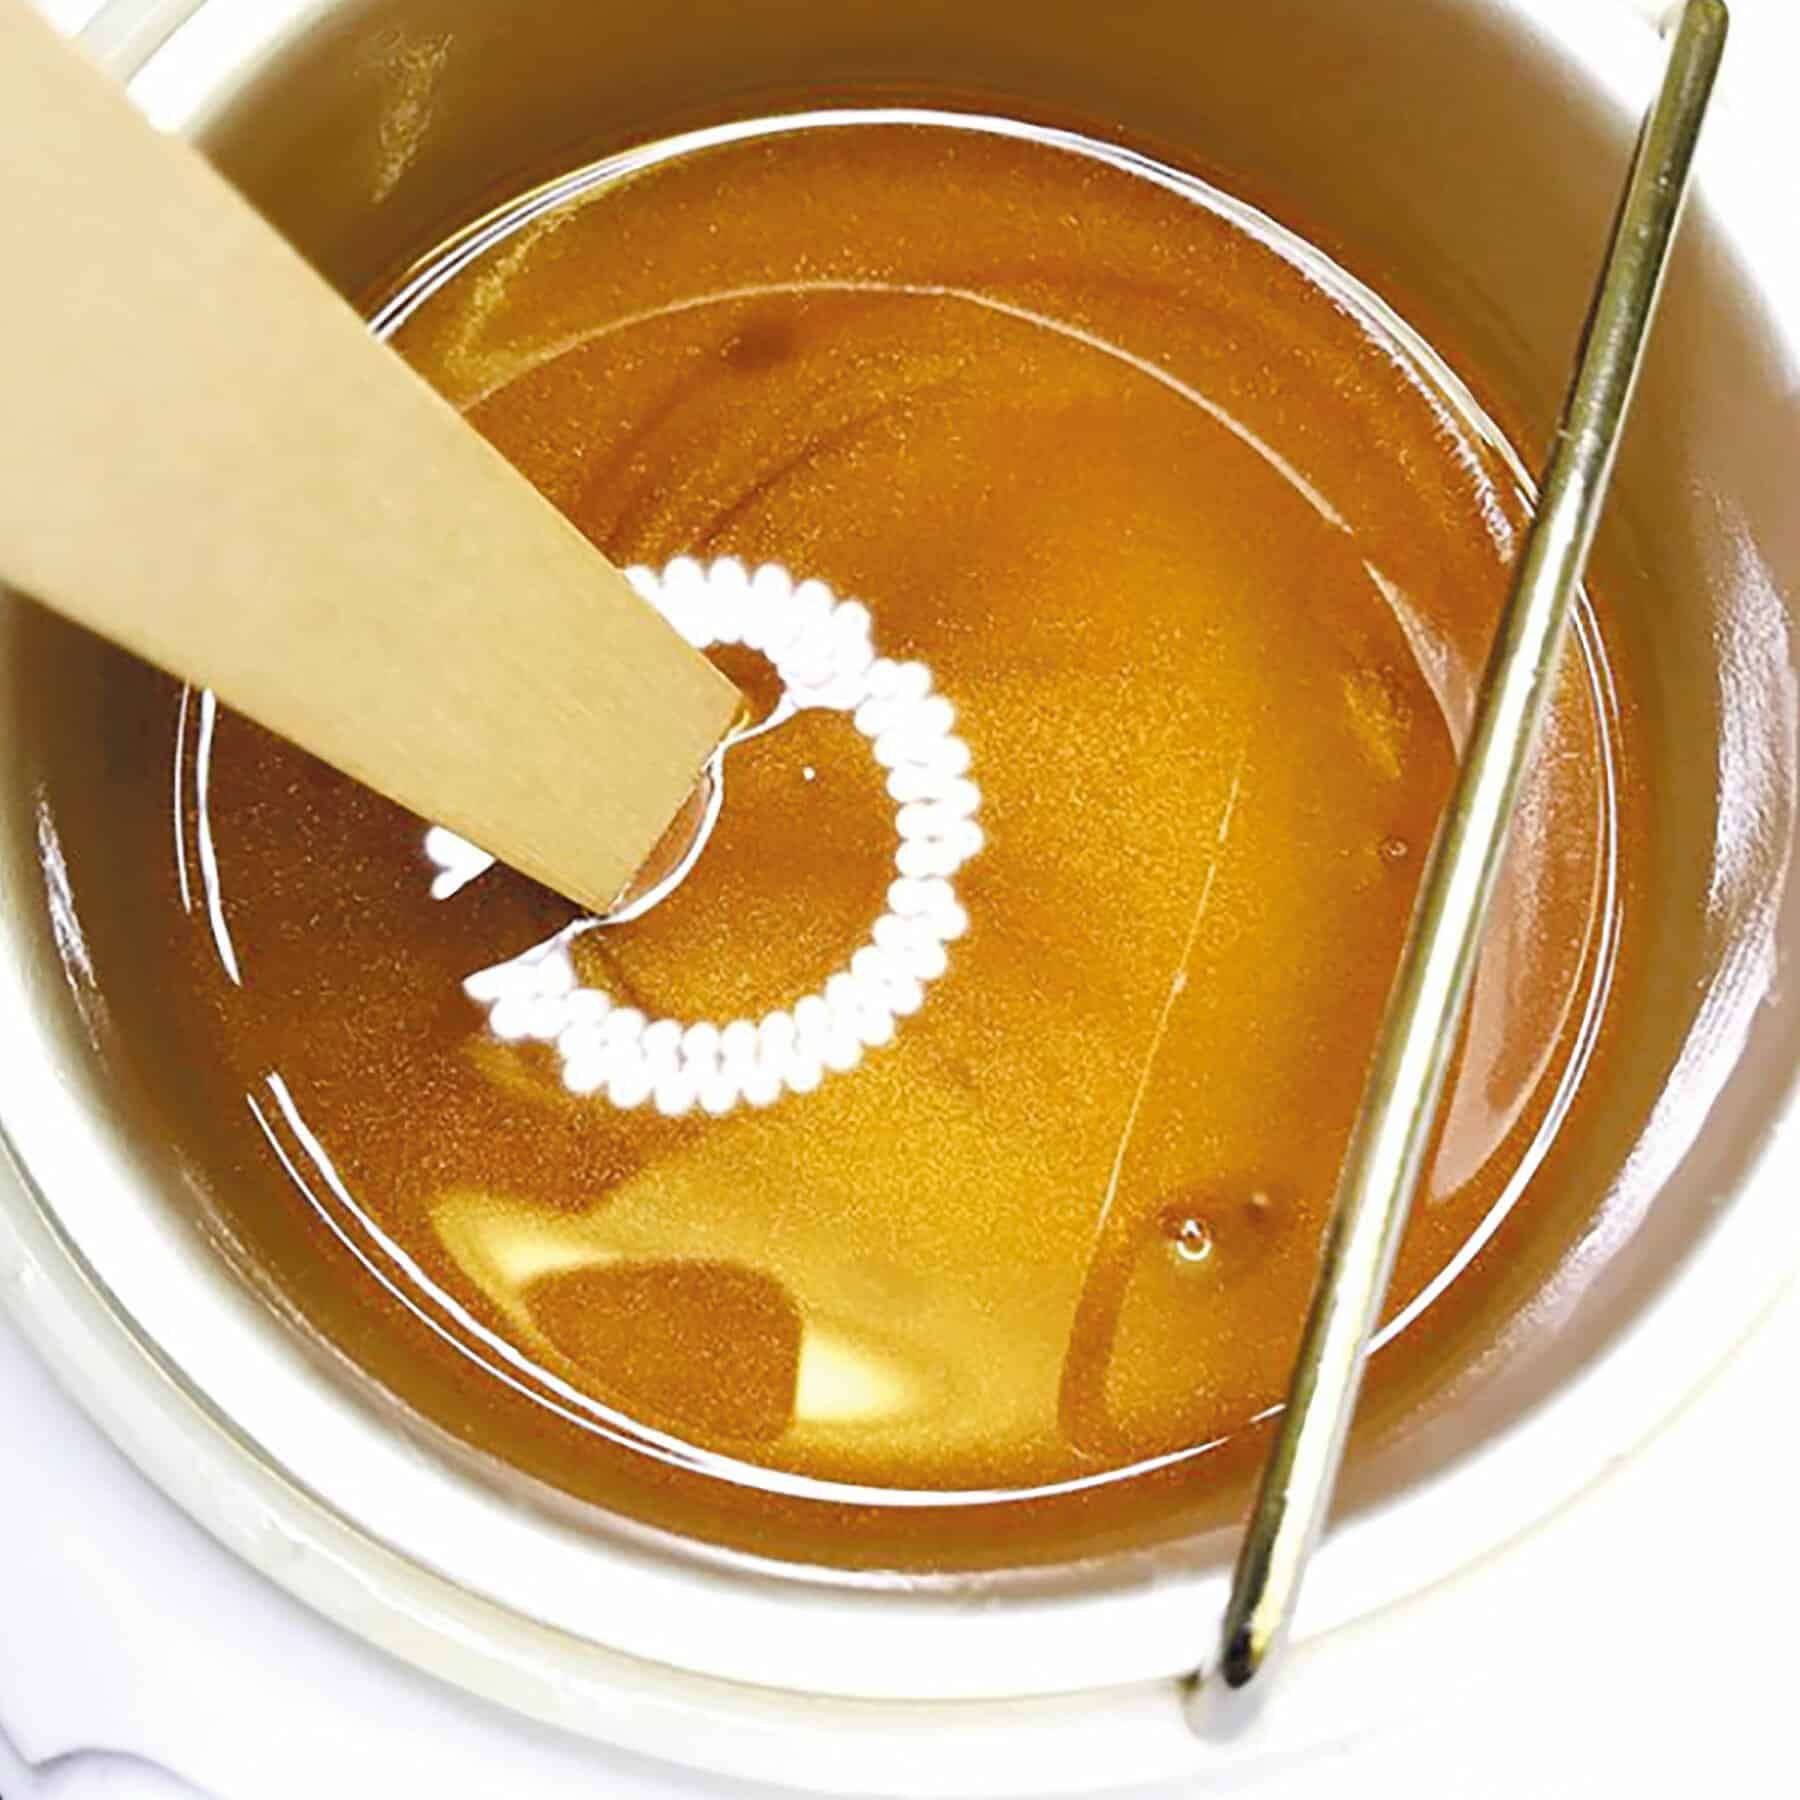
- Wax Heater: If you’re using hard or soft wax, a wax heater will help you maintain the right temperature for application.
- Wax Strips: For soft wax, you’ll need cloth or paper strips to remove the wax.
- Applicators: Depending on the type of wax, you may need wooden or metal spatulas, or a roll-on applicator.
- Post-Wax Products: Have soothing products like aloe vera gel or witch hazel on hand to calm your skin after waxing.
- Mirror: A handheld or full-length mirror will help you see hard-to-reach areas.
- Cleaning Supplies: Keep a clean towel and a bowl of water nearby for any spills or clean-up.
Mastering the Waxing Technique
Once you’ve prepared your skin and gathered your supplies, it’s time to begin the waxing process. Follow these steps for effective home body waxing:
- Heat the Wax: If using hard or soft wax, heat it in a wax heater according to the manufacturer’s instructions. The wax should be warm but not too hot to avoid burns.
- Test the Temperature: Test a small amount of wax on your wrist to ensure it’s a comfortable temperature.
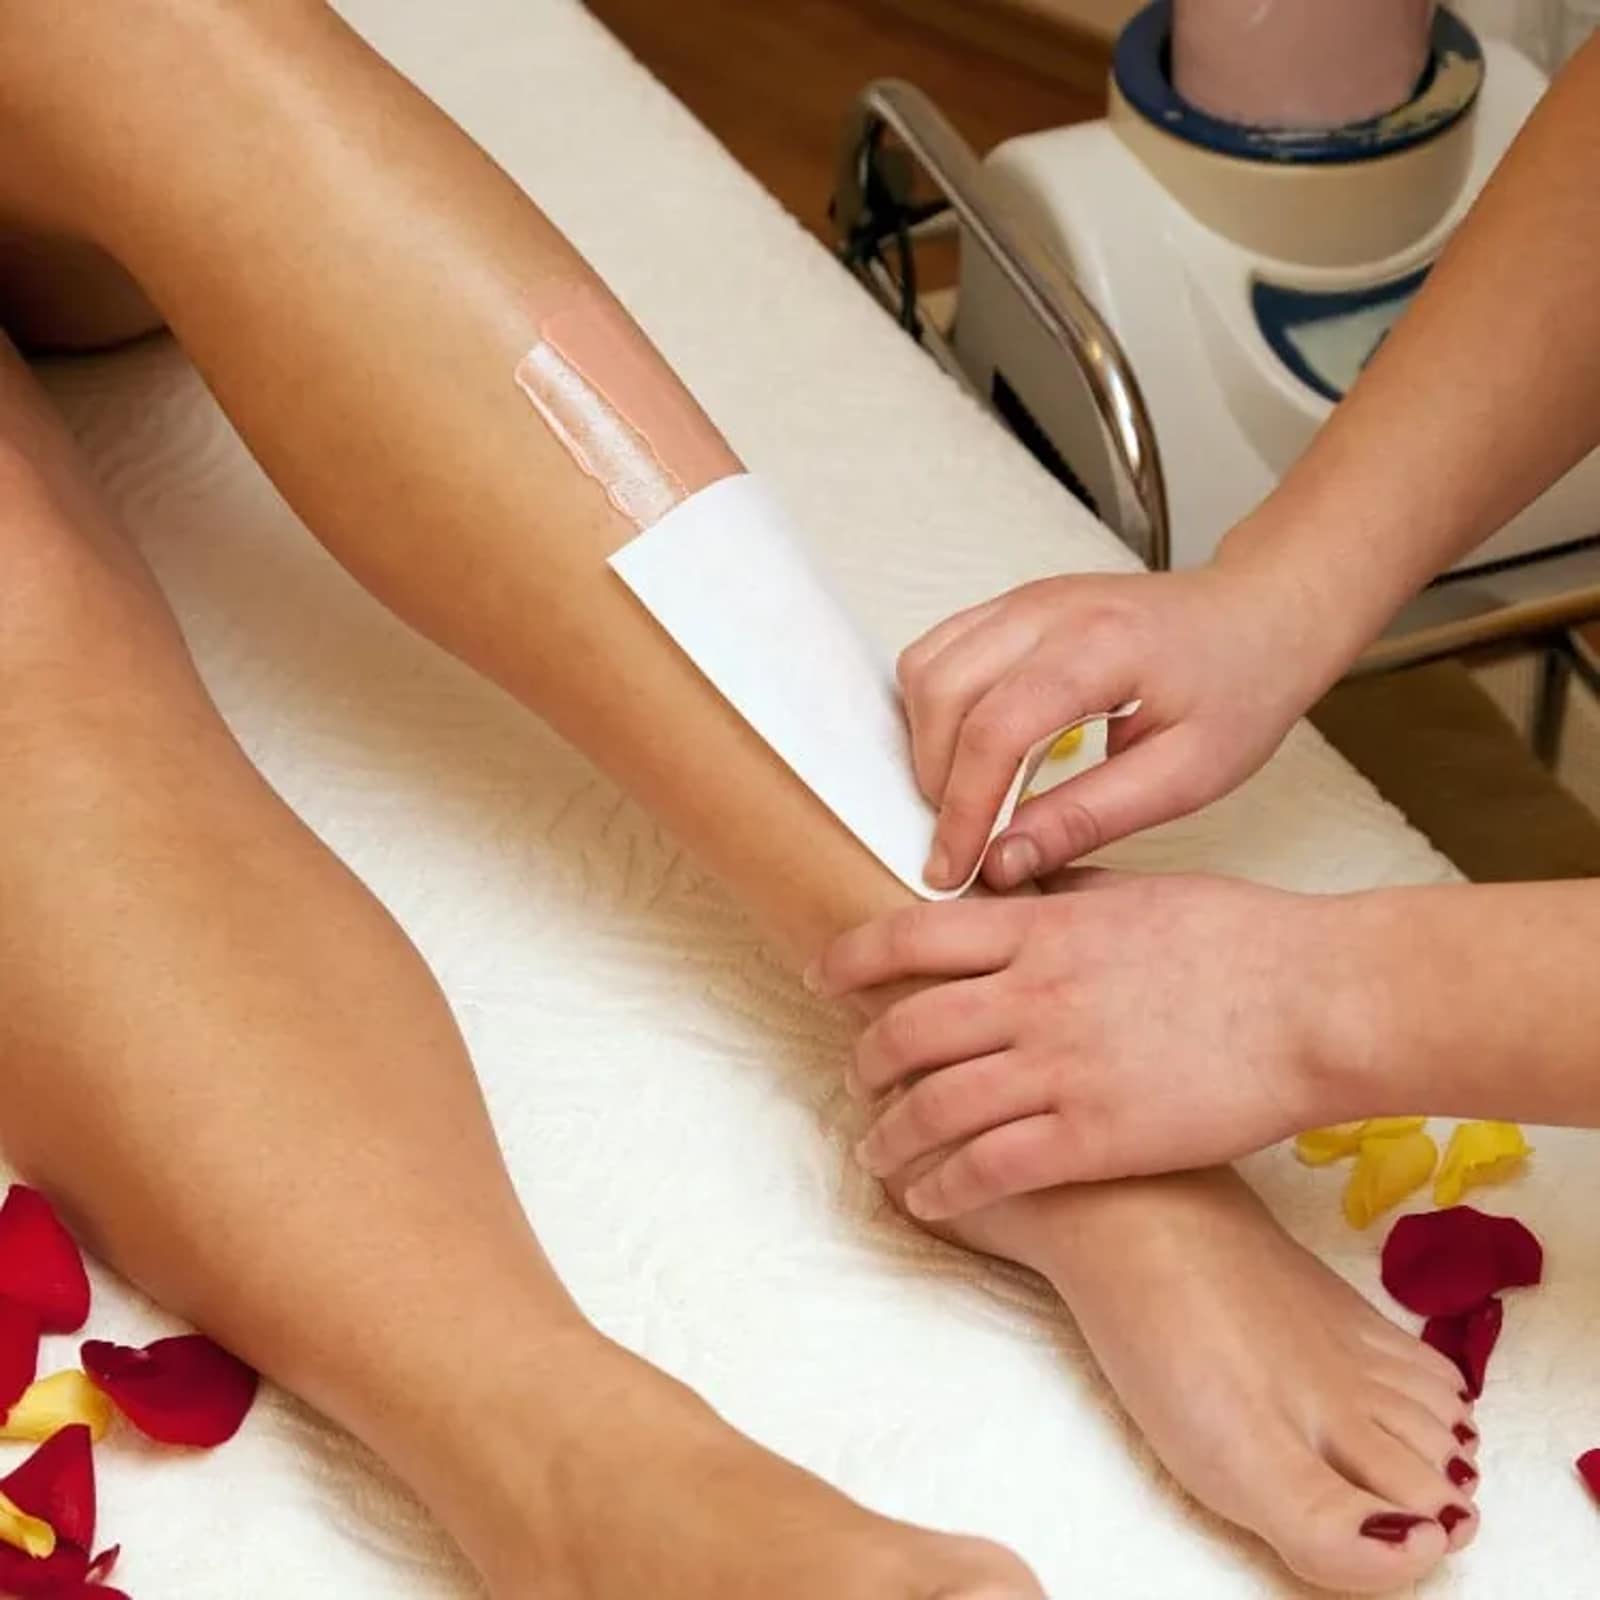
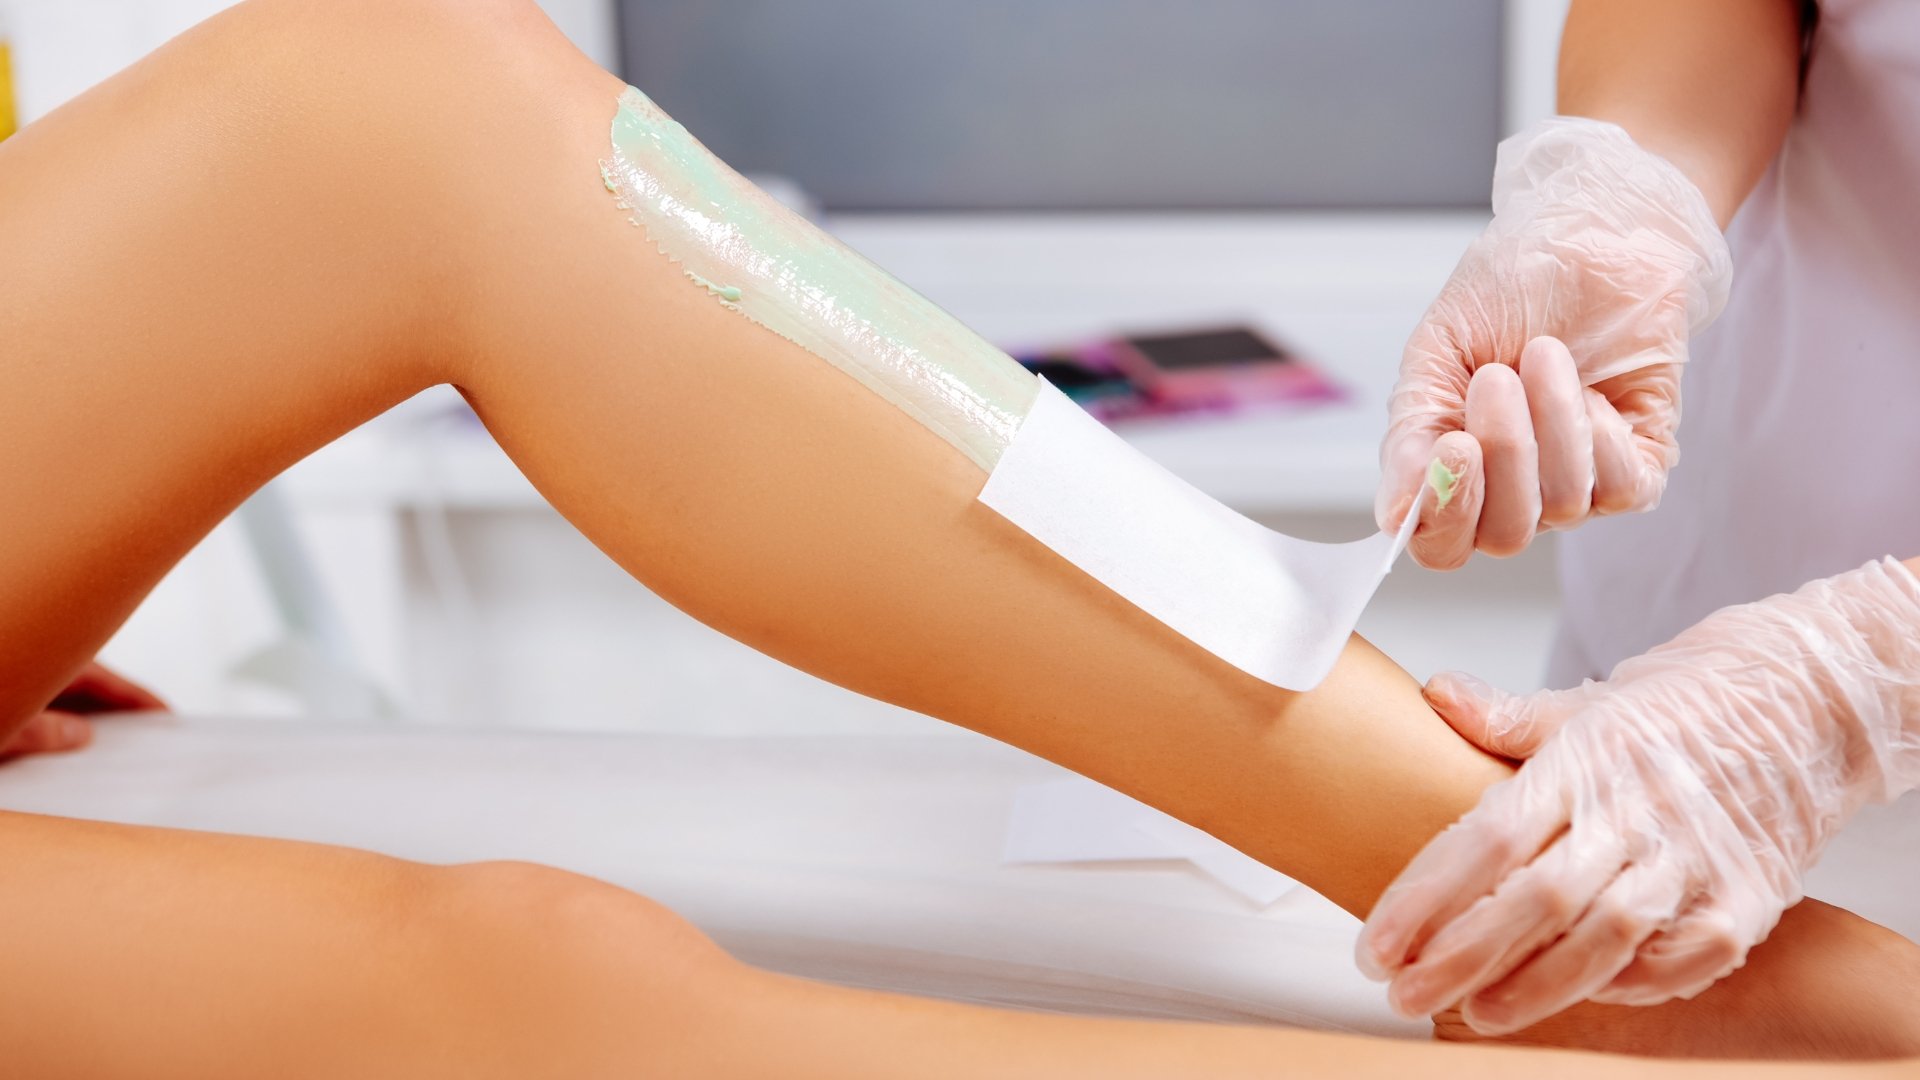
- Apply the Wax: Use the applicator to apply a thin, even layer of wax in the direction of hair growth. For roll-on wax, simply roll the applicator over the area.
- Press and Smooth: For soft wax, press a strip firmly over the wax, smoothing it down in the direction of hair growth.
- Remove the Wax: Hold your skin taut with one hand and quickly pull the wax or strip off in the opposite direction of hair growth.
- Repeat: Continue the process until the desired area is smooth. Avoid waxing the same area repeatedly to prevent skin irritation.
Post-Wax Care and Maintenance
After completing your waxing session, take care of your skin to keep it smooth and irritation-free:
- Soothe the Skin: Apply a cooling gel, aloe vera, or witch hazel to calm the skin and reduce redness.
- Avoid Heat and Friction: For the next 24 hours, avoid hot showers, saunas, or tight clothing that may cause friction on waxed areas.
- Exfoliate Regularly: Exfoliate your skin a few days after waxing to prevent ingrown hairs and maintain smoothness.
- Moisturize: Keep your skin hydrated with a gentle, fragrance-free moisturizer.
Troubleshooting Common Issues
Home waxing can be a learning process, and you may encounter some challenges along the way. Here are solutions to common waxing issues:
- Wax Too Hot: If the wax is too hot, allow it to cool slightly before applying. Always test the temperature on your wrist first.
- Wax Not Removing Hair: Ensure the wax is applied in a thin, even layer and pulled off quickly. Check that the hair length is appropriate for waxing.
- Irritation or Ingrown Hairs: Use a gentle exfoliating scrub a few days after waxing to prevent ingrown hairs. Apply soothing products to calm irritation.
- Pain: Waxing can be uncomfortable, but the pain should be brief. Practice quick, confident pulls to minimize discomfort.
Embracing the DIY Waxing Experience
DIY home body waxing is a rewarding experience that can save you time and money while allowing you to customize your hair removal routine. With practice and patience, you’ll become more confident in your waxing skills and enjoy the benefits of silky smooth skin. Remember to prioritize safety and follow the guidelines provided to achieve the best results.
Now that you’re equipped with the knowledge and tools for successful home waxing, it’s time to get started on your journey to glowing, smooth skin. Enjoy the process and embrace the confidence that comes with your newfound waxing expertise!