Creating Stunning Sugar Diamond Wax Decorations: A Step-by-Step Guide
Sugar diamond wax decorations are not only visually captivating but also a delightful addition to any special occasion or event. Whether you’re a professional pastry chef or a hobbyist baker, mastering the art of crafting these intricate decorations will elevate your creations to new heights. In this comprehensive guide, we’ll take you through the step-by-step process of creating stunning sugar diamond wax decorations that will impress and inspire.
Introduction to Sugar Diamond Wax Decorations
Sugar diamond wax decorations, also known as sugar jewels or edible gems, are exquisite embellishments made from sugar that mimic the appearance of real diamonds. These delicate creations add a touch of elegance and sophistication to cakes, cupcakes, pastries, and other desserts. While they may seem intimidating to make, with the right techniques and practice, anyone can master the art of crafting these dazzling decorations.
Gathering Your Materials and Tools
Before you begin crafting sugar diamond wax decorations, it’s essential to gather all the necessary materials and tools. Here’s what you’ll need:
- Granulated sugar
- Water
- Cream of tartar
- Food coloring (optional)
- Diamond-shaped silicone molds
- Heat-resistant spatula
- Candy thermometer
- Small saucepan
- Cooling rack
Once you have everything ready, you’re all set to start creating your sugar diamond wax decorations.
Preparing the Sugar Syrup
The first step in making sugar diamond wax decorations is preparing the sugar syrup. Follow these steps:
- In a small saucepan, combine granulated sugar, water, and a pinch of cream of tartar.
- Place the saucepan over medium heat and stir until the sugar has dissolved completely.
- Insert a candy thermometer into the mixture and continue to cook until it reaches the hard-crack stage (about 300°F or 149°C).
- Once the desired temperature is reached, remove the saucepan from the heat and let the mixture cool slightly.
Adding Color (Optional)
If you want to add color to your sugar diamond wax decorations, now is the time to do so. Simply stir in a few drops of food coloring into the sugar syrup until you achieve your desired shade. Remember that the color will intensify as the syrup cools, so it’s best to start with a lighter hue.
Pouring the Syrup into Molds
Carefully pour the colored sugar syrup into diamond-shaped silicone molds, filling each mold to the brim. Be sure to work quickly as the syrup will start to harden as it cools. If necessary, gently tap the molds on the countertop to remove any air bubbles.
Allowing the Decorations to Set
Place the filled molds on a cooling rack and allow the sugar diamond wax decorations to cool and harden completely. This process may take anywhere from 20 to 30 minutes, depending on the size of your decorations and the temperature of your environment.
Removing the Decorations from the Molds
Once the decorations have fully set, carefully remove them from the silicone molds by gently pressing on the back of each mold. The sugar diamond wax decorations should pop out easily, leaving behind beautifully shaped gems ready to adorn your desserts.
Storage and Presentation
Store your sugar diamond wax decorations in an airtight container in a cool, dry place until you’re ready to use them. When it’s time to decorate your desserts, simply place the gems atop cakes, cupcakes, or any other sweet treats for an instant touch of glamour and sophistication.
Tips for Perfecting Your Sugar Diamond Wax Decorations
While the process of creating sugar diamond wax decorations may seem straightforward, there are some tips and tricks to ensure that your creations turn out flawless every time.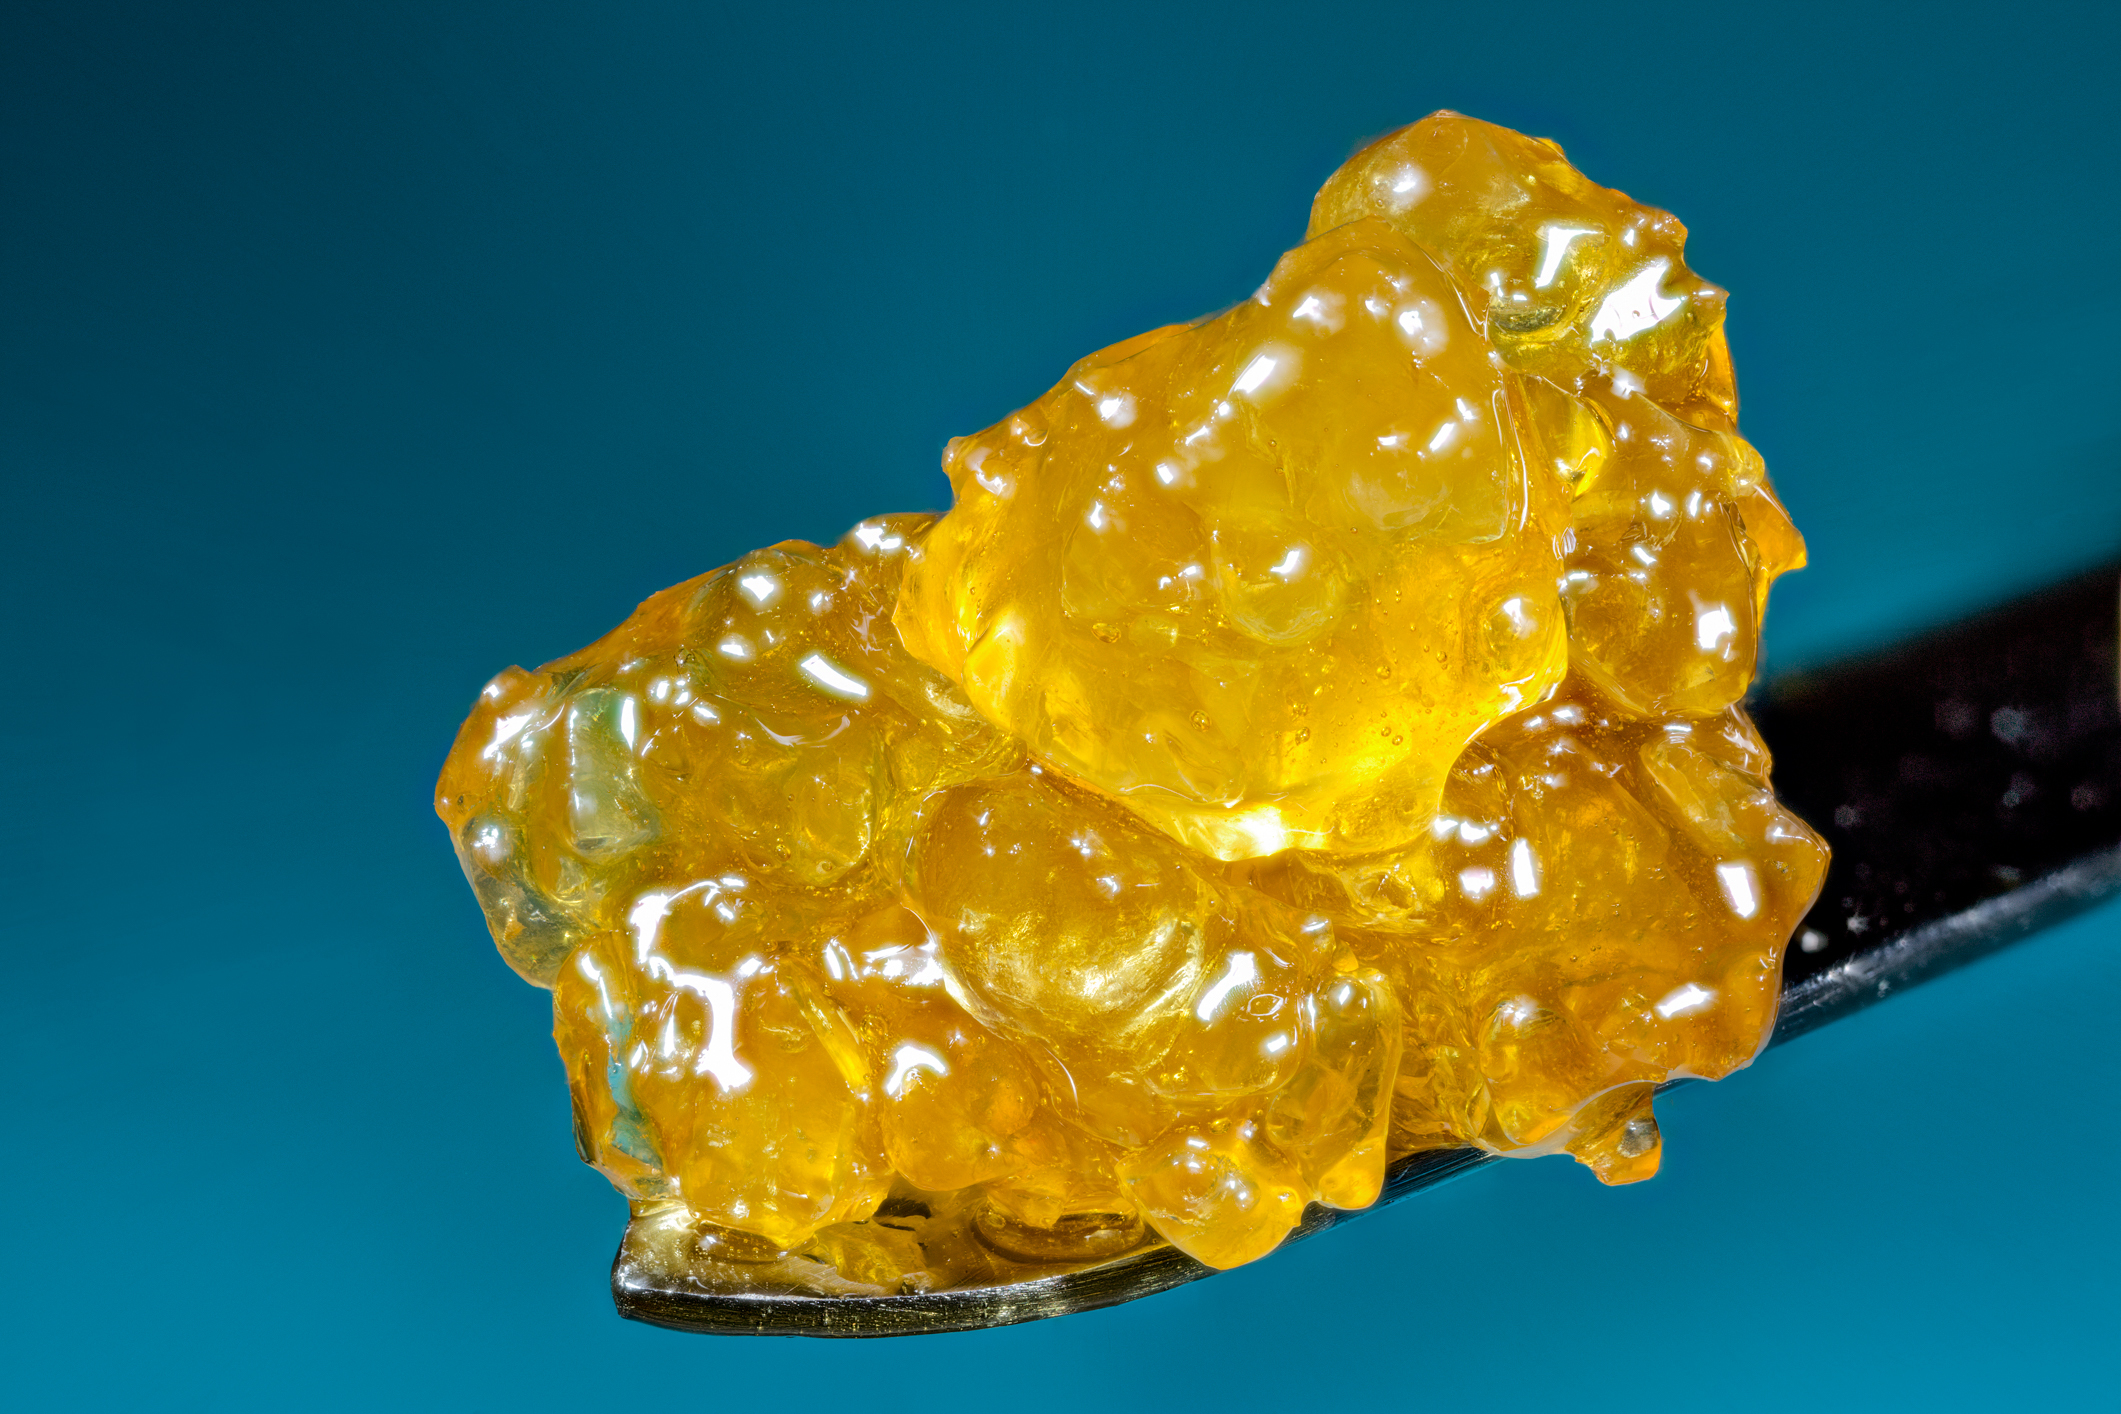
Experiment with Colors
Don’t be afraid to experiment with different food coloring combinations to create unique and vibrant sugar diamond wax decorations. Mix and match colors to match the theme or color scheme of your dessert, or create a dazzling rainbow effect for a playful twist.
Control the Temperature
Temperature control is crucial when working with sugar syrup. Be sure to monitor the temperature closely with a candy thermometer to achieve the perfect consistency. Heating the syrup to the hard-crack stage ensures that your decorations will be firm and durable, while avoiding overheating prevents the syrup from burning or caramelizing.
Work Quickly and Precisely
Sugar syrup can harden rapidly once removed from the heat, so it’s essential to work quickly and precisely when pouring the syrup into molds. Use a steady hand to ensure that each mold is filled evenly, and tap out any air bubbles to create smooth and flawless decorations.
Practice Patience
Allowing your sugar diamond wax decorations to cool and set properly is key to achieving the desired texture and appearance. Resist the temptation to rush the process, as premature removal from the molds can cause the decorations to crack or break. Instead, exercise patience and give your creations ample time to harden before handling them.
Add Texture and Detail
For an extra touch of realism, consider adding texture and detail to your sugar diamond wax decorations. Use a small brush dipped in food coloring to paint intricate designs or highlights onto the surface of the gems, or dust them with edible luster dust for a subtle shimmering effect.
Store with Care
To ensure that your sugar diamond wax decorations retain their shape and luster, store them in an airtight container in a cool, dry place away from direct sunlight. Avoid exposing them to moisture or humidity, as this can cause the decorations to become sticky or dissolve over time.
Troubleshooting Common Issues
Even with careful planning and execution, you may encounter some common issues when making sugar diamond wax decorations. Here’s how to troubleshoot and overcome them:
Problem: Sticky or Tacky Decorations
If your sugar diamond wax decorations feel sticky or tacky to the touch, it’s likely that they haven’t fully set or have absorbed moisture from the environment.
Solution: Place the decorations back in the molds and allow them to dry for a bit longer. If the issue persists, try transferring them to a low-heat oven (around 200°F or 93°C) for a few minutes to help dry them out. Be careful not to overheat them, as this can cause them to melt or deform.
Conclusion
Crafting sugar diamond wax decorations is a creative and rewarding process that allows you to add a touch of sparkle and elegance to your baked creations. With the step-by-step guide provided above, you’ll be well on your way to mastering this art form and wowing your friends, family, and clients with your stunning edible gems. So gather your materials, unleash your creativity, and get ready to dazzle with your one-of-a-kind sugar diamond wax decorations!