Introduction: Dealing with Wax Spills
Accidents happen, and one common mishap involves wax spilling onto walls. Whether from a dripping candle or a crafting project gone awry, removing wax from walls can seem daunting. However, with the right techniques and a little patience, you can effectively tackle this sticky situation. In this guide, we’ll explore practical tips and quick fixes for safely and efficiently removing wax off your walls.
Assessing the Damage: Determining the Extent of the Spill
Before diving into the cleanup process, take a moment to assess the extent of the wax spill. Is it a small, localized spot, or has the wax spread across a larger area? Identifying the scope of the damage will help you determine the most appropriate approach for removal, whether it’s a quick spot treatment or a more thorough cleaning regimen.
Cooling and Hardening: Preparing the Wax for Removal
The first step in removing wax from walls is to allow it to cool and harden. This process makes the wax less pliable and easier to remove without causing further damage to the wall surface. To expedite cooling, place a bag of ice or a cold pack over the wax spill, gently pressing it against the wall until the wax solidifies.

Scraping Off Excess Wax: Using Gentle Pressure
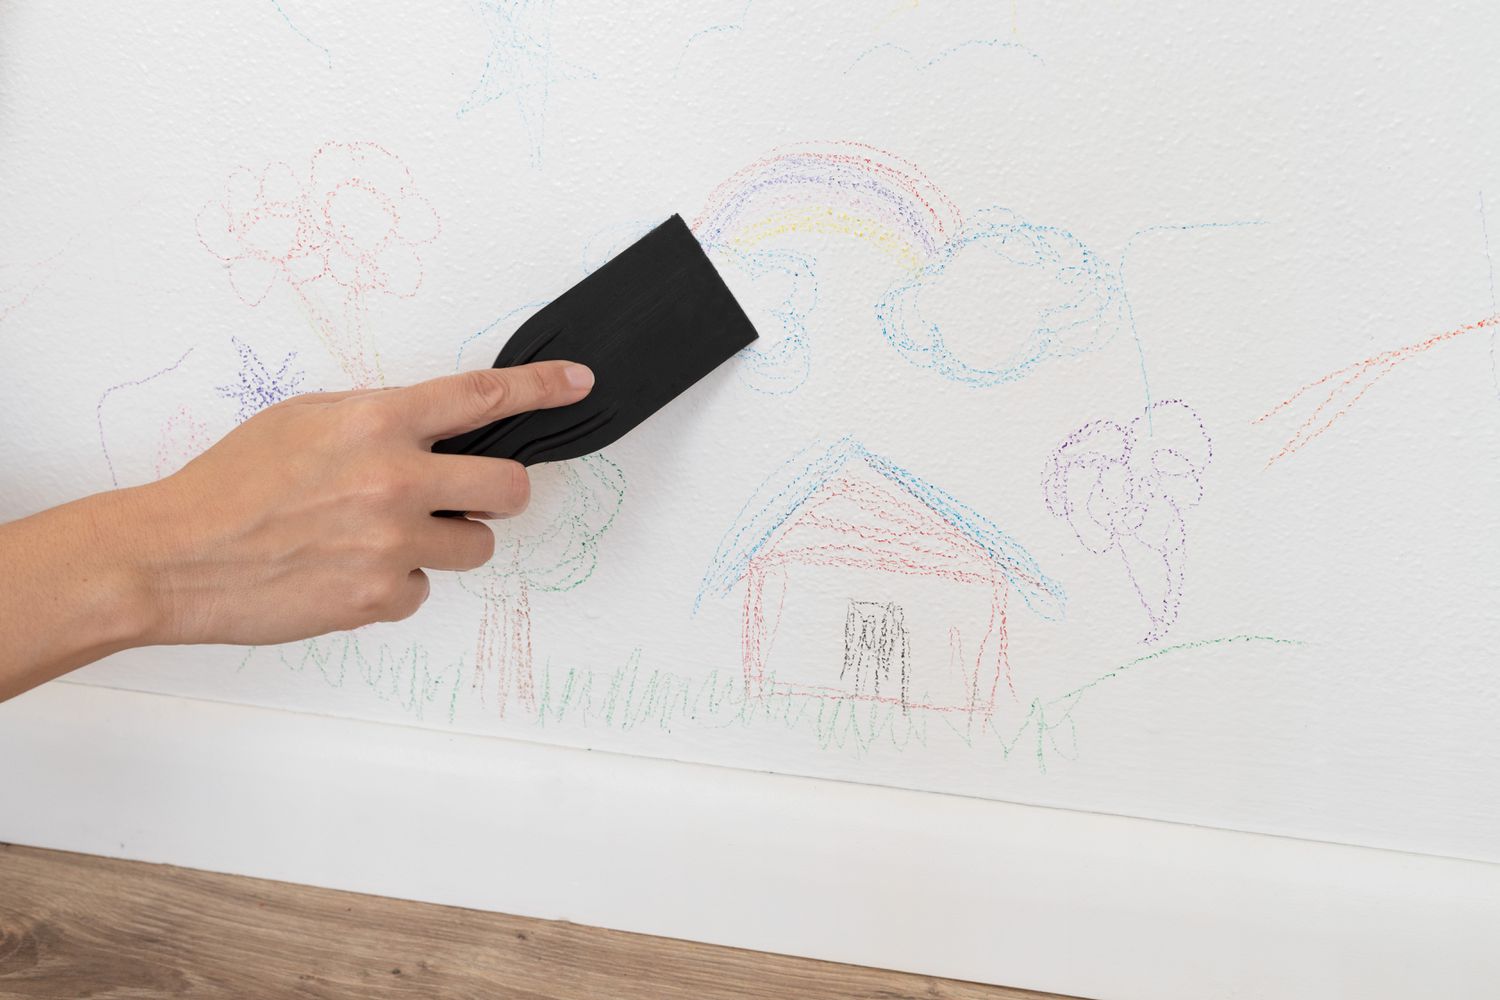
Once the wax has hardened, gently scrape off the excess using a plastic scraper or a credit card. Be careful not to apply too much pressure, as this can damage the wall’s paint or finish. Work slowly and methodically, focusing on removing the bulk of the wax without causing any additional harm to the wall surface.
Applying Heat: Softening Stubborn Residue
For stubborn wax residue that refuses to budge, applying heat can help soften it for easier removal. Use a hairdryer set to low heat and hold it several inches away from the wall, moving it back and forth over the affected area. As the wax begins to melt, use a clean cloth to blot it away, repeating the process until the wall is free of residue.
Cleaning with Solvents: Breaking Down Remaining Stains
In some cases, traces of wax and discoloration may remain on the wall even after scraping and heating. To tackle stubborn stains, you can use gentle solvents such as rubbing alcohol or white vinegar. Apply the solvent to a clean cloth and gently dab at the stained area, taking care not to saturate the wall excessively. Continue dabbing until the wax residue lifts away, then wipe the area clean with a damp cloth.
Finishing Touches: Restoring the Wall’s Appearance
Once the wax has been successfully removed, take a moment to assess the wall’s appearance. If any discoloration or residue remains, you may need to touch up the paint or finish to restore the wall to its original condition. Use a matching paint or touch-up kit to blend the affected area seamlessly with the surrounding wall surface, ensuring a professional-looking finish.
Preventing Future Mishaps: Tips for Wax Spill Prevention
While accidents are inevitable, there are steps you can take to minimize the risk of wax spills in the future. Consider using dripless candles or candle holders with built-in catch trays to contain any melted wax. When engaging in crafting or DIY projects involving wax, work in a designated area with protective coverings to prevent spills from reaching the walls. By taking proactive measures, you can reduce the likelihood of encountering wax spills and the hassle of cleanup.
Conclusion: Mastering the Art of Wax Removal
In conclusion, dealing with wax spills on walls may seem like a daunting task, but with the right techniques and a bit of know-how, it’s entirely manageable. By assessing the damage, employing gentle scraping and heating methods, and using appropriate cleaning solvents, you can effectively remove wax from walls without causing damage. Remember to take preventative measures to minimize the risk of future spills, ensuring a clean and pristine environment in your home. With these practical tips for removing wax off your walls, you’ll be equipped to tackle any sticky situation with confidence and ease.


