Introduction: The Rolling Pin’s Role in Baking Excellence
The rolling pin is the unsung hero of any baker’s toolkit, essential for transforming dough into perfectly shaped pastries, cookies, and pie crusts. Despite its simple design, selecting the right rolling pin and using it effectively can mean the difference between a professional-grade result and a subpar effort.
This guide explores everything from material choices to advanced techniques, ensuring you maximize your rolling pin’s potential. Whether you’re a novice or a seasoned baker, these insights will help you achieve flawless dough consistency, uniformity, and effortless handling.
 Rolling Pin Types: Choosing the Right Tool for Your Needs
The rolling pin is not a one-size-fits-all tool. Different types cater to specific baking needs, from delicate pastries to rustic bread dough. Here’s a detailed breakdown of the most common types and their ideal applications:
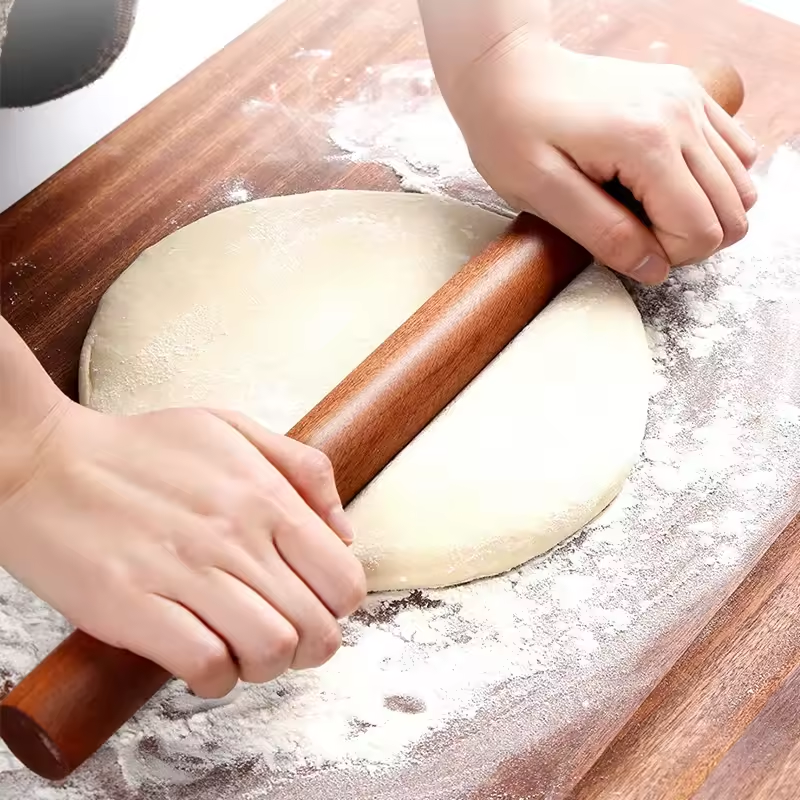
1. Traditional Wooden Rolling Pins
- Subtypes:
- French Rolling Pin (Tapered Ends): Narrower at the ends for easy access to dough edges. Ideal for pie crusts and small batches.
- Swiss Rolling Pin (Parallel Ends): Uniform diameter for consistent pressure. Perfect for large batches of bread dough.
- Material Variations:
- Maple: Hardwood resists dents and warping.
- Cherry Wood: Darker grain, slightly softer but still durable.
- Bamboo: Eco-friendly, lightweight, and easy to clean.
- Use Case:
- Best for flour-based doughs (e.g., pizza, bread). The wood absorbs excess flour, preventing a greasy finish.
2. Glass Rolling Pins
- Advantages:
- Temperature Control: Remains cold, keeping laminated dough (e.g., puff pastry) chilled during rolling.
- Non-Porous Surface: Resists stains and odors. Dishwasher-safe for easy cleaning.
- Design Notes:
- Double-Walled Construction: Prevents condensation on the handle.
- Weight Distribution: Heavier than wood, providing firm pressure for thin, even layers.
- Ideal For:
- Pastry Work: Laminated dough requires precise, cold rolling to maintain butter layers.
3. Marble Rolling Pins
- Unique Features:
- Cool Surface: Maintains low temperatures for delicate laminating (e.g., croissants).
- Smooth Finish: Glass-like surface for flawless dough texture.
- Drawbacks:
- Cost: Expensive compared to wood or glass.
- Handling: Heavy and slippery when wet.
- Best Use:
- Professional Pastry Work: Ideal for bakeries or home chefs specializing in laminated dough.
4. Dough Shaper Rolling Pins
- Specialized Designs:
- Embossed Patterns: Create decorative edges on cookies or bread (e.g., lattice patterns).
- Textured Surfaces: Prevent sticking without flour.
- Pros:
- Adds visual appeal to rustic bread or holiday cookies.
- Cons:
- Limited to specific projects; not versatile for daily use.
5. Electric Rolling Pins
- Technology:
- Motorized rollers adjust speed and pressure for uniform results.
- Some models come with attachments for shaping dough.
- Ideal For:
- Commercial Kitchens: Efficiently handles large quantities of dough (e.g., pizza chains).
- Busy Home Bakers: Saves time when making multiple batches of cookies or pie crusts.
6. Plastic Rolling Pins
- Budget-Friendly Options:
- Lightweight and easy to clean.
- Resistant to warping but less durable over time.
- Use Case:
- Casual Baking: Perfect for occasional use or as a rolling pin substitute in a pinch.
 Material Matters: Pros and Cons of Different Rolling Pin Materials
The material of your rolling pin directly impacts performance and durability:
Wooden Rolling Pins
- Oak or Maple: Durable, traditional choice.
- Seasoning Tip: Rub with food-grade mineral oil monthly to prevent drying.
Glass Rolling Pins
- Hygiene Advantage: Easy to clean and dishwasher-safe.
- Ideal Pairing: Use with parchment paper to prevent sticking.
Marble Rolling Pins
- Cooling Benefit: Keeps dough cold during laminating (e.g., croissants).
- Drawback: Expensive and heavy.
Plastic Rolling Pins
- Budget-Friendly: Lightweight but less durable over time.
Essential Techniques for Perfect Rolling Results
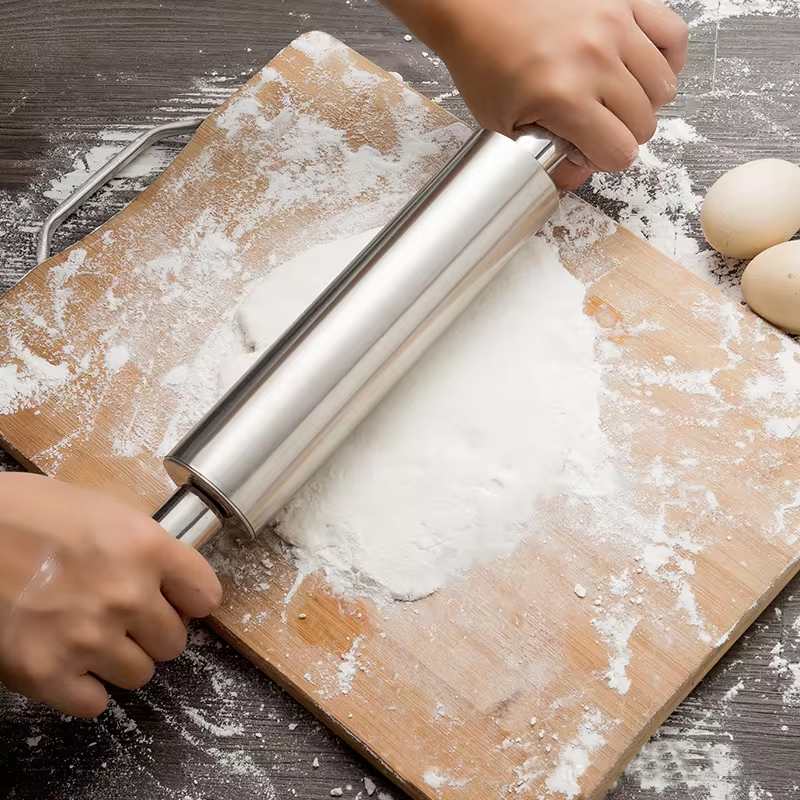
Mastery comes from proper technique. Follow these steps to achieve uniformity and efficiency:
1: Prep Your Workspace
- Dust the surface and pin lightly with flour to prevent sticking.
2: Roll with Alternating Pressure
- Apply pressure with both hands, rotating the pin 90 degrees periodically to avoid oval shapes.
3: Fold and Roll for Layered Dough
- When making puff pastry, fold the dough and reroll to create flaky layers.
Common Mistakes to Avoid
- Over-Flouring: Excess flour leads to dry dough.
- Uneven Pressure: Causes inconsistent thickness in cookies or pie crusts.
 Rolling Pin Maintenance & Storage Tips
Proper care ensures your rolling pin remains functional and hygienic for years. Here’s a step-by-step guide to maintenance and storage:
1. Cleaning by Material
- Wooden Rolling Pins:
- Daily Cleaning: Wipe with a damp cloth. Avoid soaking—water can warp the wood.
- Deep Clean: Mix baking soda and water into a paste to scrub away stubborn stains.
- Seasoning:
- Rub with food-grade mineral oil (e.g., flaxseed or walnut oil) using a soft cloth.
- Let sit for 30 minutes, then wipe off excess. Repeat monthly.
- Glass/Marble Pins:
- Sanitization: Wash with warm soapy water. For stubborn grease, use a non-abrasive cleaner.
- Avoid: Harsh chemicals that might etch the surface.
- Plastic Pins:
- Disinfect: Use a solution of vinegar and water to kill bacteria.
2. Preventing Warping and Damage
- Storage Tips:
- Upright Storage: Place pins vertically in a cabinet to avoid bending.
- Avoid Extreme Temperatures: Don’t leave wooden pins near heat sources (e.g., ovens).
- Wooden Pin Care:
- Check for Cracks: Apply oil immediately to seal small splits.
- Rotate Usage: Alternate between multiple pins to prevent uneven wear.
3. Storage Accessories
- Protective Sleeves:
- Silicone or cotton sleeves shield surfaces from scratches and dust.
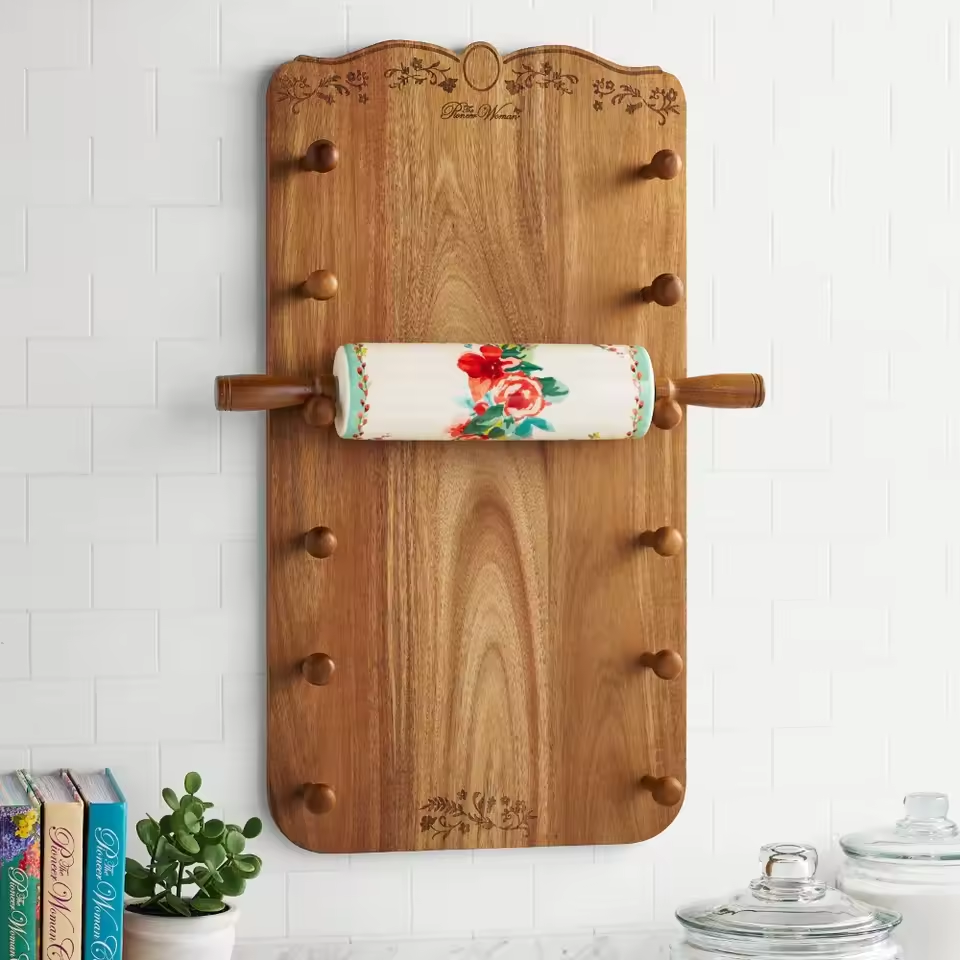
- Rolling Pin Holders:
- Wall-mounted racks save counter space (e.g., magnetic hooks for metal pins).
4. Seasonal Maintenance
- Winter Storage:
- Store wooden pins in a dry environment to prevent moisture buildup.
- Summer Tips:
- Use a dehumidifier in humid climates to prevent mold on wooden handles.
5. Common Issues & Solutions
- Problem: Wood becomes dry and brittle.
- Fix: Increase seasoning frequency to every two weeks.
- Problem: Glass develops cloudy spots.
- Fix: Soak in a solution of white vinegar and water, then buff with a microfiber cloth.
- Problem: Plastic pins become sticky.
- Fix: Boil in water for 5 minutes to sanitize and restore texture.
 The Rolling Pin Substitute: When to Use Alternatives
Occasionally, you might find yourself without a traditional rolling pin, but that doesn’t mean you have to skip baking. Several household items can serve as an effective rolling pin substitute, depending on your recipe and available resources. Here’s a detailed guide to common substitutes, their pros, cons, and ideal use cases:
1. Glass or Canning Jars
- How to Use:
- Choose a clean, smooth glass jar (e.g., a spaghetti sauce jar or pickle jar).
- Roll the jar horizontally over dough while applying gentle pressure.
- Advantages:
- Temperature Control: Cold glass keeps laminated dough chilled (e.g., puff pastry).
- Accessibility: Likely already in your pantry.
- Limitations:
- Size Constraints: Smaller jars work best for cookies or small batches.
- Uneven Pressure: Difficult to achieve uniform thickness for large sheets like pie crust.
2. Cylindrical Cookware or Containers
- Examples:
- A clean soup can (rinsed and taped to prevent slipping).
- A stainless-steel canister (e.g., for flour or spices).
- Tips:
- Wrap the container in parchment paper to prevent sticking.
- Use for thin, flat dough like tortillas or crepes.
- Caution: Avoid metal cans if rolling butter-rich dough—they may warm up and melt the fat.
3. Wine Bottles or Beverage Bottles
- Best For:
- Large dough quantities (e.g., pizza dough).
- The bottle’s length allows full-body pressure for even distribution.
- Preparation:
- Refrigerate the bottle first for laminated dough.
- Wrap in a damp cloth to prevent slippage.
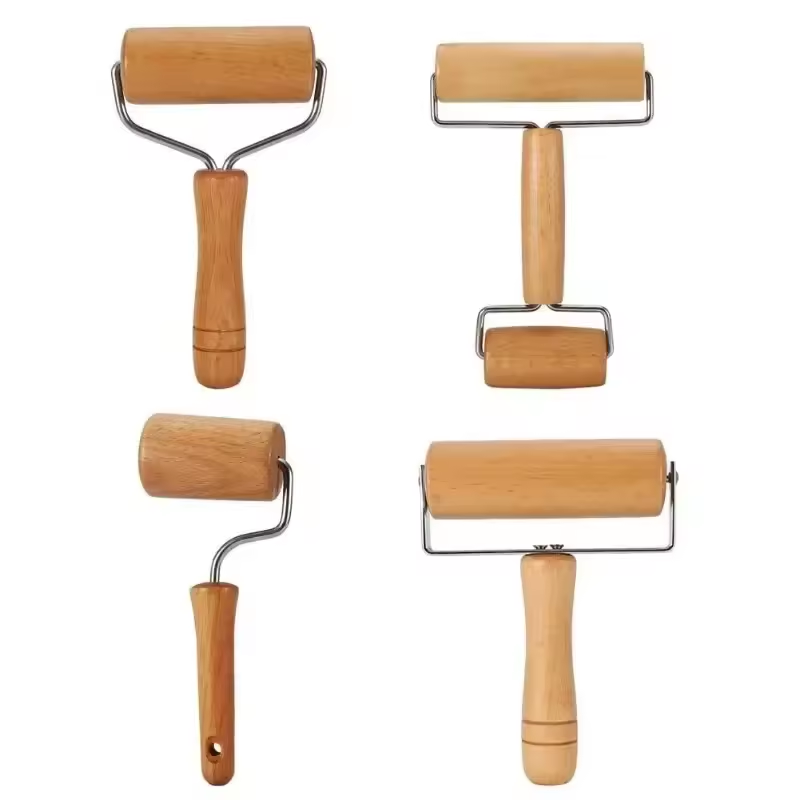
4. Rolling Pin Accessories or DIY Tools
- Restaurant-Grade Solutions:
- Rolling Mat with Grooves: Some mats (e.g., silicone pastry mats) have ridges that mimic a rolling pin’s motion.
- Baking Mats with Built-In Rollers: Designed for quick, clean dough shaping.
- DIY Option:
- PVC Pipe: Cut a 12–18 inch section of smooth PVC pipe. Wrap with a silicone sleeve for grip.
5. Electric Food Grinders or Slicers
- Creative Use:
- The flat base of some manual grinders can act as a makeshift roller.
- Ideal for very thin, uniform cookies or crackers.
6. Hands or Knuckles
- No-Tool Method:
- Use your palms to press dough flat (e.g., for shortbread cookies).
- For thin layers, press with knuckles in a circular motion.
- Pros:
- Perfect for small batches.
- Adds rustic texture to bread dough.
- Cons: Labor-intensive for large quantities.
7. Kitchen Implements Not Typically Used as Rollers
- Meat Tenderizer Mallet:
- The flat side can roll dough, while the textured side adds decorative patterns.
- Tight-Rolled Towel or Sock:
- Fill a sock with rice or beans to create a weighted rolling tool.
- Ideal for shaping irregularly shaped dough (e.g., calzones).
Practical Tips for Using Alternatives
- Flour Management:
- Use parchment paper between the substitute and dough to reduce sticking.
- Dust surfaces with cornstarch instead of flour for sticky doughs (e.g., gingerbread).
- Pressure Control:
- Apply even pressure—over-rolling can compact gluten, making dough tough.
- Precision Hacks:
- Use a ruler or knife to cut excess dough edges for uniformity.
When Not to Substitute
- Avoid for:
- Laminated dough requiring precise layering (e.g., croissants).
- Large quantities where uneven thickness would compromise results.
- Opt for Professional Tools:
- If baking frequently, invest in a multi-functional rolling pin (e.g., glass or wood) to achieve consistent results.
 Advanced Tips for Professional-Level Results
Elevate your baking with these pro strategies:
1. Temperature Control
- Keep chilled dough in the fridge between rolling sessions to prevent spreading.
2. Edge Trimming
- Use a ruler to cut excess dough evenly for perfect pie crust edges.
3. Flour Management
- Use a pastry brush instead of sprinkling to control flour distribution.
Conclusion: Elevate Your Baking with the Right Rolling Pin
The rolling pin is more than a tool—it’s a partner in crafting culinary art. By selecting the right material, mastering techniques, and maintaining your pin, you’ll unlock consistency and creativity in every bake.
Experiment with different designs, invest in high-quality materials, and never underestimate the power of proper storage. Whether you’re shaping delicate croissants or rolling out holiday cookies, your rolling pin will become an indispensable ally in the kitchen.