Introduction to Fabric Dyeing
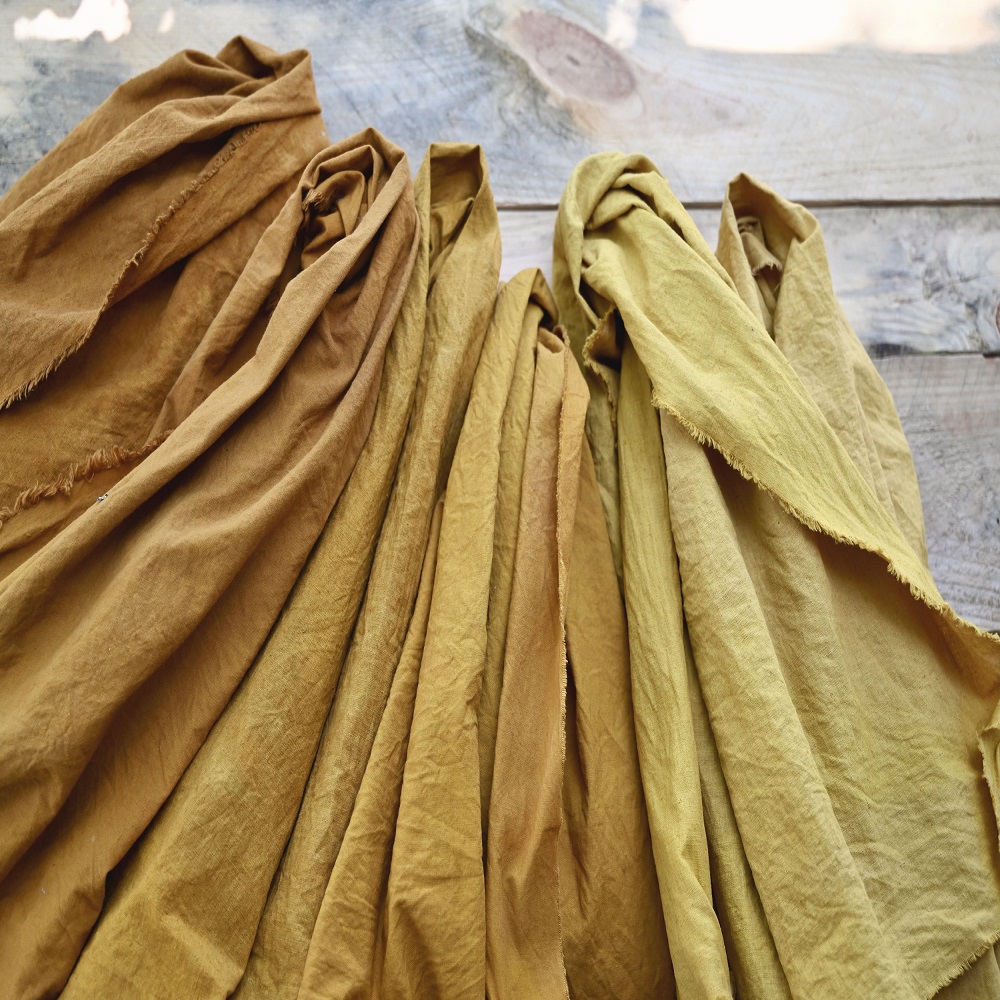
Fabric dyeing is both an art and a science. It allows you to transform plain fabrics into vibrant canvases of color. Whether you are a hobbyist looking to personalize your work, or you’re starting a fabric-based business, understanding the basics of fabric dyeing can be incredibly beneficial. Since fabric dyeing can involve various techniques and materials, it’s essential to start with a strong foundation.
The process of dyeing fabric often starts with choosing the right type of fabric. Natural fibers like cotton, wool, and silk usually take dye well. Synthetic fibers can be more challenging but not impossible to dye. Knowing the fabric’s compatibility with different dyes is crucial for successful results. Additionally, preparing the fabric properly before dyeing is a key step that cannot be overlooked. It includes pre-washing the fabric to remove any impurities that may affect dye absorption.
Dyeing fabric isn’t just about soaking it in a color bath. It involves understanding how dyes interact with different fabrics. It’s also about knowing the right techniques to apply in order to achieve the desired effects. Whether you aim for a solid, even coat of color or a more complex pattern, there are specific methods to follow.
In this guide, we will cover the essentials that will help you embark on your fabric dyeing journey. From the necessary supplies to the step-by-step process, and from common methods to caring for dyed fabrics, this guide is designed to help beginners master the craft of fabric dyeing. As you gain experience, you’ll learn to develop your unique style and techniques. So, let’s begin by exploring the fascinating world of fabric dyeing, and see how you can start your own colorful projects.
Essential Supplies for Fabric Dyeing
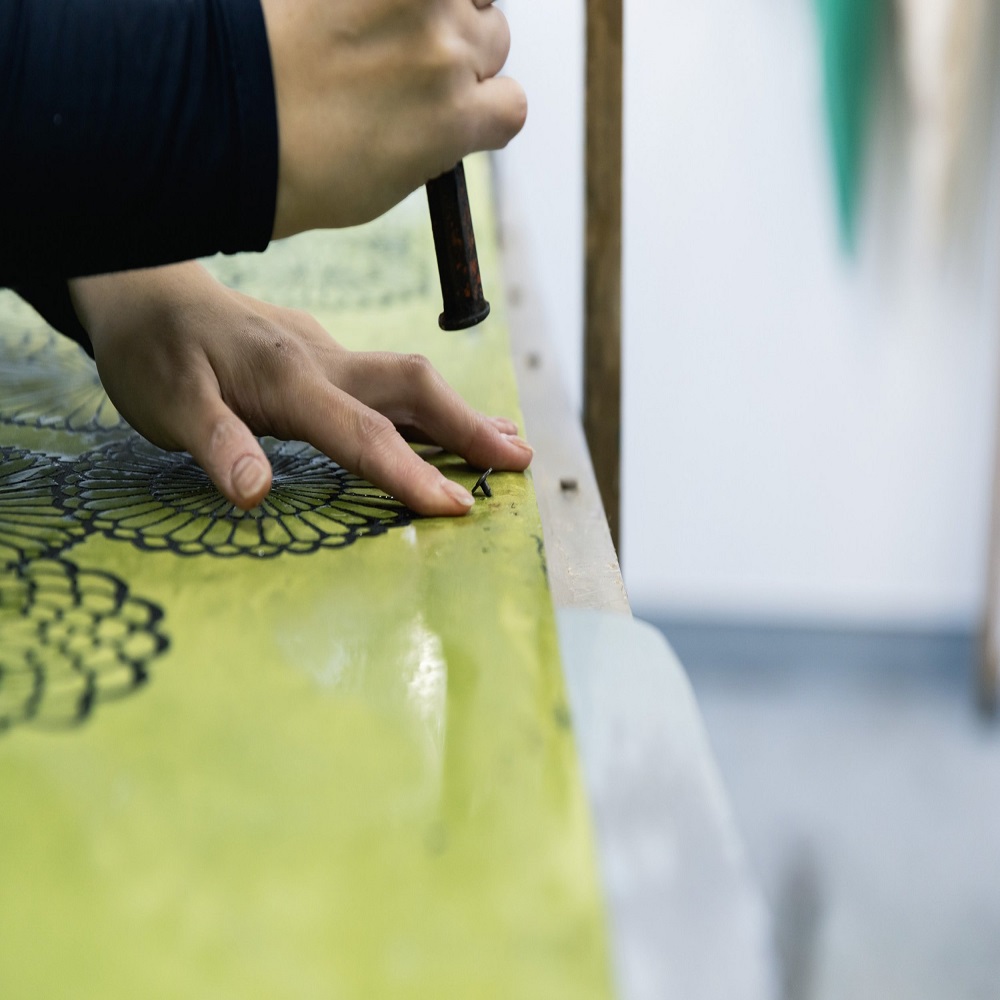
Before you can dive into dyeing fabric, gathering all necessary supplies is crucial. A well-prepared dyeing kit ensures a smoother process and better results. Here’s what you need to start your fabric dyeing adventure:
- Fabric Dye: The central component of your kit. Select dyes suitable for your fabric type—natural or synthetic.
- Protective Gear: Safety first! Gloves and an apron will protect your skin and clothing from stains.
- Dye Fixative: This helps to set the dye and prevents color from washing out.
- Measuring Tools: Precision is key. Use measuring cups and spoons for accurate dye and water ratios.
- Stirring Utensils: Long-handled spoons or sticks are perfect for mixing dye and fabric.
- Dye Containers: Choose containers that are large enough for the fabric to move freely. They should be made of a material that won’t react with the dye.
- Plastic Table Cover: Keep your work area clean. A plastic cover can catch any spills or splashes.
- Hot Water Source: Most dyes require hot water to help the color set into the fabric.
- Washbasin or Sink: For rinsing the fabric after dyeing, have a basin or sink ready.
Make sure these items are at hand before starting. Having everything ready will make the fabric dyeing process more efficient and enjoyable.
Preparing Your Fabric for Dyeing
Preparing your fabric is a vital step in the dyeing process. Proper preparation ensures that the dye will be consistent and vibrant across the entire piece of fabric. Follow these steps to prepare your fabric for dyeing effectively:
- Select the Right Fabric: Choose natural fibers such as cotton, wool, or silk for easier dyeing. For synthetic fibers, use dyes specifically made for them.
- Pre-Wash Your Fabric: Remove any impurities by washing the fabric. This helps the dye absorb more evenly.
- Iron Out Wrinkles: To ensure smooth dyeing, iron the fabric to remove any creases. Wrinkles can lead to uneven dyeing.
- Test for Colorfastness: This is where you check if the fabric can maintain color without bleeding. Run a small test to ensure colorfastness before dyeing.
- Soak the Fabric: Soaking the fabric in water can help you get a more even dye application. It allows the dye to penetrate more easily.
- Secure Loose Threads: Check for and secure any loose threads to prevent them from causing unexpected patterns or marks.
Each step plays an important role in the dyeing fabric process. Skipping any of them may result in less than perfect results. With your fabric properly prepared, you’re now ready to move on to the exciting step of applying dye to your fabric.
Understanding Different Dye Types
The world of dyeing fabric is vast, with a diverse range of dye types. Each type behaves differently, offering various effects and suitable for specific fabrics. Let’s explore the primary dye categories you will encounter:
- Reactive Dyes: Ideal for natural fibers, reactive dyes form a chemical bond with the fabric, ensuring long-lasting color. They work well with cotton, silk, and wool.
- Acid Dyes: Best for protein fibers like wool and silk, acid dyes use an acidic solution to attach color to fabric. They yield rich, vibrant hues.
- Dispersion Dyes: These dyes are meant for synthetic fibers, such as polyester. They disperse in water and dye the fabric under high heat conditions.
- Vat Dyes: Known for their colorfastness, vat dyes require a reduction process before dyeing fabric. They’re great for cotton and linen.
- Direct Dyes: Easy to use, direct dyes work directly on the fiber without needing a fixative. They’re suitable for cellulose fibers, including cotton.
- Pigment Dyes: Unlike other dyes that chemically bond with the fabric, pigment dyes sit on top. They need a binder to adhere to the fabric’s surface.
- Sulfur Dyes: These are economical and commonly used for cotton. Sulfur dyes need to be oxidized after application to develop color.
- Natural Dyes: Sourced from plants, minerals, and insects, natural dyes are eco-friendly. They often require a mordant to fix the color.
Each dye type has its own application method and works best with certain fabric types. By understanding the different dye types, you can make informed choices for your fabric dyeing projects. When selecting a dye, consider your fabric type and the color effect you desire. With this knowledge, you’ll be one step closer to achieving beautiful, vibrant fabrics.
Step-by-Step Fabric Dyeing Process
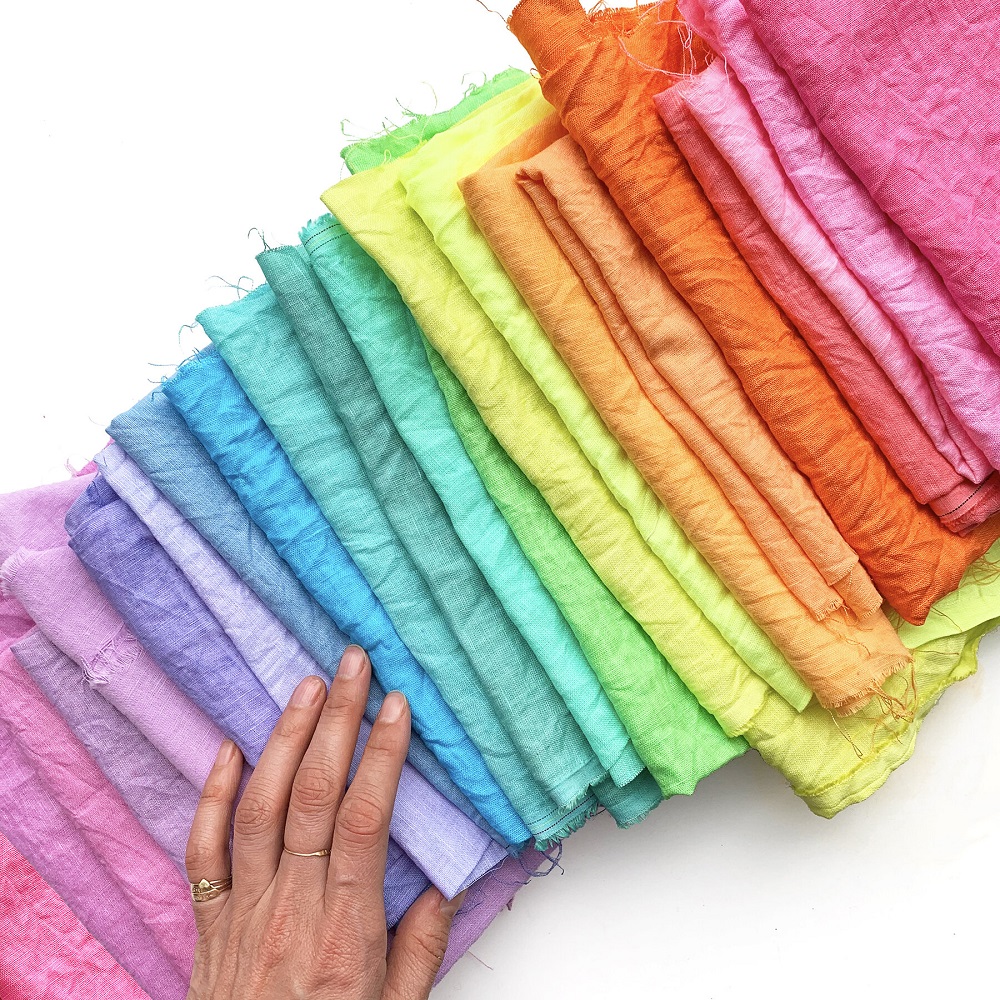
Dyeing fabric can seem complex, but breaking it down into steps makes it manageable. Whether you’re working with natural or synthetic fibers, these steps will guide you through the process. First, gather your supplies from the essential items list. Ensure your workspace is ready, with plastic cover on your table and a hot water source nearby.
- Prepare the Dye Solution: According to your dye’s instructions, mix the dye with hot water in a container. Measure carefully for the right concentration.
- Wet Your Fabric: Soak your pre-washed fabric in water. This helps the dye spread evenly.
- Apply the Dye: Submerge the fabric in the dye solution. Use stirring utensils to move it around for even coverage.
- Set the Dye: Add a fixative if needed, following the dye’s directions. This step is key for lasting color.
- Rinse the Fabric: After dyeing, rinse the fabric in warm water until the water runs clear.
- Wash the Fabric: Wash the fabric with a mild detergent to remove any excess dye.
- Dry the Fabric: Hang the fabric or lay it flat to dry. Avoid direct sunlight to prevent fading.
- Iron if Necessary: Once dry, iron the fabric to remove any wrinkles and to finalize the process.
Remember to wear your protective gear throughout the process, handling all materials with care. By following these steps, you’ll transform your plain fabric into a vibrant masterpiece with your chosen color. Each step is important for achieving the best results in dyeing fabric.
Common Fabric Dyeing Methods
When taking on the art of dyeing fabric, it’s important to know the common methods used by experts and hobbyists alike. These methods can affect the design, pattern and overall look of your dyed project. Here are some of the most widely used fabric dyeing techniques that you can try:
- Immersion Dyeing: This traditional method involves submerging the fabric fully in a dye bath. It is great for achieving a solid, even coloration.
- Dip Dyeing: For an ombre effect, dip dyeing is the method of choice. Dip one end of the fabric into the dye gradually, which creates a gradation of color.
- Tie-Dyeing: A popular method for creating patterns. Bind sections of the fabric with rubber bands before applying the dye to create unique designs.
- Batik Dyeing: This uses wax to resist dye on certain parts of the fabric. Dye the fabric, and then remove the wax to reveal complex patterns.
- Shibori Dyeing: A Japanese technique that involves folding, twisting, or bunching cloth and binding it, then dyeing it in indigo.
- Ice Dyeing: Sprinkle dye powder onto fabric covered with ice. As the ice melts, it creates an unpredictable, watercolor effect.
- Spray Dyeing: Using a spray bottle, apply dye in a controlled manner for a more free-form and spontaneous pattern.
- Brush Dyeing: For more precision in pattern-making, apply dye directly with a brush onto the fabric.
Experiment with these methods to find the one that best fits the effect you’re looking to achieve with your fabric. Each method offers a different experience in dyeing fabric and can open up new possibilities for creativity. Don’t be afraid to combine techniques or to experiment to create your own unique style. With practice and exploration, you’ll discover the joys and intricacies of fabric dyeing.
Tips for Achieving Even Color Distribution
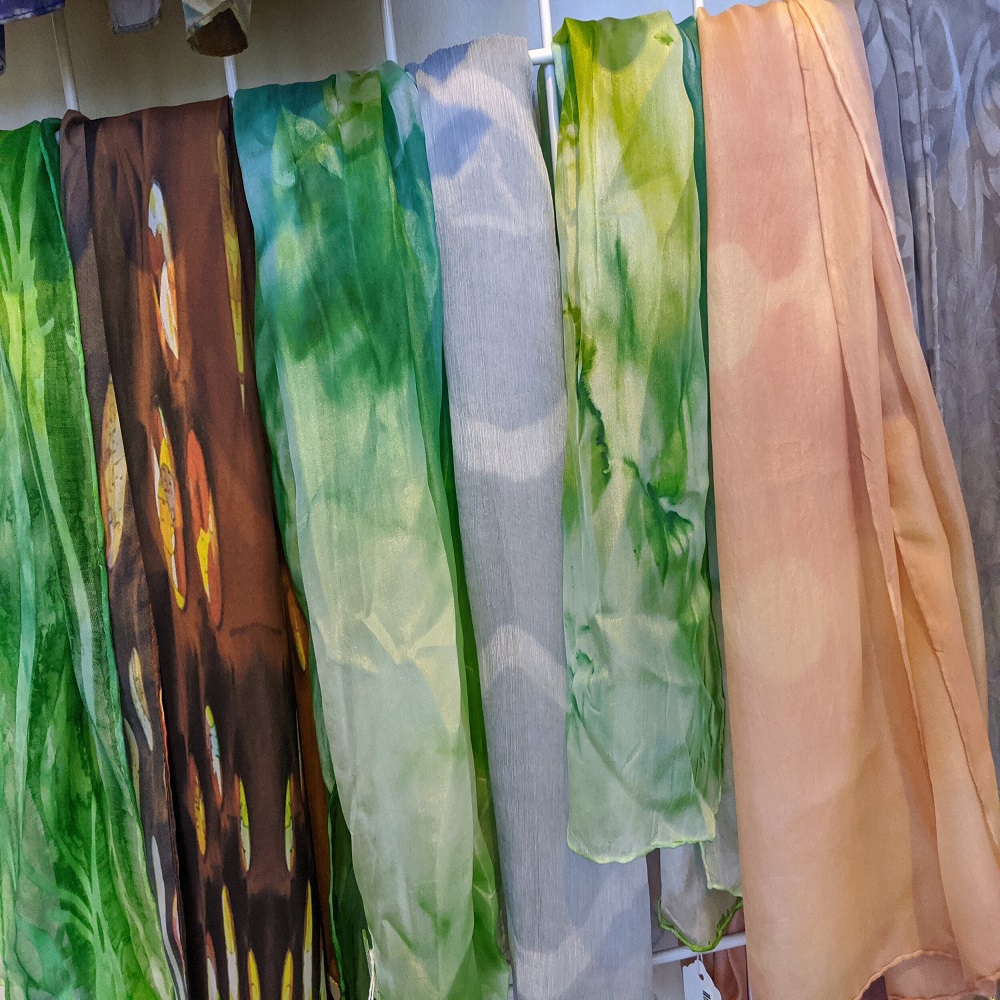
Uniform color distribution is the hallmark of expert dyeing fabric techniques. To attain this, certain tips and best practices should be followed:
- Pre-Soak the Fabric: Ensure your fabric is thoroughly soaked before introducing it to the dye. This allows the dye to flow more smoothly across the material.
- Stir Regularly: Keep the fabric moving in the dye bath. Use long-handled spoons or sticks to stir gently but consistently.
- Use Salt or Vinegar: Depending on the dye type, adding salt for cellulose fibers or vinegar for protein fibers can promote better dye absorption.
- Maintain Adequate Water Temperature: Hot water opens up fabric fibers, but too hot can damage them. Keep the temperature steady and appropriate for the fabric type.
- Avoid Overcrowding: Don’t pack the dye bath. Each piece of fabric needs space to ensure the dye can reach all areas equally.
- Prepare a Homogeneous Dye Solution: Make sure the dye is completely dissolved and mixed well. Any undissolved dye can create splotches.
- Mind the Time: Follow the recommended time for the fabric to be in the dye bath. Over or under processing affects color evenness.
- Rinse Thoroughly but Carefully: Post-dye rinsing should be thorough to remove excess dye, yet gentle to avoid washing out the newly applied color.
By adhering to these guidelines, you are more likely to achieve a beautifully even color on your dyeing fabric projects, making the entire process rewarding and fulfilling.
Caring for Dyed Fabrics
Once you have dyed your fabric, proper care is essential to maintain the vibrancy and longevity of the color. Here are simple yet effective steps to care for your dyed fabrics:
- Wash Separately: Initially, wash dyed items alone. This prevents color bleed onto other fabrics.
- Use Cold Water: Always wash dyed fabrics in cold water. Hot water can cause colors to fade.
- Pick Mild Detergent: Use a mild detergent designed for colored fabrics. Strong chemicals can strip the dye.
- Turn Garments Inside Out: If washing dyed clothing, turn them inside out. This reduces color fading.
- Avoid Harsh Sunlight: Dry dyed fabrics away from direct sunlight. Sun can make colors fade faster.
- Iron on Low Heat: When ironing, use a low heat setting. High heat can also fade the dye.
- Store Properly: Keep dyed fabrics in a dark, cool place. It helps colors stay bright longer.
- Handle with Care: Be gentle when washing and drying. Rough handling can make colors patchy.
Following these care tips will help keep your dyeing fabric projects looking their best. They also ensure that the time and effort you put into dyeing your fabric remain evident in every vivid hue.
Troubleshooting Common Fabric Dyeing Issues
Dyeing fabric can sometimes present challenges, especially for beginners. However, there are common issues that many face and thankfully, straightforward solutions to fix them. Let’s go over these issues and their resolutions:
- Uneven Color: If the fabric comes out with blotches or streaks, this typically indicates insufficient stirring or an overcrowded dye bath. Ensure consistent stirring and avoid overfilling the dye container.
- Color Too Light: This may occur if the dye wasn’t concentrated enough or the fabric wasn’t in the dye long enough. Use more dye or leave the fabric in the solution for a longer period.
- Color Fades After Washing: To prevent fading, use a dye fixative during the process and always wash dyed fabrics in cold water with a mild detergent.
- Dye Doesn’t Take: If the fabric isn’t absorbing the dye, it might be due to not pre-washing or a fabric-dye mismatch. Pre-wash the fabric and ensure you’re using the correct dye type for your material.
- Excessive Color Bleeding: To minimize bleeding, rinse the fabric until the water runs clear post-dyeing, and consider washing it separately the first few times.
By addressing these common dyeing fabric mishaps, your projects are more likely to turn out beautifully vibrant and consistent. Remember, practice makes perfect, so don’t get discouraged with initial setbacks. Each obstacle is a learning opportunity to refine your fabric dyeing skills.


