Introduction to Flower Pounding
Flower pounding on fabric is a delightful craft that captivates the essence of spring. It’s a simple technique where you transfer the beauty of flowers onto fabric, creating stunning artwork. This method uses the natural pigments in flowers to produce a dyed effect on the fabric. You’ll experience the joy of creating something unique while celebrating nature’s vibrant colors. This craft melds together the love for gardening and crafting, allowing you to preserve the fleeting beauty of flowers in a permanent display. Perfect for DIY enthusiasts and those seeking a novel way to decorate their homes, flower pounding is a versatile and accessible art form. As we explore this process, we’ll learn which materials are ideal, how to pound flowers effectively, and ways to set and showcase your floral fabric art. Let’s embark on this creative journey and bring the splendor of blooming flowers into our living spaces.
Necessary Materials for Flower Pounding
To start your flower pounding on fabric journey, a few essential supplies are required. With the right materials at hand, your craft will not only be easier to make but will also yield better results. Here are the materials you’ll need:
- Fabric: Choose a light-colored, natural fiber fabric like cotton or linen for the best absorption.
- Flowers: Thin-petaled, vibrant flowers such as roses or dandelions provide ideal pigmentation.
- Hammer or Mallet: A flat-headed hammer is essential for transferring the dye from flowers to fabric.
- Hard Surface: A cutting board or thick cardboard serves as a sturdy pounding surface.
- Parchment Paper: This barrier prevents petals from sticking to your hammer.
- Absorbent Paper: Paper towel or sketch paper absorbs excess pigments during the pounding process.
- Tape: To keep everything in place while pounding, ordinary scotch tape will suffice.
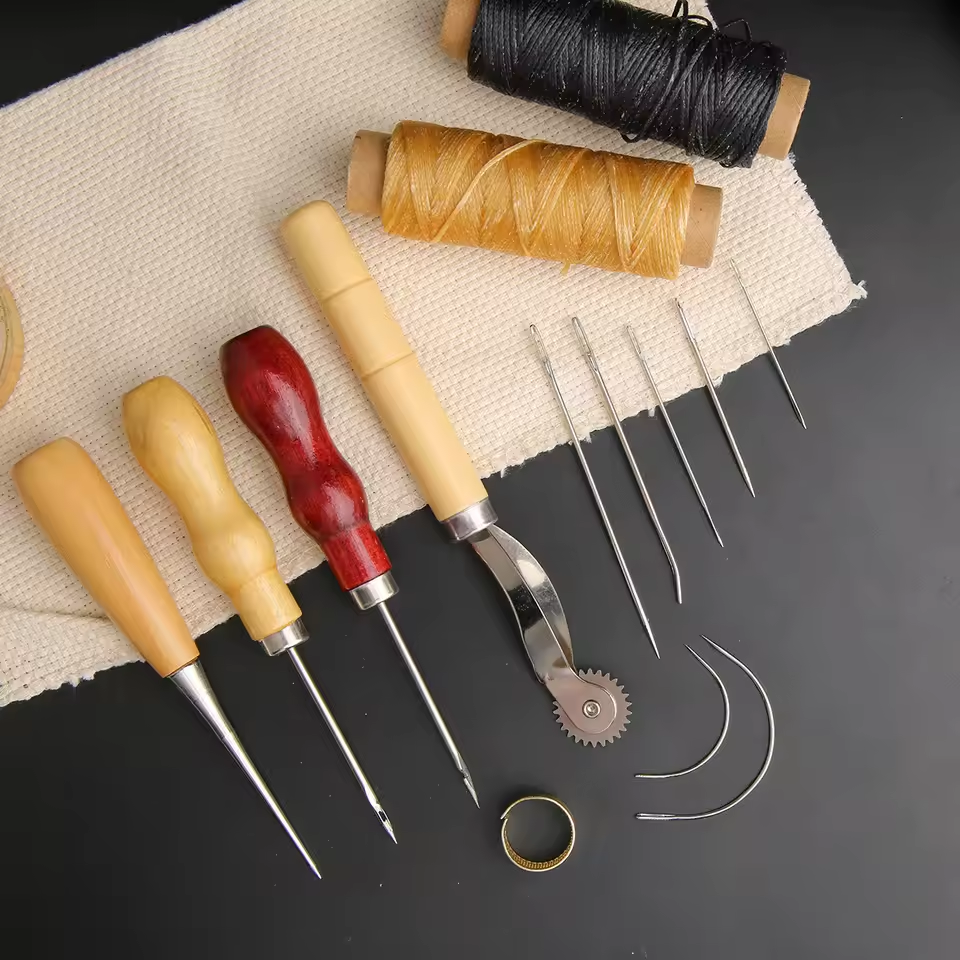
- Embroidery Needle & Floss: For decorative touches post-pounding, if desired.
- Scissors: To trim flowers and thread.
- Iron: To set the colors onto the fabric after pounding.
It’s worth noting that while the list isn’t extensive, each item serves a critical role in the craft. Additionally, remember to perform flower pounding in a well-ventilated area or, preferably, outdoors to avoid any mess inside your home. Now that you have gathered your materials, you’re all set to move forward with creating your beautiful fabric artwork.
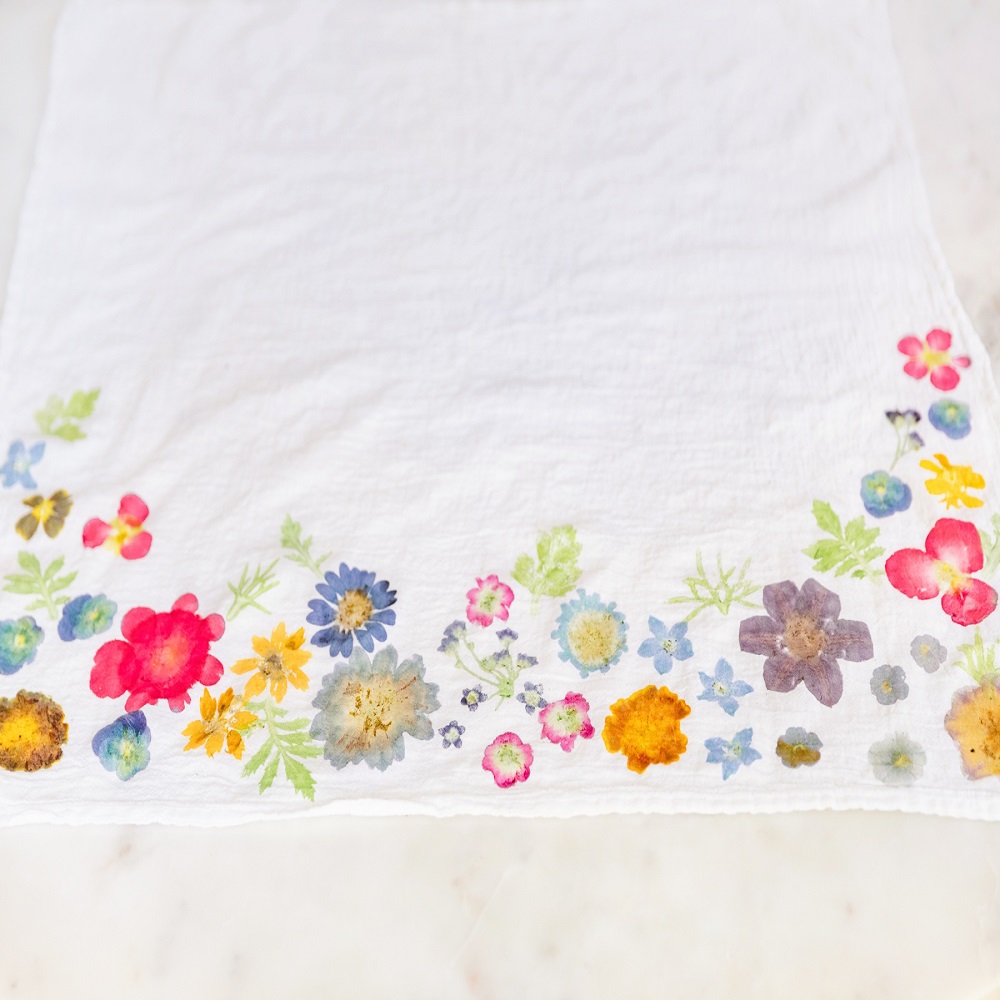
Step-by-Step Guide to Flower Pounding on Fabric
Flower pounding on fabric transforms petals into lasting art. Here’s how to do it in easy steps.
1. Prepare Your Work Area
Lay out a cardboard or cutting board as your base. This helps absorb hits and keeps fabric flat.
2. Arrange Your Fabric
Tape your fabric onto the work surface. Ensure it’s smooth and wrinkle-free for even pounding.
3. Pick Your Flowers
Choose vibrant, thin-petaled flowers. Roses and daisies are perfect for bold prints.
4. Position Flowers & Cover
Place flowers face down on the fabric. Cover them with parchment paper for clean pounding.
5. Start Pounding
Use your hammer to firmly hit the flowers. Keep going until the fabric shows color.
6. Check Your Impressions
Gently lift the paper to peek at the results. Adjust flower placement or continue pounding as needed.
7. Remove Plant Material
After pounding, peel off paper and flowers. Use tape to pick up any remaining bits.
8. Set the Color
Iron your fabric gently on a low setting to ensure color fastness and prevent fading.
9. Add Detail (Optional)
For extra flair, use watercolor pencils or embroider on top of your pounded flowers.
10. Display Your Art
Frame your fabric or use it to craft unique items to showcase your new artwork.
By following these steps, you can confidently create beautiful flower-pounded fabric pieces. With practice, you’ll perfect the technique and enjoy your fabric art for years to come.
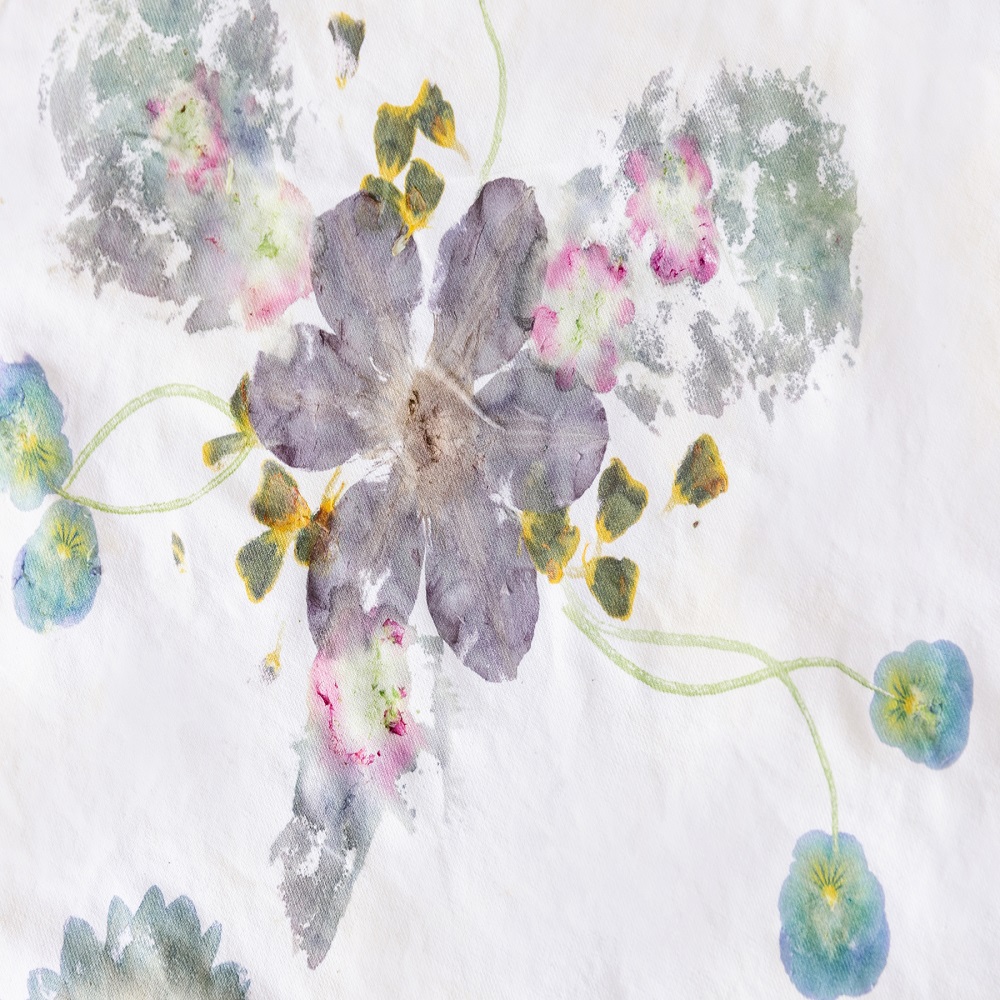
Selecting the Best Flowers for Colorful Results
Selecting the right flowers is crucial for vibrant fabric art. Not all flowers work well for pounding. Thin-petaled and brightly colored flowers are best. Here are some tips for choosing the right flowers:
Choose Thin-Petaled Flowers
Flowers with thin petals release color more easily when pounded. Roses and daisies are great choices. Avoid thick flowers like tulips, as they do not pound well.
Opt for Vibrant Colors
Brightly colored flowers give the best results. Look for flowers with deep reds, bright yellows, or vivid blues. Light colors often don’t show well on fabric.
Freshness Matters
Use fresh flowers for more intense colors. Older flowers might not transfer color effectively. Picking flowers the same day you plan to pound them is ideal.
Experiment with Varieties
Try different types of flowers to see what works best. Each flower type can create unique patterns and shades on the fabric. This adds excitement to the process.
By carefully selecting the right flowers, you ensure beautiful, colorful results in your fabric art. Keep these tips in mind and experiment to find what works best for you. Remember, the more vivid the flower, the more striking the art.
Setting Your Flower Pounding Art
After you have transferred the beauty of your chosen flowers onto the fabric through the pounding process, setting the art is an important step for ensuring its longevity. Here are some straightforward guidelines to help you properly set your flower pounding art and maintain its vibrant colors:
Iron the Fabric Art
Gently iron your pounded fabric on a low heat setting. This heat should help set the colors into the fabric. Place a thin cloth or parchment paper between the iron and your artwork to protect it.
Avoid Washing
Do not wash your pounded fabric art. The water will likely cause the flower pigments to fade or wash out. Pounded fabric is best used as decorative art rather than functional fabric.
Display Tips
Consider framing your fabric art behind glass to protect it from dust and light, both of which can degrade the colors over time. Alternatively, use your pounded fabric to create decorative pieces that won’t require washing, such as wall hangings or pillow covers.
By following these simple steps, your flower pounding on fabric can remain an everlasting keepsake that captures the essence of spring. Whether you choose to showcase it in a frame or incorporate it into functional items around your home, the vivid colors will stand as a testament to the delightful craft of flower pounding.
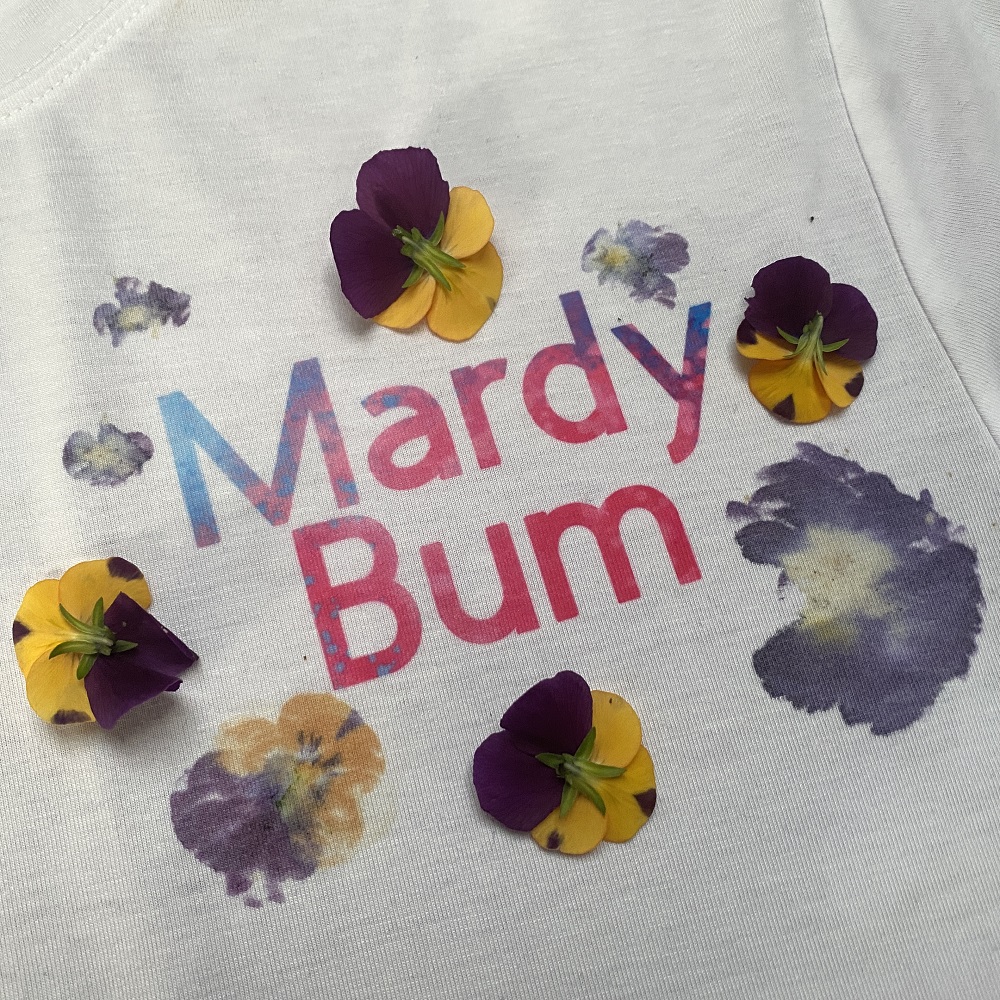
Creative Ideas for Using Pounded Flower Fabric
After perfecting the flower pounding on fabric technique, it’s time to showcase your art. Pounded flower fabric offers endless imaginative possibilities. Here are some creative ways to use your new fabric art:
Frame It
Transform your fabric into wall art by framing it. Choose a complementary frame to make colors pop.
Pillow Covers
Sew your fabric into unique pillow covers. They add a personal touch to any room.
Tote Bags
Create a custom tote bag. It’s both stylish and functional, ideal for everyday use.
Bookmarks
Use scraps to make bookmarks. They make thoughtful gifts for the book lovers in your life.
Lampshade Covers
Revamp a lampshade. The flower patterns cast a beautiful glow when lit up.
Table Runners
Craft a table runner. It’s a conversation starter at dinner parties.
Greeting Cards
Adorn greeting cards with fabric pieces. They’re special for any occasion.
Clothing Patches
Add patches to jeans or jackets. This gives clothes a charming, bohemian flair.
By incorporating pounded flower fabric into various items, you breathe new life into everyday objects. These unique pieces reflect a perfect union of nature’s beauty and your creativity.
Tips and Tricks for Perfect Flower Pounding
Achieving the perfect flower pounding on fabric requires some insider know-how. Here are some valuable tips to elevate your craft:
Use a Sturdy Surface
A hard, flat surface is essential. Use a cutting board or thick cardboard for best results.
Tap Gently at First
Start with gentle taps to set flowers in place. Increase force as needed.
Test for Color Transfer
Occasionally lift the parchment paper. Check if colors imprint well on the fabric.
Use Fresh Flowers
Fresh flowers give more vibrant colors. Try to use flowers picked on the same day.
Flatten Flowers Before Pounding
Press flowers between book pages first. This helps achieve a clearer imprint on fabric.
Keep Tools Ready
Place all your materials close. This makes the process smoother and faster.
Protect Your Ears
Pounding can be loud. Consider using earplugs if you’re sensitive to noise.
Clean Up Immediately
After pounding, cleanup is easier if done quickly. Avoid dried petals and sap on fabrics.
By following these tips, your flower pounding projects on fabric will not only be easier but also yield better artistic results.
Preserving Your Floral Fabric Art
After completing your flower pounding on fabric, preserving the artwork is crucial. Here are some effective methods to ensure your floral fabric art remains vibrant and intact for years to come.
Avoid Water Exposure
Keep your fabric art away from water. Washing can fade or completely remove the floral imprints.
Use Protective Frames
Frame your fabric art. This protects it from dust and environmental factors that could fade the colors.
Display in Low-Light Areas
Hang or display the art in areas away from direct sunlight. UV rays can degrade the vibrant colors over time.
Avoid Chemical Contact
Ensure that no harsh chemicals come into contact with the fabric. These can alter the natural dyes from the flowers.
Consider Digital Preservation
You can also photograph your artwork. This way, the digital image can be enjoyed without physical degradation.
Regular Dusting
Gently dust the fabric art if not behind glass. Use a soft brush to avoid disturbing the pigmented areas.
By following these steps, your floral fabric art will last longer and continue to brighten your space.


