Getting Started: Preparing Your Workspace and Materials
Before you dive into the exciting world of DIY fabric printing, setting up an organized workspace is crucial. Consider the following steps to ensure a smooth and efficient fabric printing experience.
Select the Right Location
Choose a well-ventilated area with plenty of flat surface space. A spare room, garage, or a large table in a well-lit room will work perfectly. Ensure the space is free from dirt and dust to avoid any imperfections in your prints.
Gather Necessary Materials
Here’s what you’ll need to start printing on fabric:
- Inkjet Printer: Ensure it is capable of handling fabric printing.
- Fabric: Choose natural fibers such as cotton for best results.
- Scissors or a Rotary Cutter: For cutting fabric to size.
- Freezer Paper or Packing Labels: To stabilize fabric during printing.
- Iron: To smooth out fabric and to use with freezer paper.
- Cleaning Supplies: Keep your space tidy with rags and surface cleaner.
Organizing all your materials in one accessible place will make the process more streamlined and enjoyable. Have everything set up before moving on to the next stages of fabric printing.
Choosing the Right Printer and Inks
Choosing a suitable printer and the correct type of ink is critical for fabric printing. This step directly affects the quality and durability of your prints. An inkjet printer typically works well for DIY fabric printing. Look for a model that can handle the fabric’s texture and absorbency.
Understanding Ink Types: Pigment Versus Dye
Inks come in two main types: pigment and dye. Pigment inks are water-resistant and bind well to fabric, making them ideal for prints that need to endure washing. Dye inks, however, are not water-resistant but can provide vibrant colors. For dye inks to be washable on fabric, pre-treatment with products like Bubble Jet Set 2000 is necessary.
Knowing your printer’s ink type is vital. Check the printer’s manual or do an online search with the cartridge number to determine if your inks are pigment or dye-based. Pigment inks work better for long-lasting fabric prints, whereas dye inks are suitable for projects that won’t face frequent washing or those where the material will receive pre-treatment.
Pre-Treating and Washing Your Fabric
Before you start printing, it’s important to pre-treat and wash your fabric. This step ensures the printer ink binds well and remains vibrant. Here’s how to properly prepare your fabric:
Prewashing Your Fabric
Firstly, wash your fabric to remove any finish or starch. Use a mild detergent and lukewarm water. Avoid fabric softeners as they can affect how ink sets.
- Machine wash or hand wash the fabric gently.
- Rinse thoroughly to get rid of any detergent.
- Dry the fabric completely. An iron can be used to remove wrinkles for a smooth surface.
Pretreating with Bubble Jet Set 2000
If you’re using dye-based inks and your fabric needs to withstand washing, you might need to pre-treat it. Bubble Jet Set 2000 is a product that helps ink adhere to fabric fibers.
- Follow the product instructions strictly.
- Soak your fabric in the solution for the recommended time.
- Allow the fabric to dry before printing.
By pre-treating and washing your fabric, you improve the print’s longevity and appearance. Make sure the fabric is free of moisture before you proceed to the printing stage.
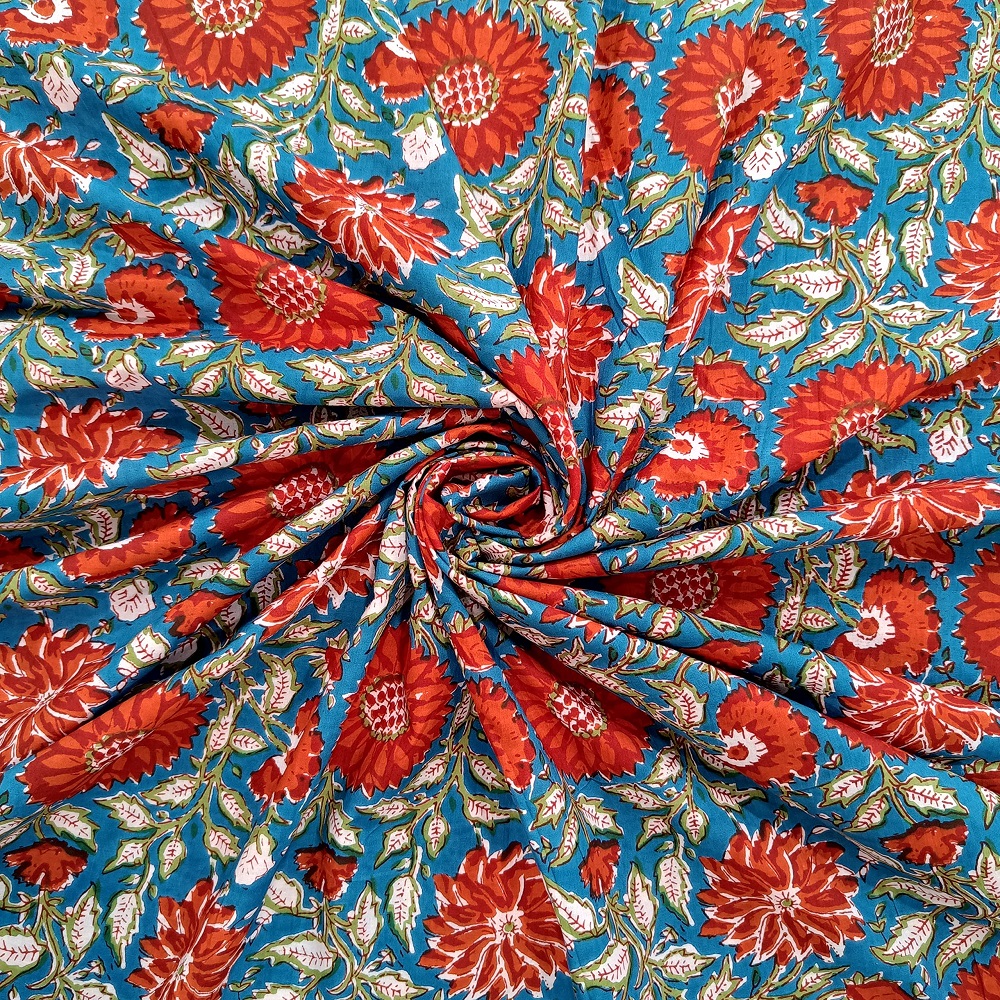
Selecting the Best Fabric for Your Project
Choosing the right fabric is key for successful fabric printing. Different fabrics will impact the final look of your print. Make sure to pick a fabric that matches your project’s needs.
Fiber Content, Color, and Texture Considerations
Fiber Content:
- Use 100% cotton or silk for clear, sharp prints.
- Polyester can also work but may require more testing.
Color:
- Bright, white fabrics produce true-to-image colors.
- Printing on colored fabrics can create unique effects.
Texture/Weave:
- A tight weave is best for high-resolution prints.
- For a watercolor effect, you might choose a looser weave instead.
Keep these factors in mind to ensure that your fabric print turns out just as you envision. Remember, the choices you make here will affect your printing results.
Cutting and Backing Your Fabric for Printing
Cutting and backing your fabric properly is an essential step for a successful print job. When your fabric is neatly cut and securely backed, it travels smoothly through the printer, ensuring a quality print. Here’s how you can achieve the best results:
- Use a rotary cutter and metal ruler for precision. These tools help you cut straight, clean edges on your fabric.
- Cut the fabric to match your printer’s paper size. Standard letter size is a good start, but your printer may handle different dimensions.
- Back the fabric with packing labels or freezer paper. This backing acts like a stabilizer, allowing the fabric to feed through the printer without jamming.
When preparing your fabric, remember the goal is to create a flat, stable surface that will move through your printer easily.
Creating the Perfect Alignment
To print correctly on fabric, aligning it with the backing material is crucial. Misalignment can cause feeding issues or skewed prints. Follow these steps for perfect alignment:
- Work on a flat surface. This reduces wrinkles and ensures better adhesion.
- Be precise when placing the backing. Align the edges of your fabric and backing material carefully.
- Smooth out any bubbles or wrinkles. Use a flat object, like a ruler, to press the backing onto the fabric.
By paying close attention to the cutting and backing process, you set the stage for a crisp, clean print on your chosen fabric.
Adjusting Images for Optimal Fabric Printing
Once your workspace is ready and materials are set, it’s time to prepare your image for printing. The right adjustments to your image can dramatically impact the quality and vibrancy of your fabric print. Follow these tips to ensure your printed image looks its absolute best.
Using Photo Editing Software to Enhance Images
Before you print, tweaking your image with photo editing software is key. Programs like Photoshop or GIMP (which is free) can enhance contrast, brightness, and color balance, affecting how the print will look on fabric. Here’s a simple guide to image editing:
- Open your image in the software and assess its quality.
- Increase contrast to make colors pop on fabric.
- Adjust brightness to avoid images being too dark or light.
- Use ‘levels’ or ‘curves’ to fine-tune the image highlights and shadows.
- Check the resolution; high resolution means clearer prints.
- Experiment with saturation to bolster color intensity.
- Save different versions to compare which edits work best.
After editing, always print a test swatch on paper. This helps you see how changes look when printed. You may need to go back and tweak the image more until it’s just right. Once satisfied, proceed to print on your prepared fabric.
The Printing Process: Step-by-Step Guide
Now that your fabric is prepped and your image adjusted, it’s time for the main event: printing. Here’s a simple step-by-step guide to ensure a successful fabric printing experience at home.
Test Printing and Troubleshooting
Begin with a test print to refine the process and catch any issues. Follow these steps for test printing:
- Load your backed fabric into the printer. Check if it should face up or down. This depends on your printer model.
- Use one fabric sheet at a time. Don’t mix with regular paper to prevent jams.
- Double-check printer settings. Make sure it’s on the right mode for fabric printing.
- Print a small section of your image. This saves fabric and ink.
Troubleshooting is key if you face any issues:
- If the fabric doesn’t feed, gently guide it or check the printer for errors.
- Look for ink smudges or color discrepancies. Adjust printer settings or clean the printer if needed.
- Be patient. Some trial and error is normal when learning how to print on fabric.
After successful test prints, proceed to the final print. Monitor the fabric as it prints to ensure smooth passage through the printer. Enjoy watching your creation come to life on fabric. Remember, practice makes perfect.
Finishing Touches: Drying, Rinsing, and Caring for Your Printed Fabric
After you’ve printed your fabric, proper finishing touches are essential to ensure the longevity and appearance of your print. Here’s a simple guide to finalize your fabric printing project effectively.
Drying Your Printed Fabric
Once the printing process is complete, let the fabric dry. Different ink types and fabric materials can affect drying times. A general rule:
- Allow the printed fabric to air dry for at least an hour.
- For ink types that are more prone to smudging, wait 24 hours.
Ensure the fabric is completely dry before moving to the next steps to avoid any smudges or ink transfers.
Rinsing Your Fabric
Rinsing is crucial, especially if your print might face frequent washing in the future. Here’s how to do it right:
- Gently rinse your fabric under cold water to remove any excess ink.
- Avoid rubbing the fabric harshly to prevent fading of the print.
The goal of rinsing is to stabilize the print before it goes through actual wash cycles.
Caring for Your Printed Fabric
To keep your printed fabric looking its best, follow these care tips:
- Wash printed fabrics with mild detergents.
- Use cold or lukewarm water for washing.
- Turn fabric inside out before placing in the machine to reduce wear on the print.
By following these steps, you ensure that your fabric prints remain vibrant and durable. Enjoy creating personalized fabric items that stand the test of time!


