Introduction to Sewing Terminology
Embarking on a sewing journey can seem daunting with all the new terminology. But don’t fret. Here’s a beginner’s guide to understanding core sewing terms. These terms will serve as the foundation as you learn and grow in your sewing practice.
Deciphering the Language of Sewing
Every craft has its own language, and sewing is no different. Terms like ‘basting’, ‘backstitch’, and ‘bias’ are not just random words; they hold significant meaning in the sewing world. Grasping this vocabulary is crucial. It helps you follow patterns, understand tutorials, and communicate with fellow sewers. Let’s break down some common sewing terms and demystify their meanings.
Understanding Patterns and Measurements
Patterns are the blueprints for your projects. Knowing terms like ‘seam allowance’, ‘grainline’, and ‘notches’ is essential. These terms relate to the way fabric is cut and pieced together. Likewise, measurements are key in sewing. Learn the difference between inches and centimeters and how to use a measuring tape. This knowledge is critical for achieving well-fitted garments.
Fabrics come in various fibers and weaves which can greatly affect your final product. Terms such as ‘knit’, ‘woven’, and ‘selvage’ describe fabric types. Understanding these terms ensures you select the right material for your project. It’s also important to familiarize yourself with fabric care terms to maintain the longevity of your creations.
Diving into the world of sewing terms can transform your crafting experience. It enables you to execute projects with precision and speak the sewing language with confidence. As you familiarize yourself with these basics, remember that practice makes perfect. Keep sewing and these terms will soon become second nature.
Essential Sewing Equipment and Tools
When diving into sewing, having the right tools can make all the difference. Starting with the basics, here are essential items you’ll need:
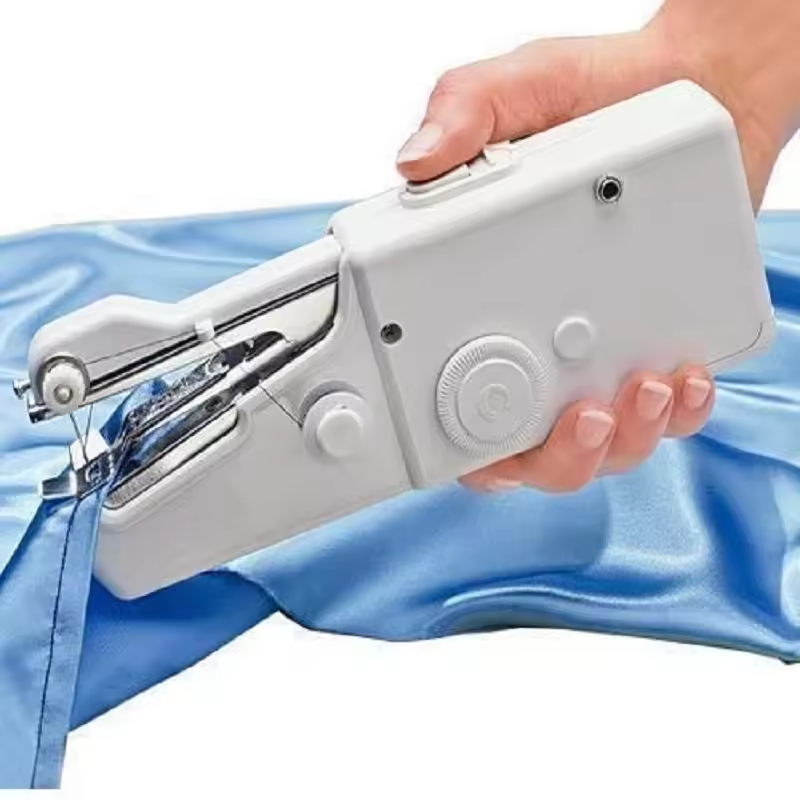
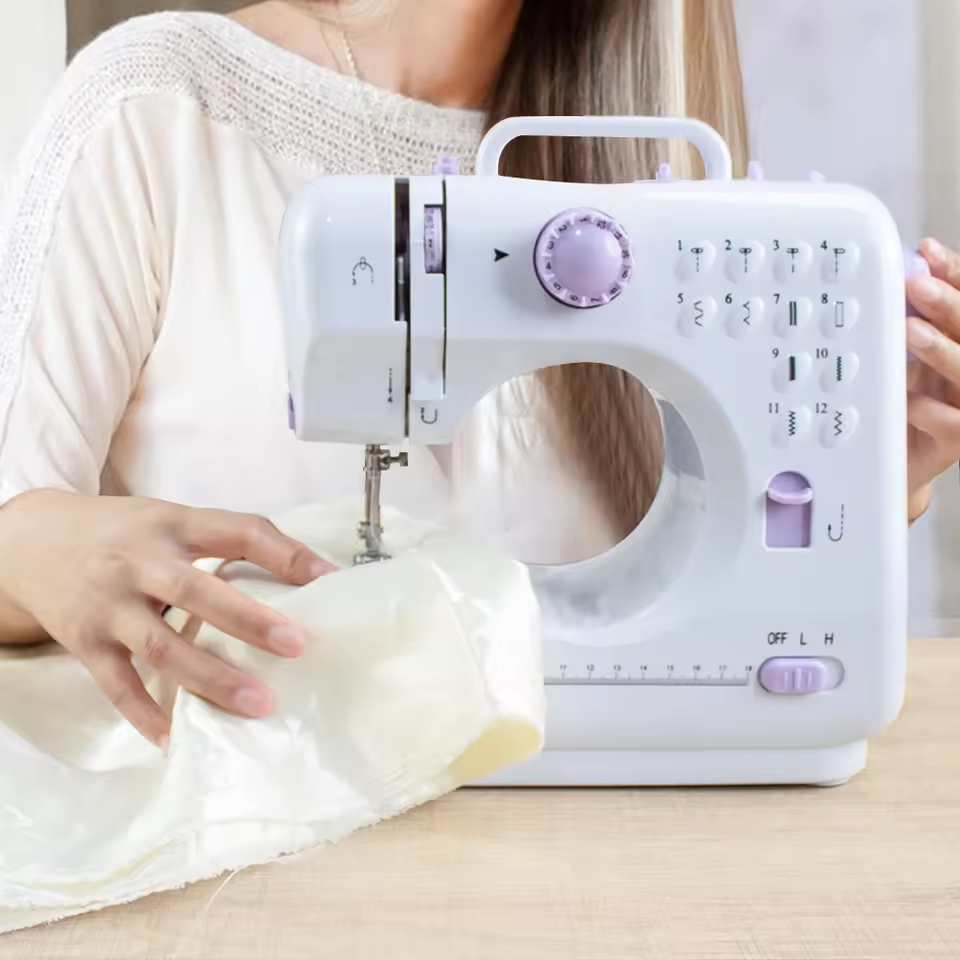
- Sewing Machine: A good quality sewing machine is pivotal. It is the cornerstone of your sewing projects.
- Needles: You’ll need various needles for different fabrics and purposes, including hand sewing needles.
- Scissors: Invest in a sharp pair of sewing scissors for cutting fabric, and another pair for snipping threads.
- Pins and Pincushion: Pins hold fabric in place before sewing; a pincushion keeps these tiny tools handy.
- Measuring Tape: A flexible measuring tape is crucial for taking accurate body measurements.
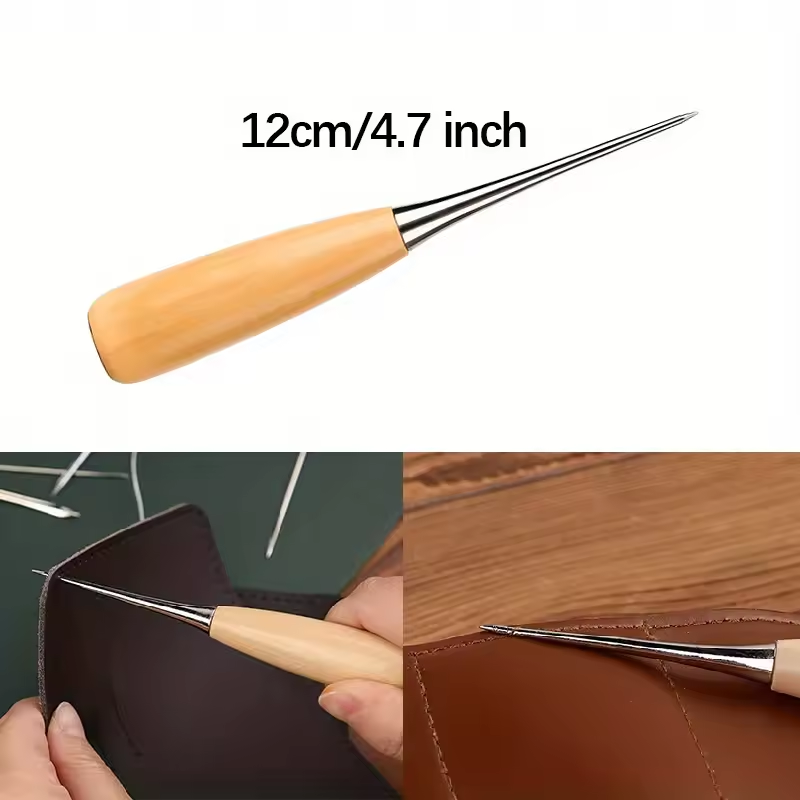
- Seam Ripper: This tool is a lifesaver for fixing mistakes. It allows you to remove stitches without damaging the fabric.
- Thread: A variety of thread colors and weights for different fabrics and stitches is necessary.
- Iron and Ironing Board: Pressing seams and fabric is key to a professional-looking finish.
- Sewing Gauge: A small ruler used for making short measurements and ensuring precision.
- Marking Tools: Fabric pens, chalk or tailor’s chalk help mark measurements and cutting lines on fabric.
- Thimble: Protects your finger when hand sewing through thicker fabrics or multiple layers.
This list covers the foundational tools to begin sewing. Remember, quality tools contribute to the final outcome of your sewing projects. With these items, you have what it takes to get started. You’ll learn more about which tools work best for which projects as you grow in your sewing journey.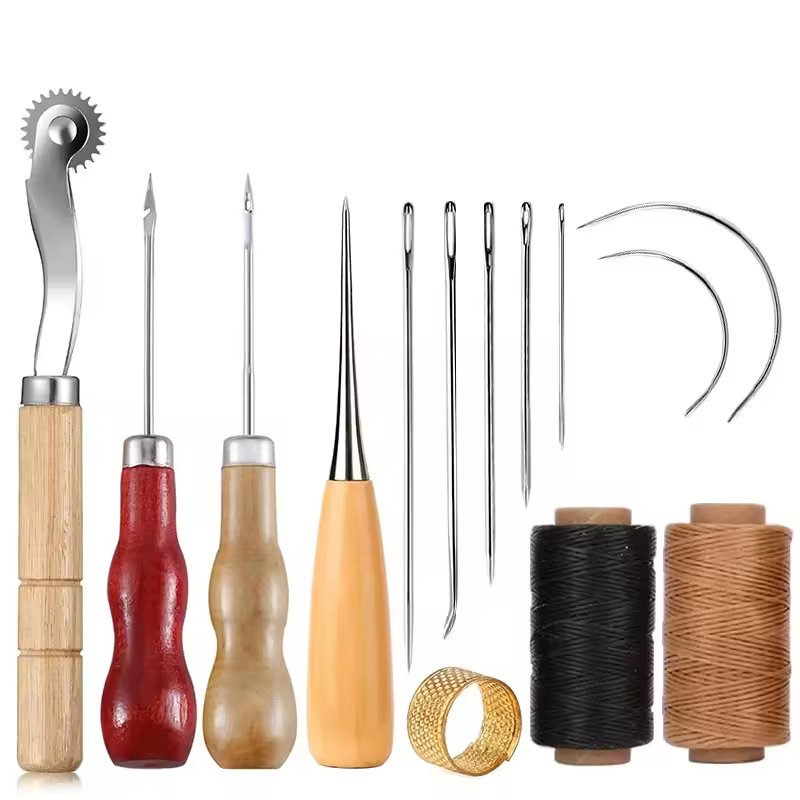
Understanding Fabric Types and Selection
Choosing the right fabric is vital for your sewing project success. Different fabrics have different properties and will affect the final look and feel of your creation. To make informed decisions, you should understand the variety of fabric types and how to select the best one for your project.
Know Your Fabrics
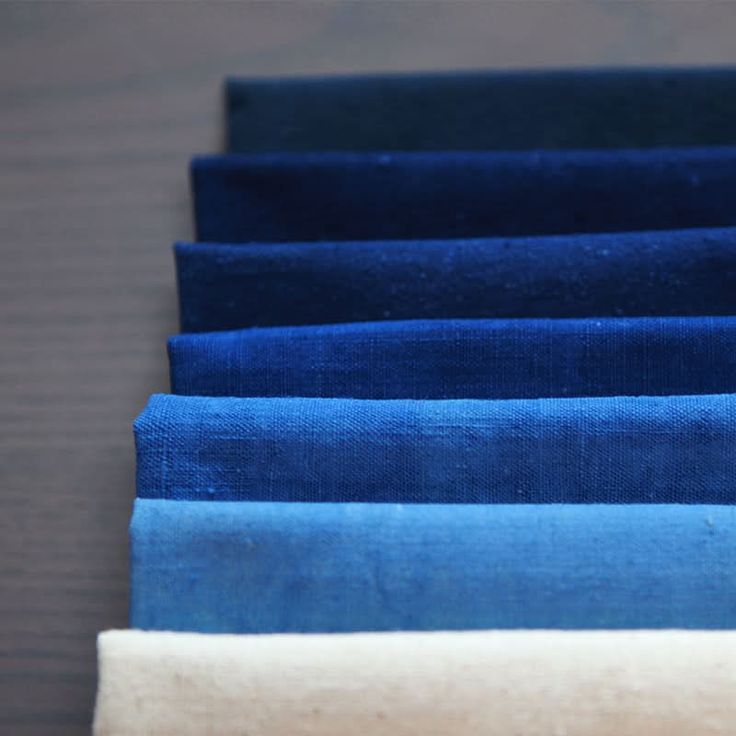
There are two main types of fabrics: woven and knit. Woven fabrics are made by interlacing threads at right angles. They are less stretchy and more stable, making them easier for beginners. On the other hand, knit fabrics are made by looping threads together. They are stretchy and good for clothing that requires movement.
Consider Fabric Weight
Fabric weight matters when selecting material. Lightweight fabrics, like chiffon, are good for breezy garments. Medium-weight fabrics, such as cotton, work for a wide range of projects. Heavyweight fabrics like denim are durable and great for items like jeans.
Feel the Texture
Texture influences both the appearance and comfort of your project. Smooth fabrics give a clean, crisp look. Fabrics with a rough texture can add dimension and interest to your project.
Check the Drapability
Drapability refers to how a fabric falls or hangs. Fabrics like silk drape well and are excellent for flowy garments. Stiffer fabrics may not drape as nicely but can be perfect for structured pieces.
Observe Fabric Stretch
Stretch is essential, especially in clothing projects. Check the stretch by pulling the fabric. Fabrics with spandex or lycra usually offer more stretch. Remember, more stretch means more flexibility but may also need special sewing techniques.
Color and Pattern
Choose color and pattern that fit your project. Solid colors are versatile, while patterns can make bolder statements. Always consider the project’s end use when selecting colors and patterns.
Understanding fabric types and selection will help you make smarter choices for your sewing projects. Start with simpler fabrics and as you gain confidence, experiment with more challenging types. Remember, the right fabric can make or break your sewing endeavor, so choose wisely.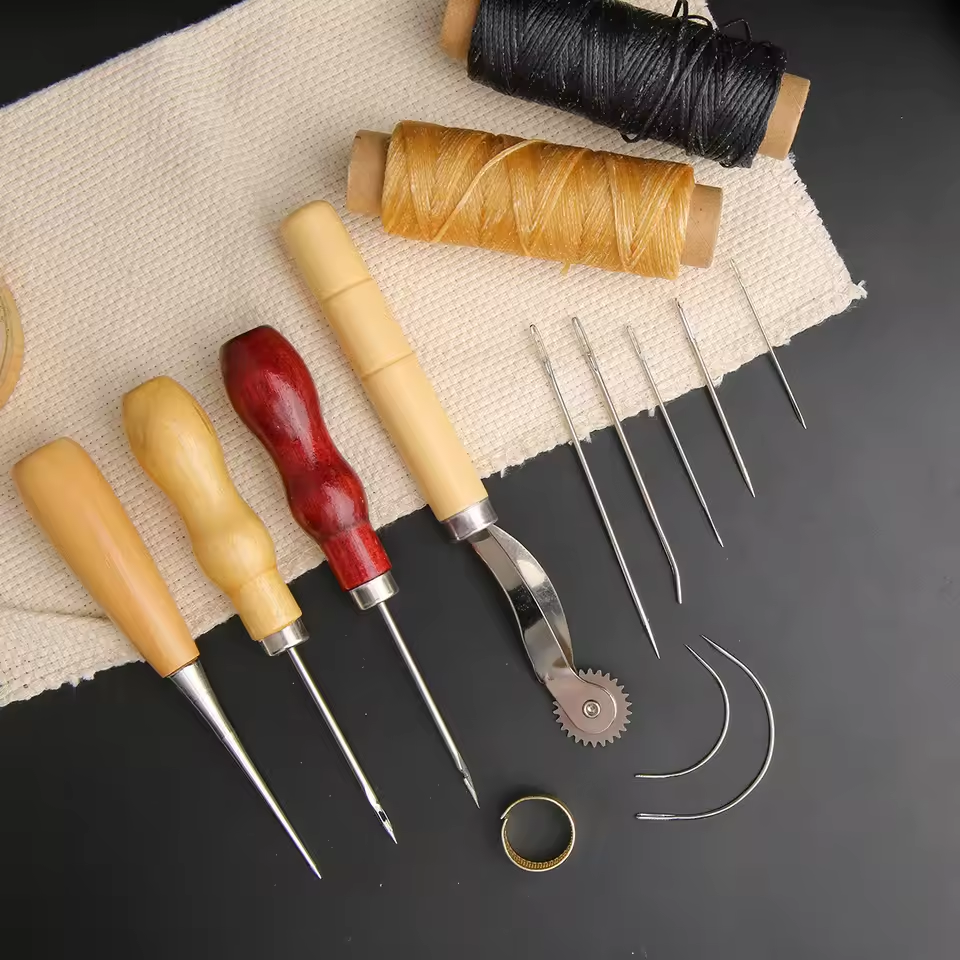
Basic Sewing Stitches and Techniques
To build a solid sewing foundation, familiarize yourself with basic stitches and techniques. These are the backbone of all sewing projects. Let’s explore the stitches that every beginner should know.
- Straight Stitch: The most common stitch for joining two pieces of fabric. It’s a simple, straight line of stitches.
- Backstitch: A strong stitch used at the start and end of the sewing to prevent unraveling.
- Zigzag Stitch: A stitch that moves back and forth to allow stretch in the seams. It’s great for knit fabrics.
- Basting Stitch: Long, temporary stitches for holding pieces together before final sewing.
- Buttonhole Stitch: A reinforced stitch used to create holes for buttons without fraying.
Along with stitches, there are handy techniques to enhance your sewing skills. Practice these to increase precision and speed.
- Pin Basting: Use pins to hold fabric together before sewing. This prevents shifting and aids accuracy.
- Clipping Corners and Curves: Cutting small notches in seam allowances lets fabric lie flat around curves.
- Gathering: A technique used to create ruffles or fullness in a garment.
- Hemming: Turning the edges of fabric and sewing to create a neat finish.
Mastering these basic sewing stitches and techniques sets you on the path to more complex projects. Always use sewing terms with care, and keep practicing for better results. With time, these stitches and techniques will become second nature in your sewing practice.
Seam Types and Their Uses
Seam types vary widely, and each has its specific purpose in sewing. Knowing which seam to use can enhance the durability and aesthetics of your project. Here’s a simple guide to different seam types and when to use them.
- Plain Seam: This is the most basic and common seam. Use it for most sewing projects. It involves stitching two pieces of fabric together, usually with a straight stitch.
- French Seam: An elegant seam finish that encloses the raw edges. It’s ideal for lightweight and transparent fabrics.
- Flat-felled Seam: Often seen in jeans and workwear. This sturdy seam encases raw edges and is sewn flat.
- Serged Seam: Created with a serger or overlock machine. It finishes and binds the edge in one step. Use it for knit fabrics and to prevent fraying.
- Lapped Seam: This seam overlaps one piece of fabric onto another. It’s suitable for heavy materials like leather.
- Bias-bound Seam: Use bias tape to enclose the seam allowance. This gives a neat finish on the inside.
- Piped Seam: Includes a cord wrapped in fabric, which adds a decorative element. Great for edges and cushion covers.
Each seam type offers different benefits. Plain seams are quick and easy, ideal for beginners. French seams give garments a clean, professional look without exposed edges. Flat-felled seams are strong and durable, perfect for everyday wear. Serged seams work well with fabrics that fray easily. Lapped seams offer a sleek finish for thicker fabrics. Bias-bound seams provide an opportunity for a contrasting pop of color. Piped seams add a touch of elegance.
Choose your seam type based on the fabric, garment type, and your desired finish. Practice these seam techniques to ensure your sewing projects stand out for their quality and craftsmanship. Happy sewing!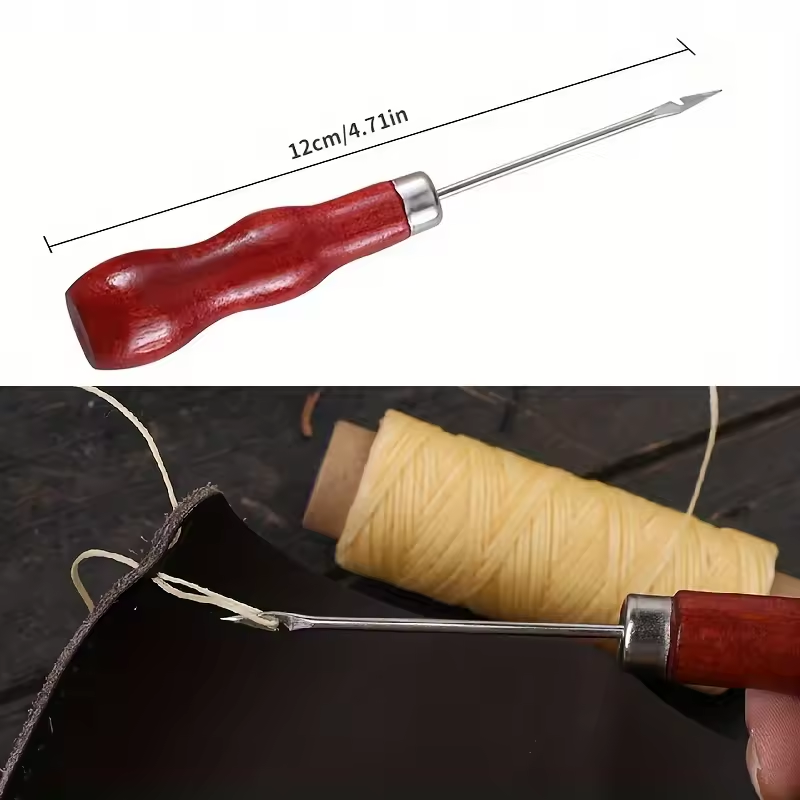
Pattern Reading and Alteration Basics
Navigating sewing patterns can feel complex for beginners. Patterns are the templates from which all garments take shape. They guide you on fabric layout, cutting, and assembly. To start with patterns, understand the symbols and markings. Symbols like notches are pointers for aligning fabric pieces. Lines indicate fold and cut directions. Darts show where to taper fabric for fit.
Reading a pattern requires attention to detail. Look for the pattern’s size chart. It helps you choose the right size to cut. Remember to check seam allowances. They are the extra fabric edges you need for stitching pieces together. Start with easy patterns that have few pieces and simple shapes. They help you build confidence.
Altering patterns is a skill that allows for custom fits. Begin with simple adjustments. You can lengthen or shorten a pattern piece. As you learn, try resizing patterns for a better fit. This might mean making a waistband tighter or a sleeve wider.
Learn to trace patterns onto another paper before cutting. This preserves the original pattern. You can then make changes without ruining the original. Use a tracing wheel and paper for this task. Always test altered patterns with a muslin mock-up or similar fabric first. This way, you can make corrections before cutting into your good fabric.
Pattern reading and alteration basics empower you to create custom-fitted garments. Take your time to grasp these skills. Practice often. Your sewing will reach new levels of precision and fit. Keep these sewing terms in mind, and you’ll handle patterns like a pro in no time.
The Importance of Pressing and Finishing in Sewing
Pressing and finishing give your sewing projects a professional touch. These steps are crucial and should never be skipped. When you press as you sew, you help the fabric keep its shape and enhance the look of your garment. Make sure you use the right heat setting for different fabrics, as some might need a cooler iron to prevent scorching.
Finishing refers to techniques that clean up the insides of your projects. This might include trimming threads or adding lining. These details might seem small, but they can determine your project’s longevity and appearance. Proper finishing stops the fabric from fraying and gives your creations a neat inside that matches the outside.
The difference between a homemade and handcrafted item often lies in these final touches. Pressing eliminates wrinkles and creases, making your garment look crisp and well-made. Finishing, on the other hand, secures and covers the raw edges to prevent them from unraveling over time. Invest in good quality pressing tools, like an iron, pressing cloth, and seam roll. This will ensure that your projects look their absolute best.
Remember, good sewing isn’t just about the process of stitching fabrics together; it’s also about presenting a beautifully finished product. Take the time to press and finish your sewing projects. You will see a significant difference in the end result.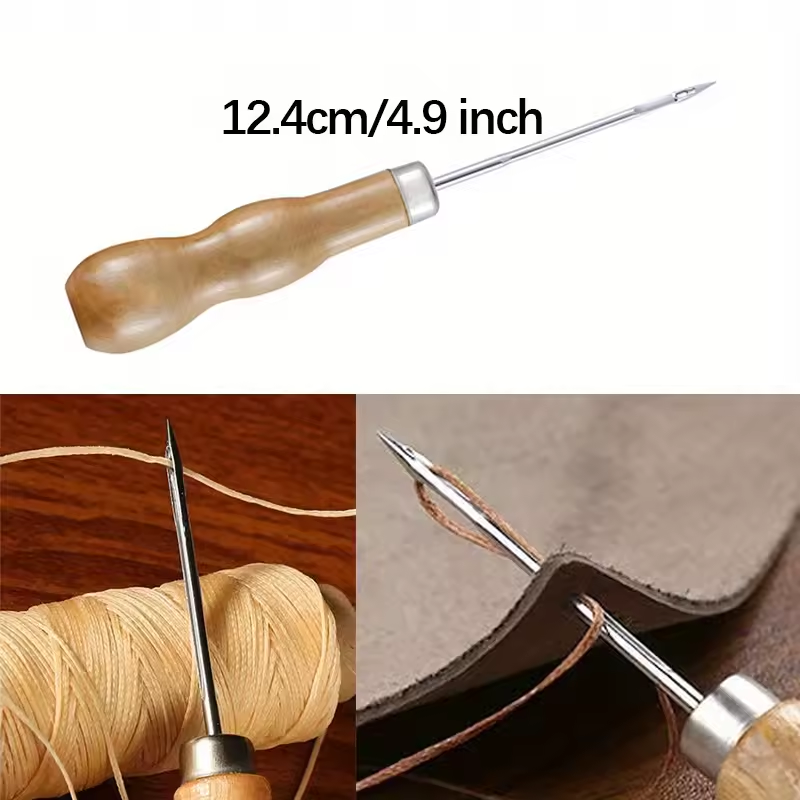
Common Sewing Challenges and Solutions
Sewing can come with its fair share of hurdles, especially for those just starting out. Let’s address some of the most common sewing challenges and provide practical solutions to help you overcome them.
Thread Tension Troubles
Improper thread tension can cause a range of issues, from loose stitches to fabric puckering. Solution? Always test your thread tension on scrap fabric before sewing the final piece. Adjust the tension dials on your sewing machine until the stitch quality improves.
Stuck or Skipped Stitches
If your machine skips stitches or seems stuck, the culprit could often be a blunt or wrong-sized needle. Replace your needle with the correct size and type for your fabric. Also, ensure the needle is properly installed.
Uneven Seams and Wonky Stitching
Uneven seams can make your projects look unprofessional. To fix this, use sewing pins to secure fabric before stitching. Sew slowly and guide the fabric gently to keep seams straight.
Managing Difficult Fabrics
Fabrics like silk or jersey can be tricky. Stabilize these with tissue paper or a special sewing foot. Once the piece is sewn, remove the tissue paper with care.
Breaking Threads
Threads that break frequently signal an issue with the thread quality or the machine setup. Invest in good-quality thread and check your sewing machine’s threading path for proper setup.
Puckered Fabric
Fabric puckering often results from using the wrong needle or stitch type. Opt for the needle and stitch suitable for your fabric’s weight and type. Press fabric lightly before sewing to prevent puckering.
Handling Zippers and Buttons
Zippers and buttons can be intimidating, but with practice, they become manageable. Use an appropriate foot attachment for your sewing machine and follow a step-by-step guide to ensure precision.
These common challenges should not discourage you. With these solutions, you’ll become more proficient, and sewing terms will be part of your everyday language as you continue to learn and grow in your sewing journey.
Advancing Your Sewing Skills: Beyond the Basics
Once you’ve mastered basic sewing terms and techniques, it’s time to level up. Advancing your skills involves exploring new methods and challenging yourself with complex projects.
- Practice Advanced Stitches: Learn stitches beyond the basics, like the blind hem stitch or decoratives ones. These add polish to your work.
- Create Complex Garments: Start sewing garments that require more pieces and detailed construction, like jackets or formal wear. This builds your skills in fitting and handling different fabric types.
- Try Quilting: Quilting combines sewing skills with artistic design. It helps you perfect straight stitching and broadens your creative abilities.
- Experiment with Embellishments: Add beads, embroidery, or appliqué to your projects. These details offer unique touches that enhance the final product.
- Tailoring and Fitting Techniques: Practice altering clothes for a perfect fit. Tailoring is an advanced skill that once mastered, elevates your sewing significantly.
- Work With Challenging Fabrics: Try sewing with materials like leather or velvet that require special handling. It’s a good way to adapt to diverse sewing scenarios.
- Learn to Draft Patterns: Moving from pattern alteration to pattern drafting is a big step. It allows for complete customization in your sewing projects.
- Join Sewing Communities: Engage with other sewers to learn new tips and trends. Sharing experiences can inspire more learning and improvement.
With sewing terms thoroughly integrated into your vocabulary, you’ll find these advanced techniques more approachable. Keep learning and practicing, and soon, these advanced skills will become part of your sewing repertoire.