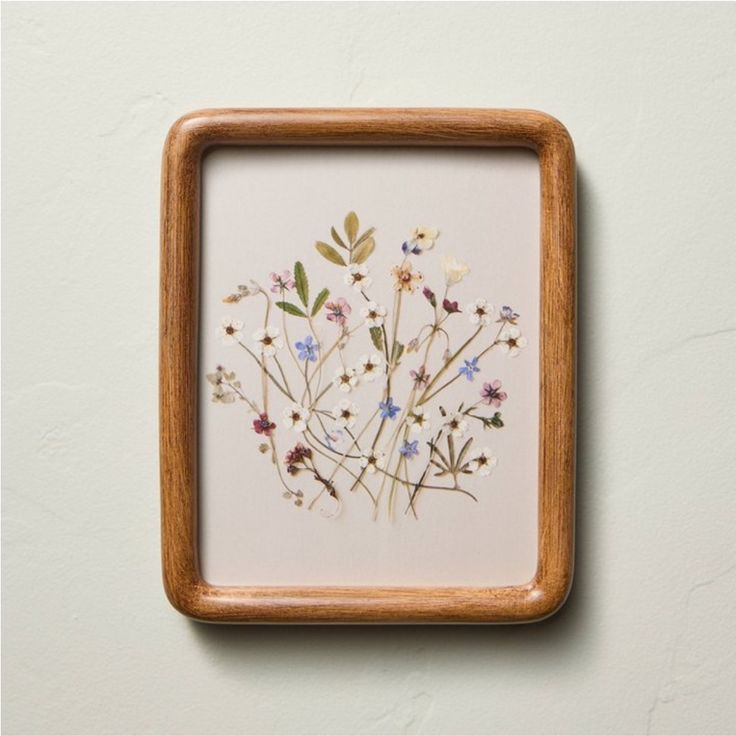
Pressed flower picture frames are a beautiful way to preserve natural beauty while creating stunning decor for your home. This craft has been enjoyed by enthusiasts for centuries, merging nature and art into meaningful keepsakes. In this article, we’ll dive into the intricacies of pressed flower frame-making, discuss materials, techniques, and the emotional significance of such creations. Readers will leave with a comprehensive understanding of not just the how-tos, but also the why behind this delightful craft.
Introduction to Pressed Flowers
Pressed flowers are a timeless craft that beautifully encapsulates the ephemeral beauty of nature. This art form involves the careful process of flattening and drying flowers through a range of methods. These techniques help retain the flowers’ vibrant colors and intricate shapes, allowing their beauty to be preserved long after their natural lifespan. The practice of pressing flowers is not a mere hobby; it carries significant meaning and history. This age-old technique has roots in various cultures around the world. It has applications extending beyond personal art, influencing areas such as fashion design and home decor, where pressed flowers are often incorporated into stunning creations.
The Historical Significance
Pressed flowers date back to the Victorian era, where they gained tremendous popularity among young women as a form of artistic expression. More than just a pastime, the art of pressing flowers served as a sentimental journey for many. It was a way to remember loved ones or to mark significant life events. Collecting flowers and pressing them became a personal ritual, steeped in meaning. Furthermore, in many cultures, pressed flowers have been utilized in the formation of herbariums—collections of dried plants. These herbariums played a vital role in helping to document local flora, contributing significantly to botanical studies and the advancement of natural science. The historical significance of pressed flowers continues to inspire contemporary artists and craft enthusiasts, reminding us of the delicate balance between nature and art.
Materials Needed for Creating Pressed Flower Photo Frames
Creating a pressed flower picture frame is a delightful and relatively simple process. It requires only a few core materials, each playing a crucial role in crafting this beautiful artwork.
Flowers
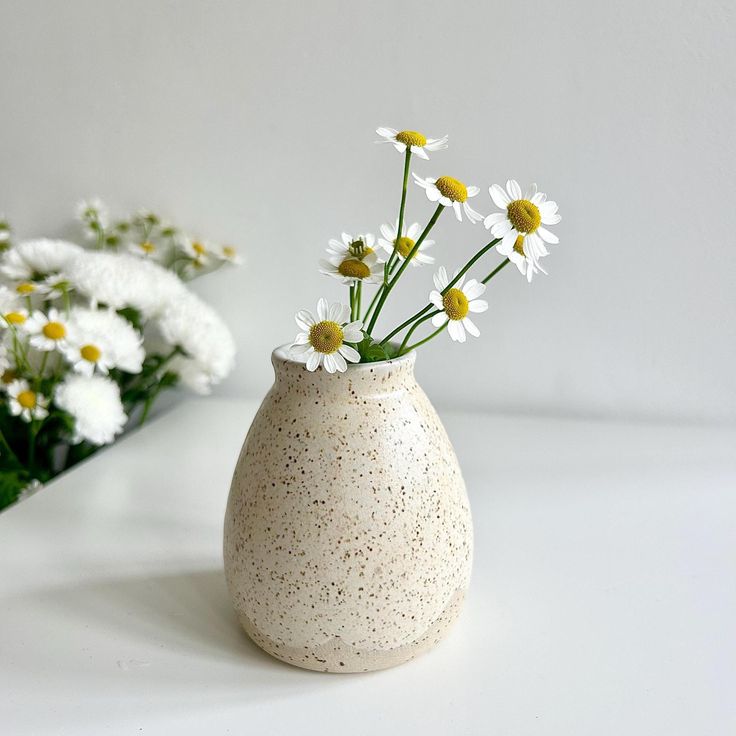
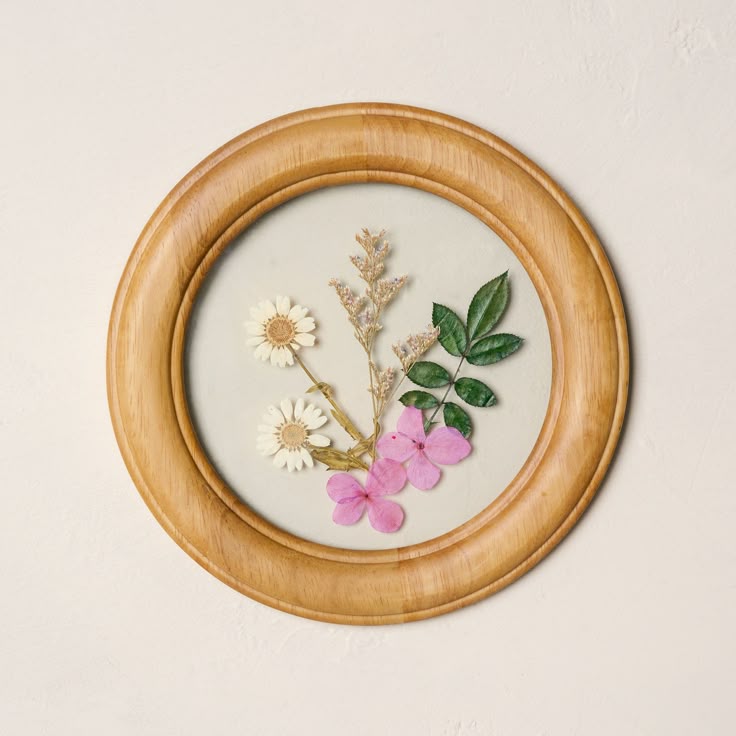
The first step is selecting the right flowers. Choose flowers based on their shapes, sizes, and durability. Thin-petaled flowers such as pansies, daisies, and violets are excellent choices. Their delicate textures and vibrant colors make them ideal for pressing. On the other hand, you can also press hardier varieties like lavender and roses effectively, although you may need to handle them with special care due to their thicker petals.
Pressing Method and Tools
Next, consider the pressing methods and tools available to you. A flower press is highly recommended, as it consists of two wooden boards padded with absorbent paper. This method ensures even pressure distribution, resulting in well-preserved flowers. Alternatively, heavy books can be used for pressing. While this method may not yield as uniform results as a dedicated flower press, it is often readily accessible. For those in a hurry, you can also use a microwave to press flowers. By utilizing silica gel, you can press the flowers quickly; however, exercise caution to avoid burning the delicate petals.
Picture Frame
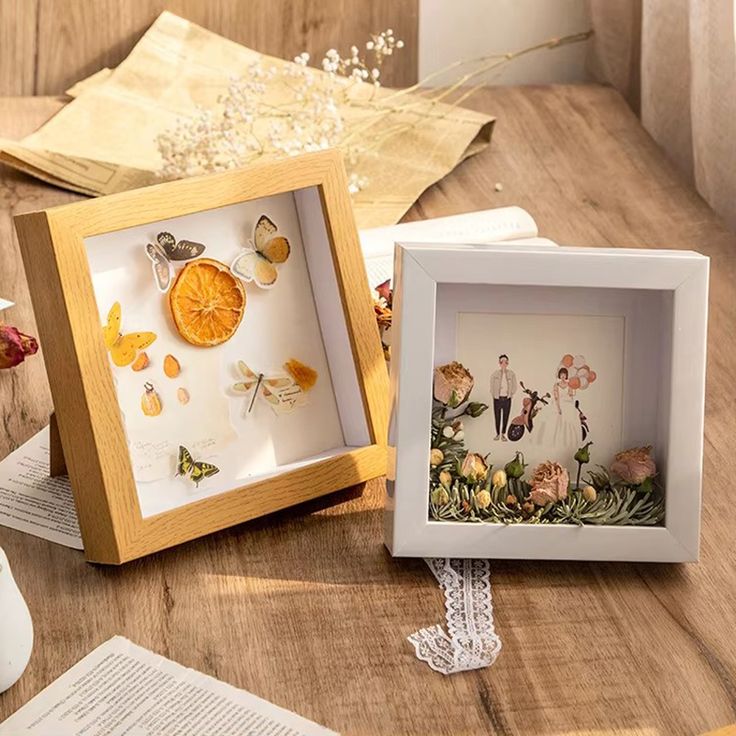
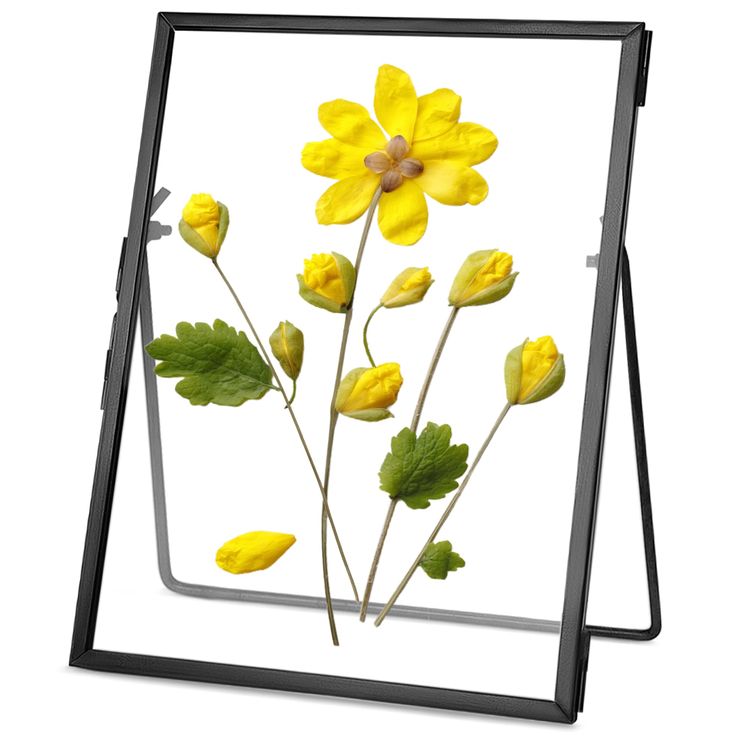
Once your flowers are ready, it’s time to choose a picture frame. Opt for a simple yet elegant frame that complements the beauty of the pressed flowers. Wooden frames, shadow boxes, and transparent glass frames are all fantastic choices that can enhance the overall look of your artwork.
Adhesives and Sealants
To attach the pressed flowers to the frame, use craft glue or mod-podge. These adhesives are effective for ensuring that the flowers stay in place. Additionally, a spray sealant can be applied to help preserve the flowers’ colors and prevent fading.
Cling Films or Wax Paper
Lastly, cling films or wax paper are useful for protecting the flowers during the pressing process. You can also use these materials creatively for layering within the frame, adding depth and texture to your finished piece. By gathering these materials, you’re one step closer to creating a stunning pressed flower picture frame that captures the beauty of nature.
The Pressing Process
Step-by-Step Guide
- Harvesting Flowers: Gather fresh, unblemished flowers. Early morning is the best time for picking, as flowers are fully hydrated.
- Preparing the Flowers: Remove any leaves and break stems to a manageable size. Place the flowers flat, ensuring that they do not overlap.
- Pressing the Flowers:
- Using a flower press, place the flowers between sheets of absorbent paper, and then seal with the top board, tightening it gently.
- If using books, place the flowers on paper, cover with another sheet, and then stack more books on top for added weight.
- For microwave pressing, bury flowers in silica gel inside a microwave-safe container and heat them based on your microwave’s wattage.
- Drying Time: Flowers will typically take 1-2 weeks to dry in a flower press or book; microwave-dried flowers are ready within minutes.
Ensuring Quality
Maintain an eye on the flowers during the drying phase. Colors may fade if exposed to excessive light or moisture, so store them in a cool, dark environment until ready for use.
Assembling Your Pressed Flower Photo Frame
Once you have a collection of beautifully pressed flowers, it’s time to create your picture frame masterpiece.
Choosing the Design
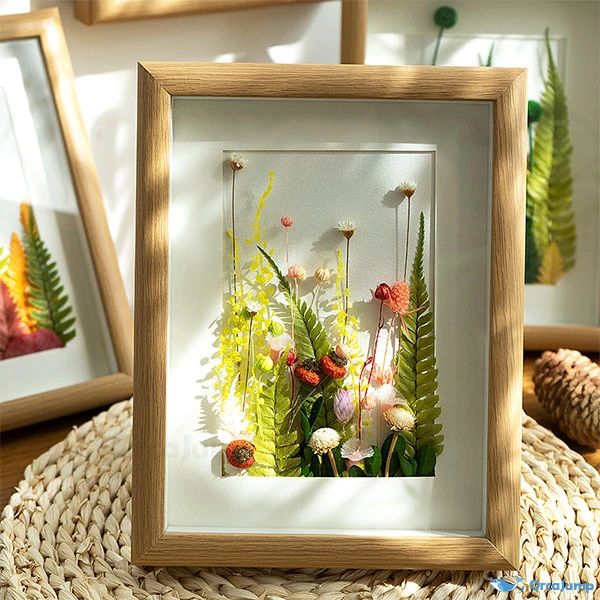
Think about how you want to arrange your pressed flowers. Familiarize yourself with different layouts such as scattered random designs or symmetrical patterns. Experimenting on a flat surface can help you visualize the final product.
Gluing the Flowers
- Arranging: Place the flowers on the picture frame’s background before gluing to ensure satisfaction with the design.
- Applying Adhesive: Carefully apply glue to the back of each flower and press it into place. Take great care not to use excess—too much glue can seep through and distort the petals.
- Sealing: After the flowers are glued and the adhesive is dry, consider applying a thin layer of mod-podge or spray sealant. This additional step can help preserve the colors and provide a protective coating.
Framing the Artwork
After allowing everything to fully dry, gently place the framed artwork into your chosen framework. Make sure the flowers are securely attached and that everything looks cohesive.
Personalizing Your Pressed Flower Picture Frame
Adding Text
Personalize your picture frame by including little messages, quotes, or dates that represent the occasion. This text can be written directly on the frame or on a separate piece of paper included within the frame.
Artistic Embellishments
Consider adding additional elements such as twine, beads, or small charms that harmonize with the pressed flowers. These embellishments can provide texture and visual interest.
Thematic Frames
You may also design frames based on themes like seasons, significant events, or color palettes to create a more impactful piece that complements your decor style.
Emotional Significance of Pressed Flower Photo Frames
Pressed flower picture frames transcend mere decorative elements; they encapsulate memories, celebrate milestones, and express individuality.
Connection to Nature
In a fast-paced, digital world, crafting pressed flower frames reminds us of the beauty and simplicity of the natural world. Creating these frames can be a grounding experience, allowing you to connect with the environment.
Sentimental Value
Whether gifted or created for personal use, each pressed flower has a story, representing a moment in time or a person cherished. As keepsakes, they serve as daily reminders of specific personal histories and emotional connections.
Care and Maintenance of Your Pressed Flower Photo Frames
To ensure the longevity of your pressed flower creations, consider these care tips:
- Avoid Direct Sunlight: UV rays can severely degrade the colors of pressed flowers. Display them in locations that do not receive direct sun exposure.
- Dust Gently: Use a soft cloth to dust the frame regularly. Avoid using chemicals that may damage the flowers.
- Temperature Control: Keep the framed artwork in a stable climate, avoiding areas that are too humid or too dry.
Repairing Damage
If flowers begin to show signs of wear, carefully apply a small amount of additional glue to reattach them. However, take care not to alter their original state too much.
Conclusion
Creating a pressed flower picture frame is not just an art project; it is an exploration of creativity, nature, and sentiment. By fusing craft with personal narrative, artists create pressed flower frames that offer a unique way to celebrate life’s moments. These frames remind the creator and the observer of the beauty found in fleeting experiences.
As you embark on your journey of creating pressed flower picture frames, remember to appreciate the process and the memories each flower represents. Let each creation be a celebration of life and a testament to the beauty of art through nature. Happy crafting!