Getting Started with Clay Figurines
Clay figurine ideas offer a fun way to explore creativity. Creating clay figurines is an enjoyable hobby for everyone. Beginners can start by learning about essential materials and tools. Choosing the right clay and mastering techniques builds confidence in your craft.
Essential Tools and Materials for Clay Figurine Making
To begin, you need basic tools and materials:
- Modeling tools: These include shaping knives, sculpting tools, and wire loop tools.
- Clay: Start with beginner-friendly polymer or air-dry clay.
- Work surface: Use a flat and clean surface for shaping.
- Storage containers: Store unused clay in airtight bags to prevent drying.
- Optional items: Accessories like rollers, cutters, or stamps can add texture and detail to figurines.
Organize tools for easy access to improve your creative process.
Types of Clay: Choosing the Right Medium for Beginners
Selecting the right clay is essential for beginner success. Consider these types:
- Polymer clay: Easy to work with and bakes in a home oven.
- Air-dry clay: Does not require baking but may be less durable.
- Oil-based clay: Great for practice as it remains soft but unsuitable for permanent figurines.
Polymer clay is highly recommended for starting projects due to its versatility.
Basic Sculpting Techniques to Master
Mastering the basics of sculpting will set you up for success:
- Rolling: Use hands or a roller to create smooth surfaces.
- Pinching: Shape clay into desired forms using thumb and fingers.
- Carving: Use sculpting tools to add fine details.
- Blending: Smooth joint lines with fingers or blending tools.
Practice these techniques regularly to improve skills and create polished figurines.
Simple Clay Figurine Ideas for Beginners
Starting with simple designs helps you learn sculpting without feeling overwhelmed. Focus on easy shapes and concepts to build your skills. These figurines make perfect gifts, decorations, or fun activities.
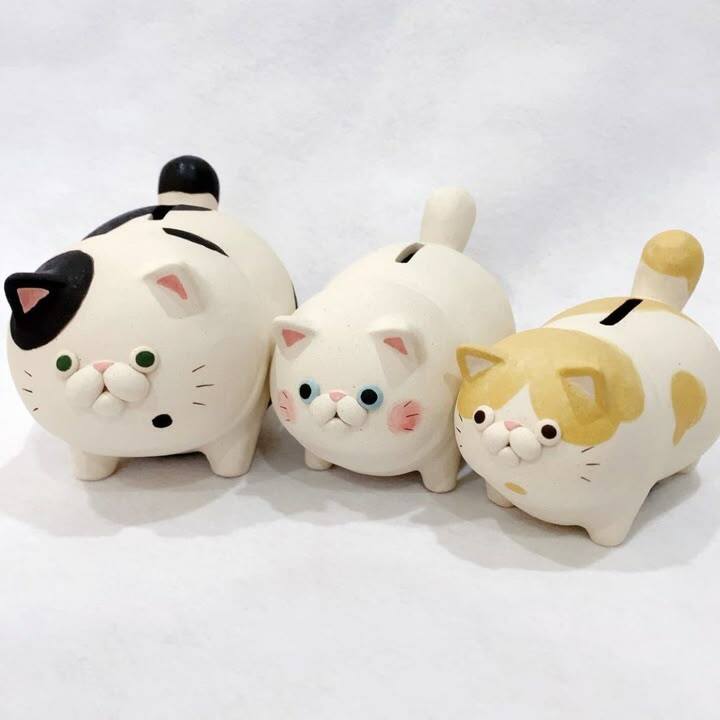
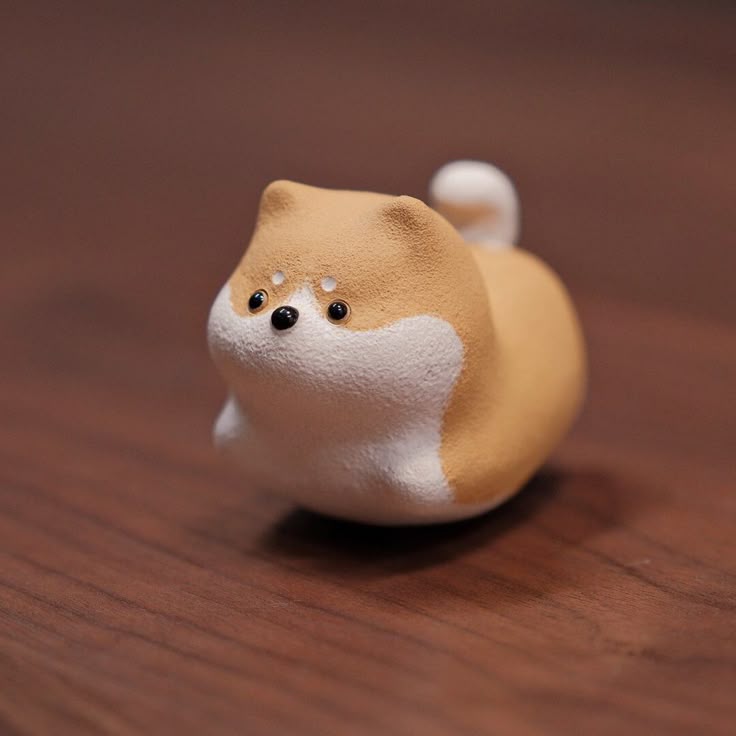
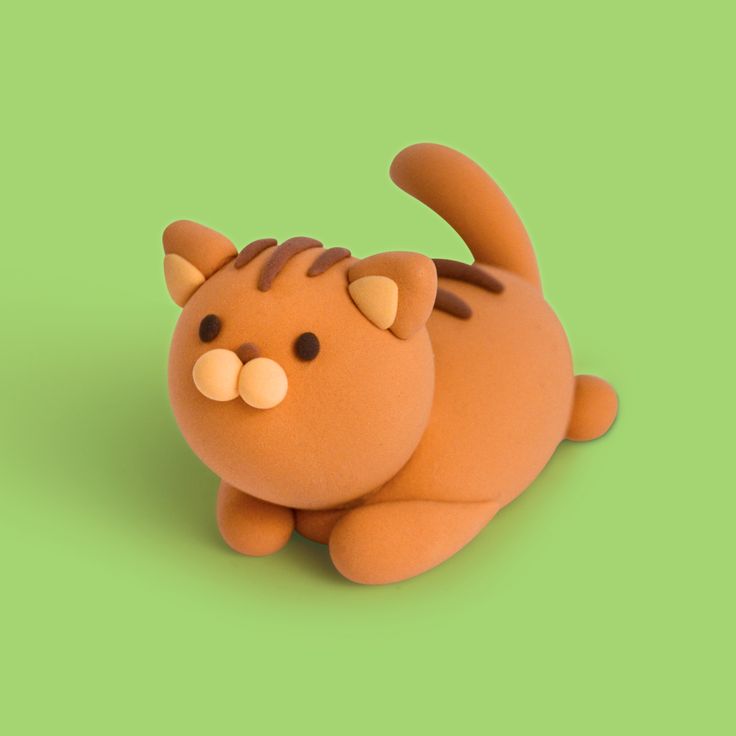
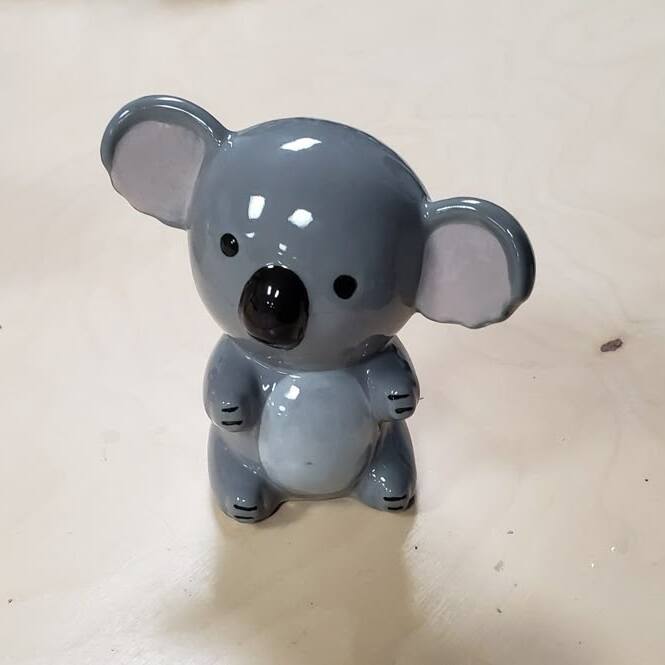
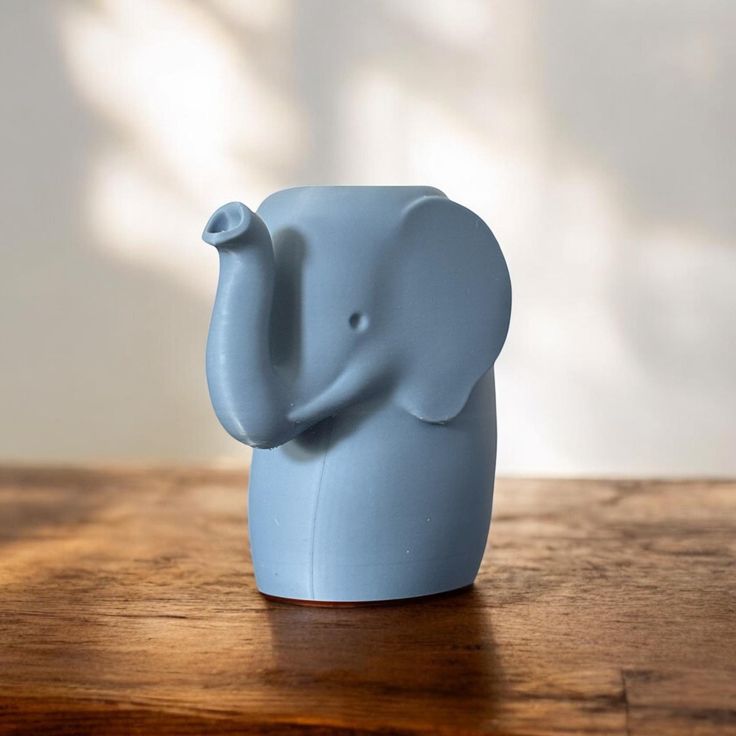
Animal Figurines: Cats, Dogs, and Other Easy Shapes
Animal figurines are ideal for beginners due to their simplicity. Common choices include cats, dogs, and birds. Start with basic shapes, like rounded bodies and simple legs. Use sculpting tools to add details like eyes, noses, and fur texture. Polymer clay works well for creating sturdy animals. Paint them using soft brushes for vibrant results.
Fun Human Characters: Creating Miniature People
Miniature people are great projects to learn proportions and expressions. Begin by shaping heads, torsos, and limbs separately. Use pinching and carving techniques to refine features like hair and facial details. Accessories like hats or glasses add personality. Keep details simple to avoid frustration. Practice creating casual poses to bring life to your figurines.
Food-Inspired Clay Creations: Fruits, Vegetables, and Snacks
Food figurines combine creativity with fun themes. Popular clay figurine ideas include fruits like bananas and strawberries or snacks like donuts. Shape food items using rolling or blending techniques. Add details like textures or tiny seeds with carving tools. Use colored clay or paint for realistic effects. These figurines make charming pieces for kitchen displays or gifts.
Seasonal and Holiday-Inspired Clay Figurines
Adding a seasonal flair to your clay creations is an enjoyable way to celebrate holidays. These themed figurines bring charm to your home and make lovely gifts. You can use simple shapes and vibrant colors to capture festive spirit. Here are a few popular holiday and seasonal clay figurine ideas to try.
Christmas Ornaments: Santa, Reindeer, and Snowmen
Christmas-themed clay figurines are a staple for holiday decorations. Start by making simple shapes like Santa’s hat, reindeer antlers, or snowmen bodies. Add details like Santa’s beard using carving tools or blending techniques. For snowmen, roll three clay balls for the body and add small features using shaping tools. Use painted clay or acrylic paint for accents like eyes, hats, and scarves. Hang them on your tree by inserting a small wire loop before the clay dries or gets baked.
Halloween Figurines: Pumpkins, Ghosts, and Monsters
Halloween figurines are fun and easy to make. Create pumpkins by rolling clay into a ball and carving lines for texture. Add a small stem on top and paint it orange and green. Ghosts can be made with simple teardrop shapes, and you can add spooky faces using paints or markers. Make funny monsters by experimenting with wild shapes, toothy grins, and googly eyes. Use vibrant or glow-in-the-dark colors for extra spookiness.
Spring and Summer Themes: Flowers, Butterflies, and Seashells
Celebrate the warmer seasons with nature-inspired creations. Flowers can be shaped using petal patterns combined into a bloom. Use bright clay colors or paint them after drying for a polished look. Butterflies require simple wing shapes with added textures like dots or vein patterns. For seashells, carve small grooves on rolled clay to mimic shell details. These figurines are perfect décor pieces during spring and summer months.
Personalizing Your Clay Figurines
Adding a personal touch to your clay figurines makes your creations unique and meaningful. By using different tools, accessories, paints, and textures, you can elevate your designs. These techniques allow you to express creativity while giving depth and character to your figurines.
Adding Details with Tools and Accessories
Use specialized tools and accessories to refine your figurines:
- Sculpting tools: Add intricate details like patterns, grooves, or facial features.
- Stamp sets: Create consistent designs by pressing stamps into clay.
- Wire and beads: Add accessories such as jewelry, glasses, or decorative elements.
- Clay cutters: Shape precise outlines for clean and polished edges.
Experiment with a variety of tools to discover new ways to enhance your designs.
Painting and Coloring Techniques for a Professional Look
Use paints and coloring methods to add life to your figurines:
- Acrylic paints: Provide bright and durable colors perfect for finishing polymer clay figurines.
- Dry brushing: Add subtle highlights and textures for a realistic effect.
- Layering colors: Blend shades to create depth and richness.
- Gloss or matte finishes: Seal your artwork for shine or a natural appearance.
Let each layer dry before adding new colors to avoid smudging.
Using Texture and Patterns for Unique Designs
Textures and patterns make your figurines stand out:
- Tools for texture: Use sponges, textured rollers, or toothpicks to create interesting surfaces.
- Layered patterns: Combine different designs for an intricate look.
- Imprints: Press objects like leaves or fabrics into clay for natural patterns.
- Carving techniques: Etch shapes or lines for visual depth.
These small details help make your figurines one-of-a-kind. Always experiment and play with textures to explore creative possibilities.
Advanced Concepts for Aspiring Artists
Once you’ve mastered the basics, dive into advanced clay sculpting techniques. These methods can elevate your creations and push your artistic boundaries. By experimenting with intricate designs, functional elements, and realistic detailing, you can bring your clay figurines to the next level.
Combining Clay Colors for Intricate Designs
Blending clay colors adds depth and personality to your figurines. Follow these tips for best results:
- Marbling effect: Twist two or more colors together for unique patterns.
- Gradient blending: Layer colors gradually to create smooth transitions.
- Inlays: Embed shapes or stripes using contrasting colors.
- Canes: Roll and slice patterned clay canes to add decorative sections.
Always test color combinations first to ensure they match your vision.
Creating Moving Parts or Functional Clay Figurines
Add movement or functionality to your figurines with simple techniques:
- Hinges: Use wire or metal pins to create joints for rotating parts.
- Interlocking pieces: Design parts that snap together for modular figurines.
- Holes and loops: Add spaces for accessories, like keychains or hanging decor.
- Functional elements: Transform your figurine into a pen holder or a miniature box.
Plan these features before sculpting to ensure precision and durability.
Sculpting Realistic Features: Tips for Faces and Hands
Realistic features require attention to detail and patience. Here are steps to create lifelike faces and hands:
- Faces: Start with basic shapes, then sculpt features like noses, mouths, and eyes gradually.
- Hands: Shape fingers individually, paying close attention to proportions.
- Textures: Use fine tools to add skin details, wrinkles, or expressions.
- Layering technique: Build features layer by layer for accurate contours.
Practice is key—repeat these steps to refine your realism skills over time.
By mastering these advanced concepts, you can transform simple clay designs into striking, professional-grade figurines. Let your imagination lead the way!
Troubleshooting and Tips for Clay Figurine Making
Even experienced clay artists face challenges during crafting. By understanding common problems and applying helpful tips, you can improve your work. Here’s how to overcome issues and ensure your clay figurines turn out great.
How to Fix Common Sculpting Mistakes
Mistakes happen, but they’re usually fixable. Here are common issues and solutions:
- Cracks in clay: Use water or clay adhesive to smooth and seal cracks. Apply gently with a tool.
- Uneven shapes: Re-roll the clay and shape it again for better proportions.
- Weak joints: Blend connecting areas thoroughly and reinforce them with a small amount of extra clay.
- Accidental cuts or dents: Use a sculpting tool to smooth or fill the damaged area.
- Fingerprints on surfaces: Wipe them off with a soft, damp sponge before the clay hardens.
Taking your time during sculpting helps avoid many common issues.
Best Practices for Storing and Baking Clay
Proper storage and baking are crucial for good results. Follow these steps:
- Storing clay: Keep unused clay in airtight bags or containers to prevent drying out.
- Work environment: Store clay away from direct sunlight and heat.
- Baking polymer clay: Use an oven thermometer to ensure accurate temperatures. Bake at the temperature recommended on the clay package.
- Avoid overbaking: Overheating clay can result in browning or burning. Time your bake sessions precisely.
- Cool slowly: Let baked clay cool at room temperature to prevent cracks.
These practices will keep your clay in good condition and improve your finished figurines.
Keeping Your Figurines Durable and Long-Lasting
Make your creations more durable with these tips:
- Reinforce thin areas: Add extra clay to delicate parts like arms, tails, or antennae.
- Seal surfaces: Use varnish or sealant to protect painted or unpainted clay.
- Avoid water damage: Keep air-dry and polymer clay figurines away from moisture.
- Handle with care: Store finished figurines on a stable surface to prevent falls or damage.
- Repair breaks immediately: Use strong craft glue to reattach broken pieces.
By following these tips, your clay figurines will remain beautiful and durable for years.
Inspiration and Next Steps in Clay Art
Once you’ve mastered the basics of clay figurine crafting, finding inspiration is crucial to keep growing and innovating. Explore different sources and communities to uncover fresh clay figurine ideas and refine your skills. Taking deliberate steps can turn your hobby into a creative journey or even a profession.
Where to Find Ideas and Templates for Projects
Discovering new clay figurine ideas and templates ignites creativity for your clay art projects:
- Books and Magazines: Look for art or craft magazines with project guides and inspiration.
- Online Tutorials: Watch videos on platforms like YouTube to learn varied techniques and designs.
- Craft Stores: Many stores offer kits and template guides to spark new ideas.
- Nature and Everyday Items: Observe surroundings like plants, animals, or objects for unique figurine concepts.
- Art Exhibitions: Visit local art shows to study innovative clay works by other artists.
Keep a sketchbook to jot down clay figurine ideas and plan upcoming projects.
Joining Online Communities and Sharing Your Creations
Becoming part of the clay art community promotes growth and helps refine your craft:
- Social Media Groups: Join platforms like Facebook or Instagram to connect with clay artists worldwide.
- Craft Forums: Share insights and ask questions in forums dedicated to sculpting and crafting.
- Blogging: Write about your clay journey to inspire others and document progress.
- Virtual Workshops: Attend online classes to meet experts and gain new perspectives.
- Contests and Challenges: Participate in monthly theme challenges to stay motivated.
Engaging with others helps build confidence and opens doors to collaborations.
Taking Your Skills to the Next Level with Advanced Tutorials
Enhance your abilities with advanced tutorials tailored for experienced artists:
- Detailed Sculpting Techniques: Master facial expressions, realistic textures, and complex designs through step-by-steps.
- Dynamic Projects: Work on movable figurines or functional designs like boxes and ornaments.
- Specialized Tools: Learn to integrate advanced tools like rotary cutters or embossing stamps.
- Color Blending Mastery: Practice intricate multicolor effects like gradients or layered marble patterns.
- Custom Patterns: Design signature templates to create unique figurines exclusive to your style.
Set skill-specific goals and practice consistently to challenge yourself and unlock new levels of artistry.
By exploring clay figurine ideas, engaging with communities, and embracing advanced tutorials, you’ll fuel creativity and elevate your clay art journey into a rewarding experience.