Decorating a nursery is one of the most exciting aspects of preparing for a new arrival. One of the most effective elements in achieving a dream nursery is the use of wallpaper. Beyond mere aesthetics, nursery wallpaper can enhance the overall ambiance while providing an engaging space for your child to grow and develop. However, the prospect of installation and removal can appear daunting to many. This comprehensive guide offers you insights, practical tips, and methods that simplify the process of installing and later removing nursery wallpaper, ensuring that you can create a beautiful and adaptable space.
Understanding the Types of Nursery Wallpaper
When exploring nursery wallpaper, understanding the different types can significantly influence your choice and ease of installation. There are primarily three types of wallpaper: traditional paper wallpaper, vinyl wallpaper, and peel-and-stick wallpaper. Each variety offers unique benefits suitable for a nursery environment.
Traditional Paper Wallpaper: This classic choice features a beautiful range of patterns and textures. While it may offer stunning visuals, traditional wallpaper requires paste and more meticulous installation. If you opt for this style, ensure that you’re prepared for a process that involves measuring, pasting, and aligning patterns carefully.
Vinyl Wallpaper: Known for its durability and ease of cleaning, vinyl wallpaper is an excellent choice for nurseries. It holds up well against spills and can withstand the wear and tear associated with little ones. Although installation is typically similar to traditional wallpaper, the cleaning process becomes much easier.
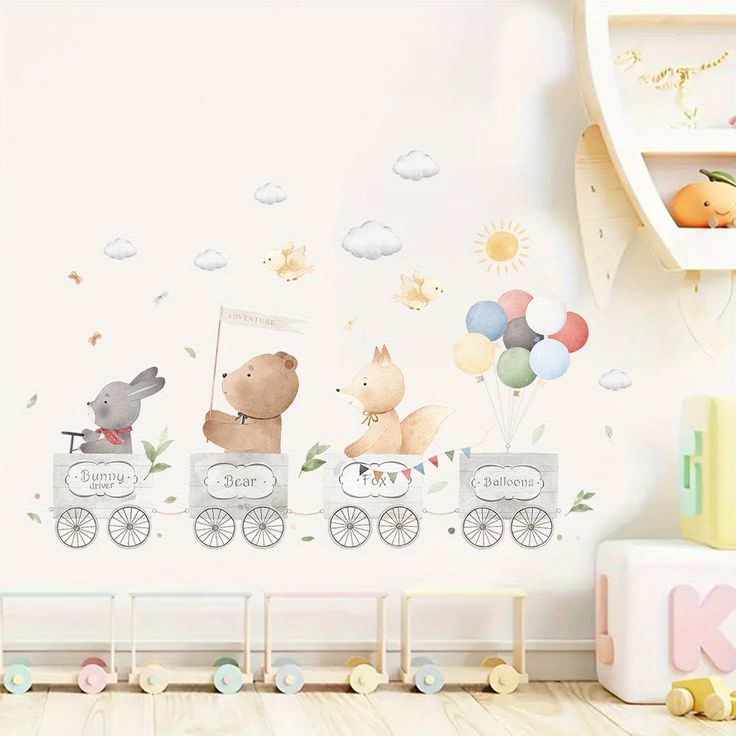
Peel-and-Stick Wallpaper: This innovative choice revolutionizes the world of wallpaper. With an adhesive backing, peel-and-stick wallpaper allows for quick and easy installation. It’s also removable, making it perfect for a nursery where design preferences might change as the child grows. This type of wallpaper often offers a vast array of designs, from whimsical landscapes to educational scenes, and can be the perfect way to provide visual stimulation for your little one.
As you choose the type of wallpaper that resonates with your nursery’s theme, consider ease of installation and future removability, ensuring you make an informed decision.
Prepping Your Walls Like a Pro
Preparation is critical for a successful nursery wallpaper installation. Whether with traditional, vinyl, or peel-and-stick options, taking the time to prep your walls will yield long-lasting results. Follow these steps to create a perfectly primed surface.
First, clean your walls thoroughly. Dust, dirt, and grease can inhibit adhesive properties or cause uneven surfaces. Use a mild soap solution and a soft sponge to wipe down the walls, ensuring you rinse and dry them well afterward.
Second, inspect your walls for any damage. Holes, cracks, or imperfections should be repaired before applying wallpaper. Use spackle for holes and a drywall patch for larger imperfections, ensuring both are completely dry before proceeding. Sand the surface with fine-grit sandpaper until it’s smooth, and remember to wipe away any dust from the sanding process.
Next, if you’re using traditional or vinyl wallpaper, apply a primer specifically designed for wallpaper. This primer creates a bond and helps the wallpaper adhere better, preventing it from peeling in the future. For peel-and-stick wallpaper, preparing your walls is simpler; ensure they are clean and smooth, and you’re ready to go.
Lastly, measure the wall accurately. Use a tape measure to determine the width and height of each wall you plan to cover. Remember to add extra length for pattern matching, especially if your wallpaper features designs that require aligning.
Tools and Materials for Wallpaper Installation
Equipping yourself with the right tools and materials is crucial for a seamless wallpaper installation. Gather these essentials before starting your project to save time and ensure smooth execution.
First, have a smooth-edged utility knife. This tool helps trim the wallpaper precisely, ensuring a clean finish along edges and corners. Additionally, keep a measuring tape and a straight edge or ruler nearby. You’ll need these for accurate measurements, guiding your cuts, and ensuring your cuts are straight and precise.
A wallpaper smoother or a brayer works wonders in eliminating air bubbles and ensuring the wallpaper adheres well to the wall. While installing, you’ll appreciate having a seam roller to press down the seams, which is especially crucial for traditional and vinyl wallpaper to prevent peeling.
For adhesive wallpapers, having a soft cloth handy can assist with any adhesive residue cleanup during installation. Furthermore, a level will prove invaluable, especially for aligning multiple panels.
Do not forget the basic items like a stool or ladder, depending on your ceiling height, to reach upper areas easily. Lastly, ensure you have a bucket or container for any waste materials as you proceed with your project. Having these tools at your disposal can drastically simplify your installation efforts.
Step-by-Step Guide to Installing Decorative Paper
Once you prepare your walls and gather your tools, the next step is to get your wallpaper up. Follow this step-by-step guide to simplify your installation process.
- Measure and Cut: Begin by measuring the height of your wall from the base to the ceiling. Cut your wallpaper panels accordingly, adding extra inches to account for trimming at the top and bottom.
- Mark Your Starting Point: Using a level, draw a vertical line on the wall that serves as your starting point. This line should be plumb, ensuring that your first piece hangs straight.
- Apply Adhesive (if applicable): For traditional or vinyl wallpaper, apply the adhesive to the back of the wallpaper using a paint roller or brush. Make sure to cover the edges well, but avoid excess paste that can seep out during hanging.
- Hang the Wallpaper: Align the top of the panel with the ceiling and carefully let it fall down. Start from the top and slowly work your way down, smoothing as you go. For peel-and-stick wallpaper, align the top edge with your starting point and press down firmly, smoothing it as you work.
- Smoothing and Trimming: Once the wallpaper is in place, use your wallpaper smoother to eliminate air bubbles, starting from the center and working outward. Trim excess wallpaper at the top and bottom using your utility knife and straight edge.
- Repeat the Process: Continue these steps for subsequent panels. Make sure to align the patterns accurately, repeating the smoothing and trimming process as necessary.
- Final Inspection: After applying all the wallpaper, inspect your work. Ensure edges are sealed, and all areas are smooth and free of bubbles. This final check ensures your nursery looks immaculate.
Removing Nursery Wallpaper: A Step-by-Step Guide
While installing nursery wallpaper brings a fresh aesthetic, understanding the removal process can ease your mind about the longevity of the installation. The ability to easily remove wallpaper is essential, especially as tastes and styles change. Follow these steps for a straightforward removal process.
- Gather the Right Tools: Before you begin, equip yourself with a paint scraper, sponge, spray bottle, and wallpaper removal solution or a mix of vinegar and warm water. Having a ladder or stool may also be necessary if you’re working on high walls.
- Score the Wallpaper: Use a wallpaper scraper or a scoring tool to create small perforations in the wallpaper. This step helps the removal solution penetrate through the wallpaper and adhesive.
- Apply the Removal Solution: Fill a spray bottle with your wallpaper removal solution, or your vinegar-water mixture, and spray it onto the scored wallpaper generously. Let it sit for about 15 minutes to allow the solution to seep in effectively.
- Begin Removing: Starting from one corner, carefully lift the wallpaper using your paint scraper. Gently pull away the wallpaper from the wall, taking care not to damage the underlying surface.
- Repeat as Necessary: Continue this process, applying more removal solution as needed, until all wallpaper strips are removed.
- Clean the Walls: Once you’ve removed the wallpaper, clean the wall with a sponge and warm soapy water. This step ensures there’s no residual glue left behind. Dry off the wall thoroughly with a towel afterward.
- Repair Any Damage: After cleaning, inspect the wall for any damage and fill in holes or scratches as necessary with spackle. Allow all repairs to dry thoroughly before considering a new installation.
Designing a Versatile Nursery with Wallpaper
Choosing the right nursery wallpaper can highly influence not just the nursery’s aesthetics but also its flexibility as your child grows. Selecting a design that remains engaging through different stages of development is key.
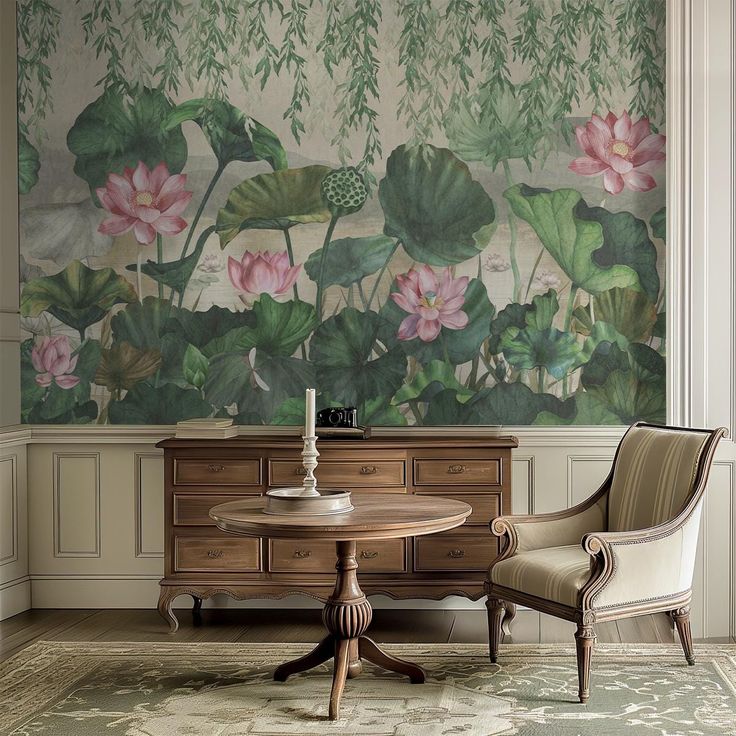
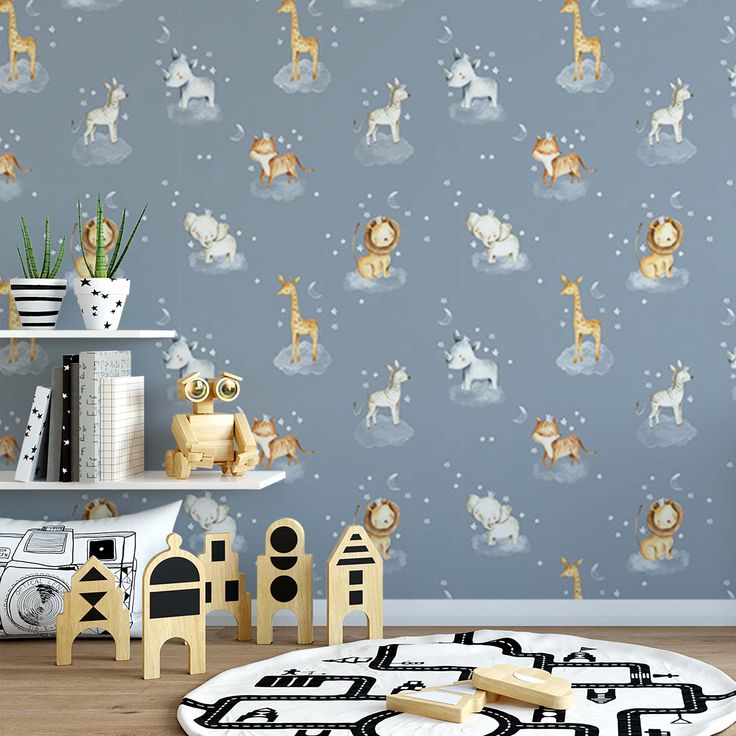
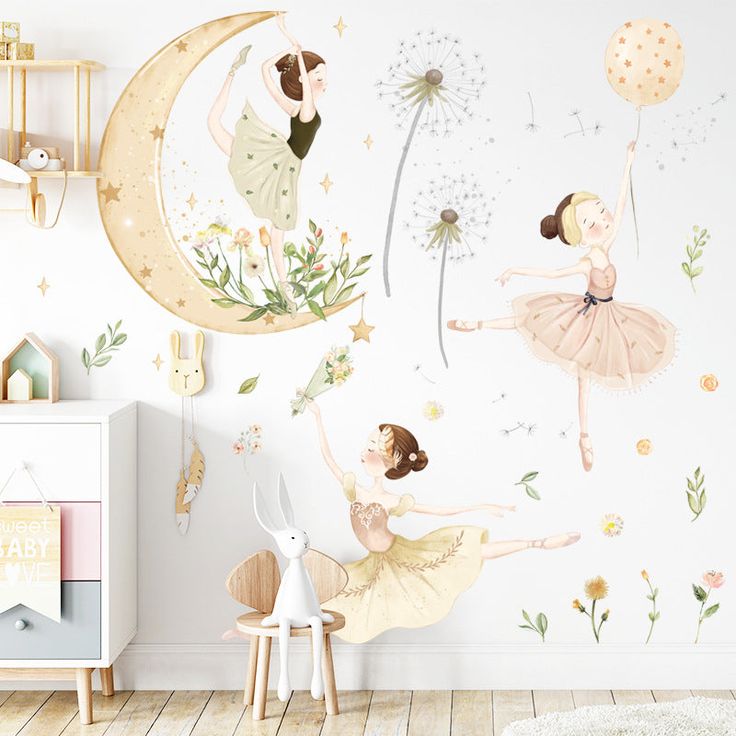
Consider a timeless theme that can evolve as your child’s interests change. Patterns like whimsical animals, nature scenes, or geometric designs often suit various ages. For instance, a whimsical forest scene can capture your baby’s attention with colorful characters while leaving room for educational discussions about wildlife as they grow older.
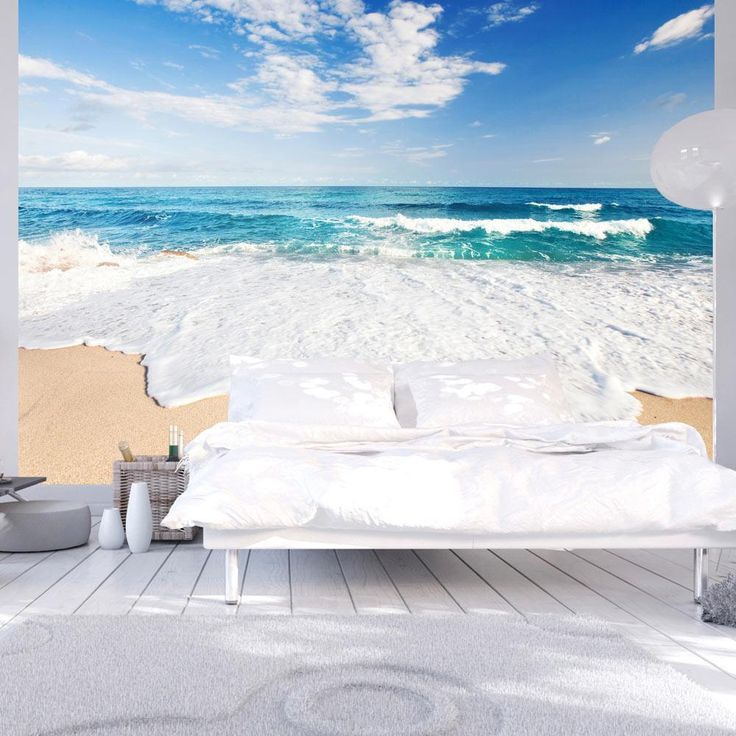
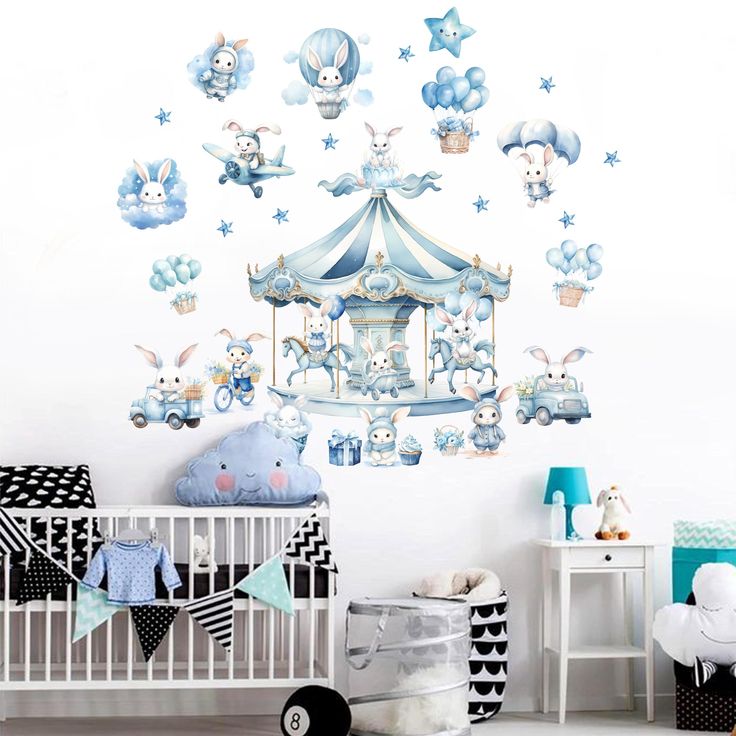
You may also opt for removable wallpaper featuring elements that can be added or changed over time. For example, a mural with interactive elements, such as a world map or a space theme, becomes a learning tool as your little one grows.
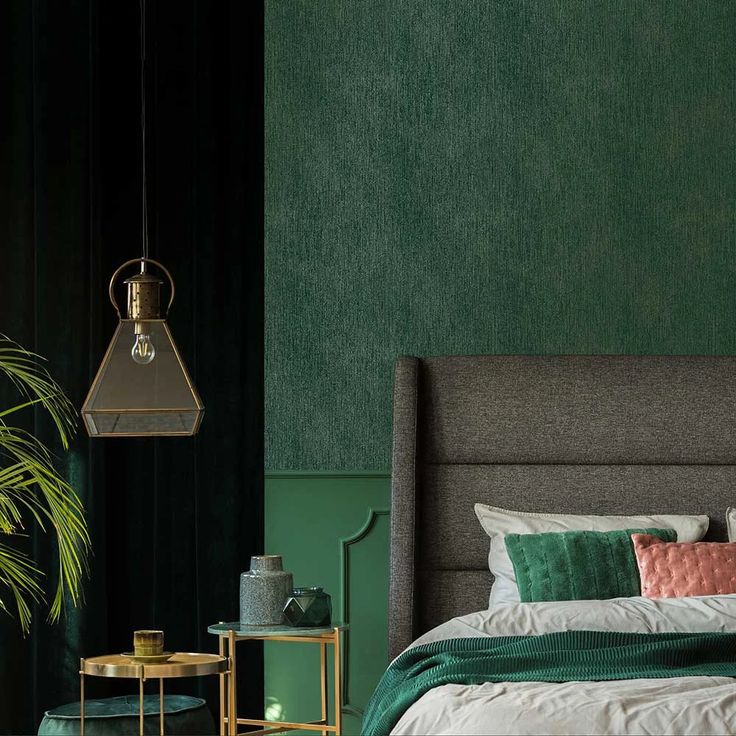
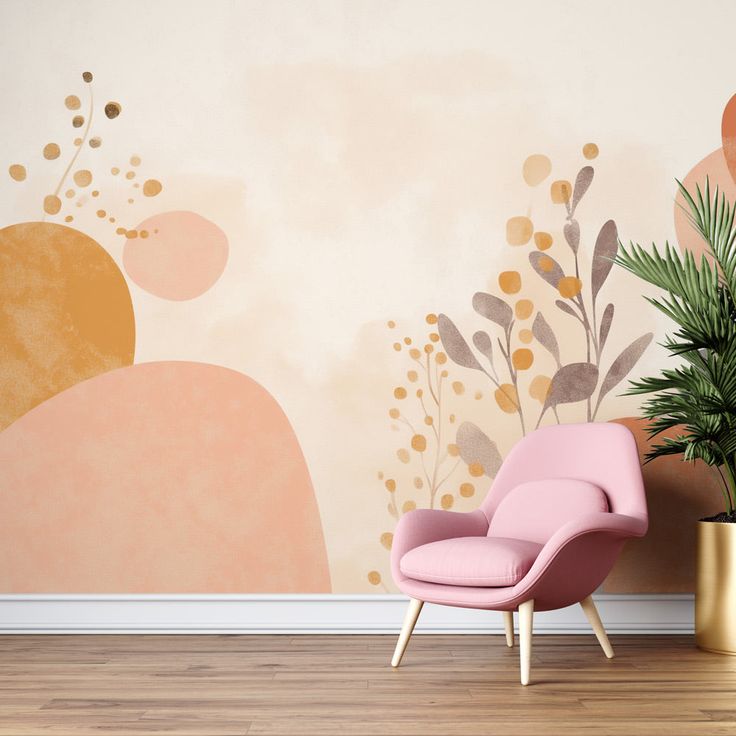
Additionally, think about color psychology when decorating your nursery with wallpaper. Soft hues can create a calm environment conducive to sleep, while bright colors can stimulate creativity during playtime. Striking a balance between playful designs and tranquil colors shapes an environment that nurtures your child’s growth holistically.

The Importance of Choosing Representative Artwork
Beyond wallpaper, employing artwork that resonates within the nursery can enhance the overall atmosphere. Look for pieces that stimulate curiosity or mirror the themes in the wallpaper. Incorporate inspiring elements such as quotes, educational charts, or beloved characters from books.
Create a cooperative environment that echoes your nursery wallpaper designs, thus aiding in visual learning. For instance, if your wallpaper features animals, consider hanging a framed picture book cover of a beloved animal story. Combining these elements creates a cohesive and fulfilling space for both you and your child.
In conclusion, creating a dream nursery is a fulfilling journey that involves thoughtful planning and creativity. With the right tips for easy installation and removal, you can successfully transform your walls and adapt the space as your child grows. Choose the right wallpaper type, meticulously prepare the walls, and equip yourself with the necessary tools for a smooth installation process. Finally, explore designs that inspire growth and learning, ensuring that your nursery remains a nurturing oasis throughout your child’s formative years. With these insights in hand, you are one step closer to designing a beautiful and functional nursery space tailored to your little one’s needs.