Why Choose DIY Fabric Refreshers
Choosing to make your diy fabric refresher has multiple benefits. It’s simple, cost-effective, and allows you to control the ingredients. Many store-bought options contain harsh chemicals, which can be a concern for health-conscious individuals or those with sensitivities. DIY fabric refreshers, on the other hand, use natural and non-toxic components, making them a safer choice for your home and the environment.
One of the main attractions of creating diy fabric refresher is the customization factor. You have the freedom to craft a scent that you love, which can enhance the overall atmosphere of your home. Whether you prefer a light citrus aroma or a calming lavender scent, you can create a formula that suits your personal preferences.
Moreover, diy fabric refreshers are eco-friendly. They reduce the need for single-use aerosol cans and plastic bottles that contribute to landfill waste. By using refillable containers and natural ingredients, you take an active role in reducing your carbon footprint. What’s more, this practice aligns with a sustainable lifestyle, promoting the reuse and recycling of resources.
So, if you want a fresh and aromatic home without the environmental impact, diy fabric refresher is the way to go. It’s a simple, smart, and enjoyable way to maintain a healthy, refreshing living space.
Essential Ingredients for DIY Fabric Refreshers
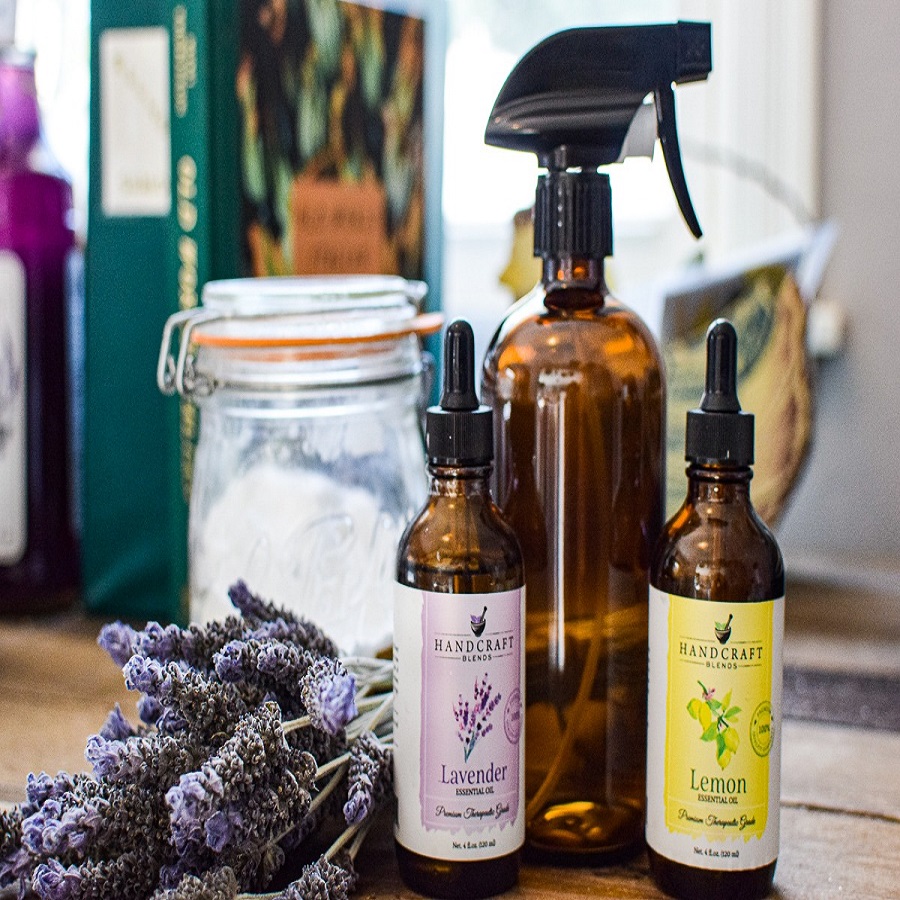
To start your journey to fresher fabrics with a homemade touch, you’ll need a few key ingredients. The beauty of a diy fabric refresher is its simplicity and the use of easily accessible components. Each ingredient plays a significant role in creating an effective fabric refresher that not only smells great but also works to eliminate odors. Let’s dive into the essential ingredients:
- Distilled Water: The base of your refresher; it’s free of impurities that can affect the scent and shelf life.
- Baking Soda: A powerful natural deodorizer; it neutralizes even the toughest smells.
- Essential Oils: The core of your custom scent; choose from lavender, lemon, tea tree, and more based on your preference.
- Rubbing Alcohol or Vodka: Helps to disperse the oils and dries quickly, leaving no residue.
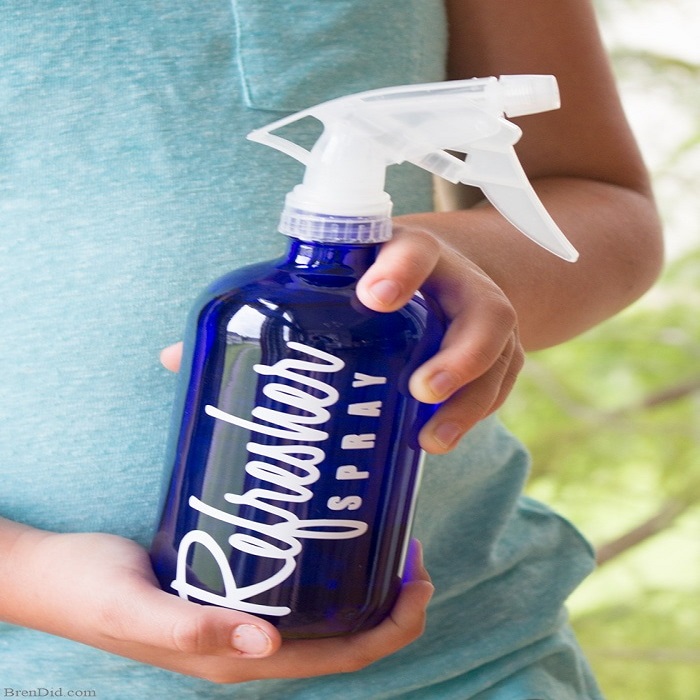
- Spray Bottle: To house your mixture; preferably glass to maintain the integrity of the oils.
Incorporating these ingredients, your diy fabric refresher will not only be a delight to your senses but also a friend to the environment. You now have the foundation to create countless combinations to keep your living space fresh and inviting. Remember, these components are just the start–you can always experiment and tweak the recipe to perfect your ideal home scent.
Step-by-Step Guide to Making Your Fabric Refresher
Creating your own diy fabric refresher is both simple and satisfying. Follow this easy guide to blend your natural ingredients into a refreshing spray for your home. Make sure to have your essential ingredients on hand: distilled water, baking soda, essential oils, rubbing alcohol or vodka, and a spray bottle. Let’s get started:
- Mix the Baking Soda: Begin by combining 1 tablespoon of baking soda with distilled water. Stir until completely dissolved.
- Add the Alcohol: Pour in approximately 1/4 cup of rubbing alcohol or vodka. This helps disperse the essential oils and ensures quick drying.
- Choose Your Scent: Decide on the essential oils you wish to use. Drop in 10-15 drops of your chosen oil or blend of oils for a customized scent.
- Combine and Shake: Transfer your mix into your spray bottle. Secure the lid tightly and give it a vigorous shake to combine all the ingredients.
- Let It Settle: Allow your diy fabric refresher to sit for a few hours. This helps the scents meld and intensifies the aroma.
- Test It Out: Spray a small amount on an inconspicuous area of the fabric. Make sure it does not stain or discolor.
- Use with Freedom: Gently mist your refresher on fabrics around the home. Keep in mind to use it sparingly to avoid oversaturation.
By following these straightforward steps, you can create an effective and environmentally friendly diy fabric refresher. From sofas and curtains to bed linens and car interiors, enjoy the fresh, clean scent you’ve crafted yourself.
Customizing Your DIY Fabric Refresher Scents
Creating your diy fabric refresher lets you design a scent that’s uniquely yours. You get to call the shots on the fragrance that will waft through your home. This is where the fun begins – mixing and matching essential oils until you find the perfect concoction that speaks to you. Here are some tips to guide you in customizing your scents:
- Start with Basics: If you’re new, begin with single-note scents like lavender or lemon. They’re great on their own and offer a clean, fresh smell.
- Blend for Complexity: Combine two or more oils for a more complex aroma. For instance, lavender pairs well with peppermint for a calming yet refreshing scent.
- Consider Mood: Different scents can evoke different moods. Citrus is uplifting, while eucalyptus can be soothing.
- Seasonal Scents: Want to capture the essence of the season? Try cinnamon and clove for fall, or a mix of pine and cedarwood for winter.
- Test Strength: Some oils are stronger than others. Add a few drops, test the scent, and adjust. This will ensure it’s not overpowering.
- Record Your Recipes: Keep track of your mixes and ratios. This makes it easy to replicate your favorite scents.
Remember, diy fabric refresher is versatile. With each new batch, you have a chance to innovate and capture a new essence for your home. The keys are to experiment, have fun, and enjoy the journey of finding your signature scent. With a little creativity, your diy fabric refresher can become an essential part of your personal home care routine.
Application Tips for Effective Fabric Refreshing
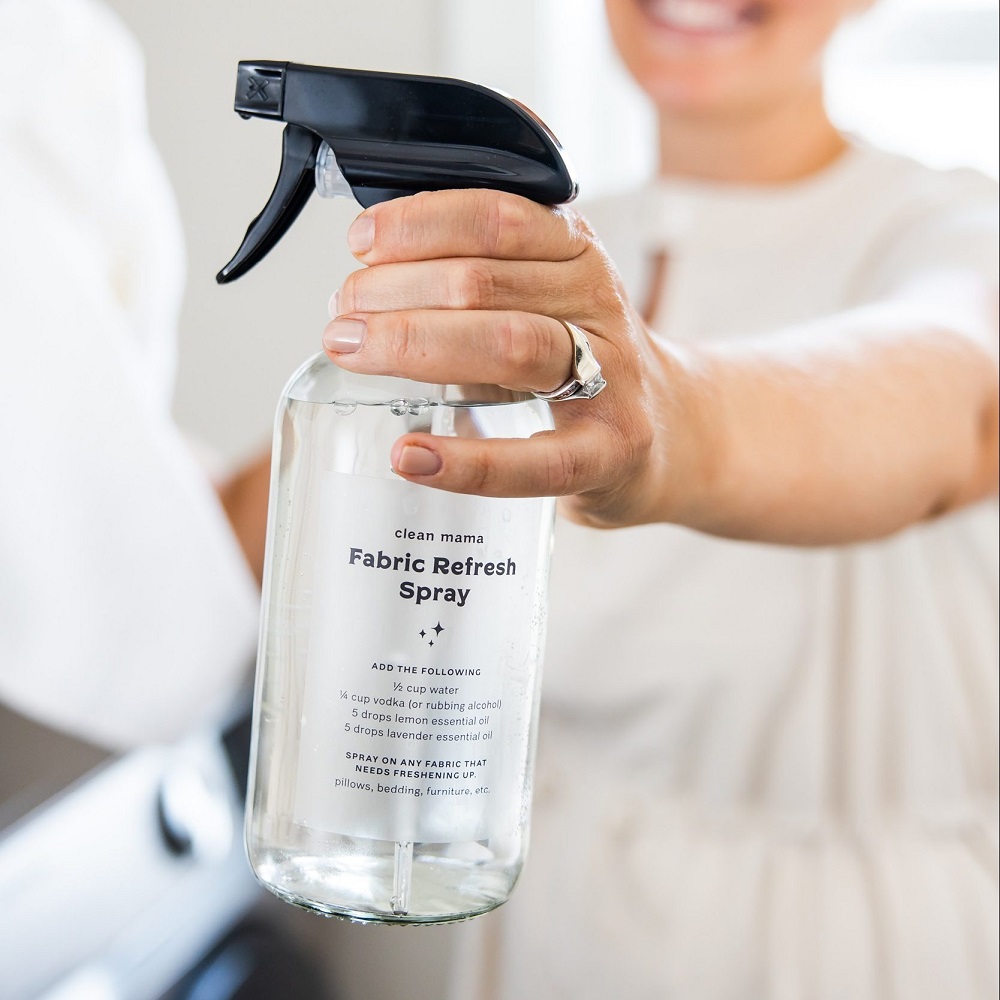
When using your diy fabric refresher, a few application tips can help you get the most out of your homemade creation. Here’s how to effectively freshen up your fabrics:
- Spot Test First: Always do a spot test. Spray a small amount on a hidden section of the fabric to make sure it doesn’t stain.
- Spray from a Distance: Hold the bottle about 6-8 inches away from the fabric to avoid concentrated spots.
- Light Mist is Key: Apply a light mist to the fabric. It’s better for the fabric and allows the scent to distribute evenly.
- Target Odor Areas: Focus on areas that tend to collect odors, such as pet bedding, sofas, and curtains.
- Don’t Soak the Fabric: Don’t overdo it. The fabric should be damp, not wet. This ensures quick drying.
- Allow Airflow: After spraying, open windows or use a fan to help ventilate the room and quicken the drying process.
- Repeat As Needed: Reapply the refresher when you notice the scent fading or after cleaning the fabric.
- Store Properly: Keep the refresher in a cool, dark place to preserve the essential oils and prevent degradation.
By following these simple application tips, you’ll extend the life of your diy fabric refresher and enjoy a consistently fresh and pleasant home environment. Remember, a little goes a long way, so use sparingly but confidently to maintain the freshness of your fabrics.
Safety Tips: DIY Fabric Refresher Usage and Storage
Creating your own diy fabric refresher is satisfying and simple. But it’s important to handle and store it safely. Here are the top safety tips to follow:
- Keep Away From Children and Pets: Store your fabric refresher out of reach. Children and pets may be attracted to the smell.
- Label the Spray Bottle: Clearly label the bottle with the contents and the date it was made. This prevents any confusion.
- Avoid Direct Contact with Skin: Essential oils are potent. Try not to spray directly on skin.
- Use in Ventilated Areas: Always spray in a well-ventilated area. This helps to avoid inhaling concentrated droplets.
- Check for Allergies: Some essential oils can cause reactions. Make sure no one in your household is allergic to the scents you choose.
- Store in a Cool, Dark Place: Heat and light can degrade essential oils. Find a cool, dark cupboard for storage.
- Discard if Smell Changes: Over time, the scent may change. If it smells off, it’s time to make a new batch.
- Don’t Mix with Other Chemicals: Keep your fabric refresher separate. Mixing it with other products could create harmful reactions.
Safety is key when using your diy fabric refresher. By applying these simple tips, you ensure a safe and pleasant experience for everyone in your home.
Cost Comparison: DIY vs. Store-Bought Fabric Refreshers
Choosing a diy fabric refresher can be more economical than buying store-bought options. Let’s break down why creating your own refresher can help you save money in the long run.
- Initial Costs: Starting up requires purchasing ingredients and a spray bottle. But these items are often found at low cost.
- Per Use Cost: DIY versions cost mere cents per spray, much cheaper than branded refreshers.
- Bulk Buying: Ingredients for diy fabric refresher can be bought in bulk, which reduces the price. You can make multiple batches from one purchase.
- No Brand Premium: With DIY, you’re not paying for marketing and brand prestige which adds to the cost of commercial products.
- Reusable Containers: You can reuse the same bottle multiple times for your DIY concoctions, saving you from buying new ones.
Compared to store-bought refreshers, the DIY route is a clear winner for budget-conscious households. The initial outlay can quickly be offset by the long-term savings. As you refine your fabric refresher formula, those savings can grow even more significant.
Overall, opting to make your own diy fabric refresher not only offers personalized scents and eco-friendly benefits but also a kinder approach to your wallet. The cost-effectiveness of a homemade refresher is undeniable, providing an attractive alternative to those seeking a fresh home without a hefty price tag.
Eco-Friendly Benefits of Homemade Fabric Refreshers
Choosing homemade fabric refreshers comes with significant eco-friendly benefits. When you opt for DIY over store-bought, you contribute to environmental conservation in several key ways.
Reduced Packaging Waste: DIY solutions cut down on plastic waste. You use reusable containers, not single-use aerosols that harm the planet. Each time you refill your bottle, you prevent plastic from reaching landfills.
Non-toxic Ingredients: By selecting natural substances, you avoid releasing harmful chemicals into the air. Traditional refreshers may have pollutants not found in homemade mixes.
Energy Saving: Making fabric refreshers at home requires less energy than the production and transportation of commercial products. Lower energy use means a smaller carbon footprint.
Sustainable Practices: You support sustainability by using biodegradable and plant-based ingredients. This practice decreases the demand for synthetic chemicals that can disrupt ecosystems.
Less Water Pollution: Your homemade refresher does not contain phosphates or other water-polluting compounds. Store-bought products often lead to waterways pollution, whereas your DIY mixture is safer for aquatic life.
Customization Leads to Less Waste: Since you manage the scent and strength, you’re likely to use your refresher more efficiently. You make what you need, reducing the risk of waste and excess.
Embracing the DIY approach fosters a healthier planet. With every spray, you ensure your home smells fresh without compromising the environment. Homemade fabric refreshers are a clear choice for the eco-conscious. They allow you to take an active role in protecting nature while enjoying the comfort of a freshly scented home.


