The Joy of Transforming Old Fabrics
In a world where sustainability and creativity go hand in hand, the art of revamping your fabric through DIY paint has become increasingly popular. This method not only breathes new life into old textiles but also allows you to express your unique style. Whether it’s an outdated piece of furniture, a worn-out t-shirt, or a pair of jeans, transforming them with paint can be a rewarding and cost-effective way to update your belongings. The process is simple, yet the results are stunning, making it an ideal project for both beginners and experienced crafters. By the end of this guide, you will have the skills and confidence to create beautiful, one-of-a-kind pieces that reflect your personal taste.
Why Choose DIY Paint for Fabric?
Cost-Effective and Eco-Friendly
One of the primary reasons to choose DIY paint for fabric is its cost-effectiveness. Instead of buying new items, you can repurpose what you already have, saving money and reducing waste. Additionally, using eco-friendly materials and methods can significantly lower your environmental impact. Many commercial paints contain harmful chemicals, but by making your own, you can control the ingredients and ensure they are safe for both you and the planet. This approach aligns with the growing trend of sustainable living, allowing you to make a positive impact while enjoying a fun and creative activity.
Gathering Your Materials
Essential Tools and Supplies
What You Will Need
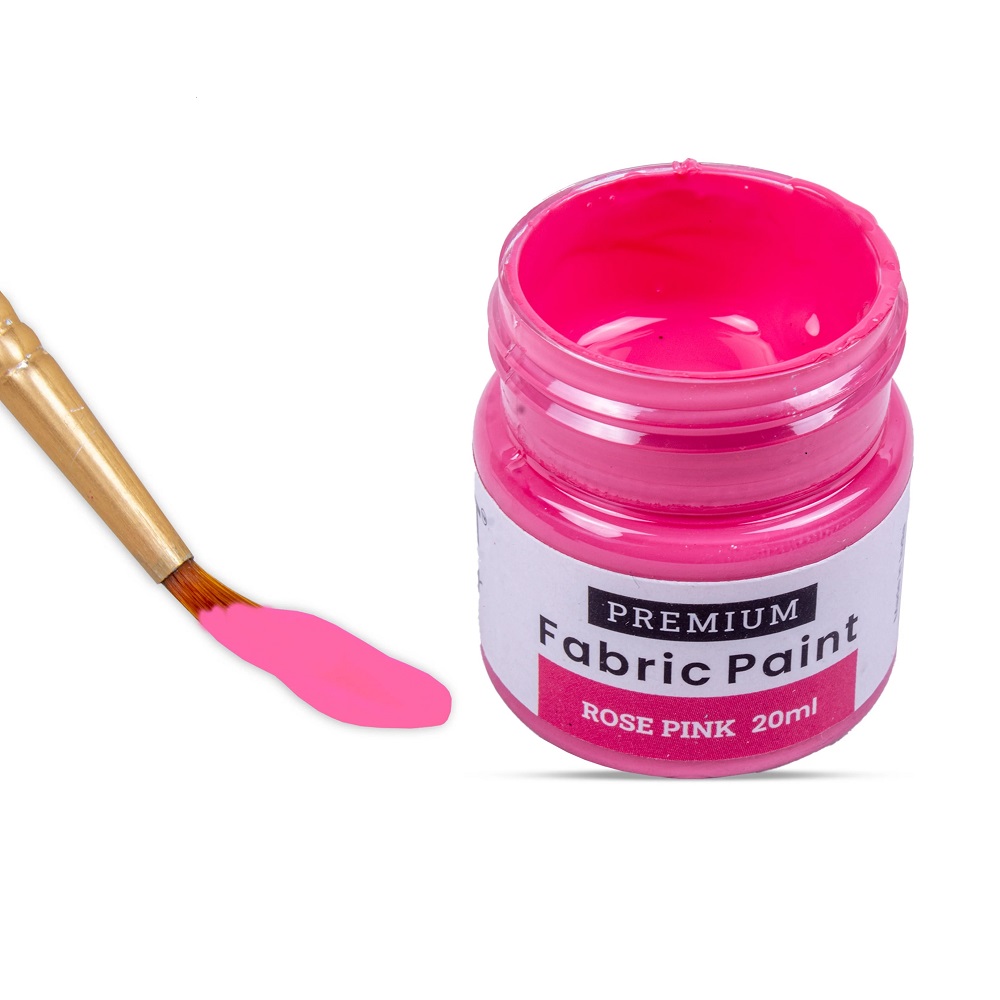
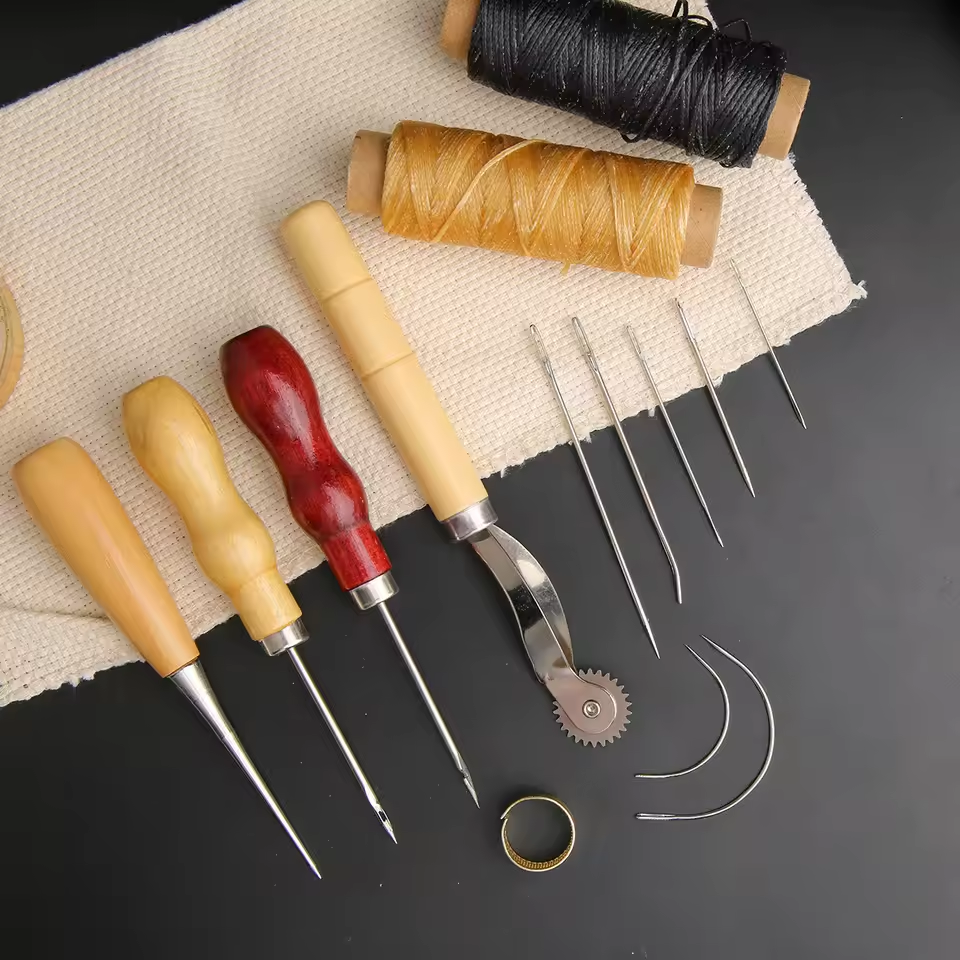
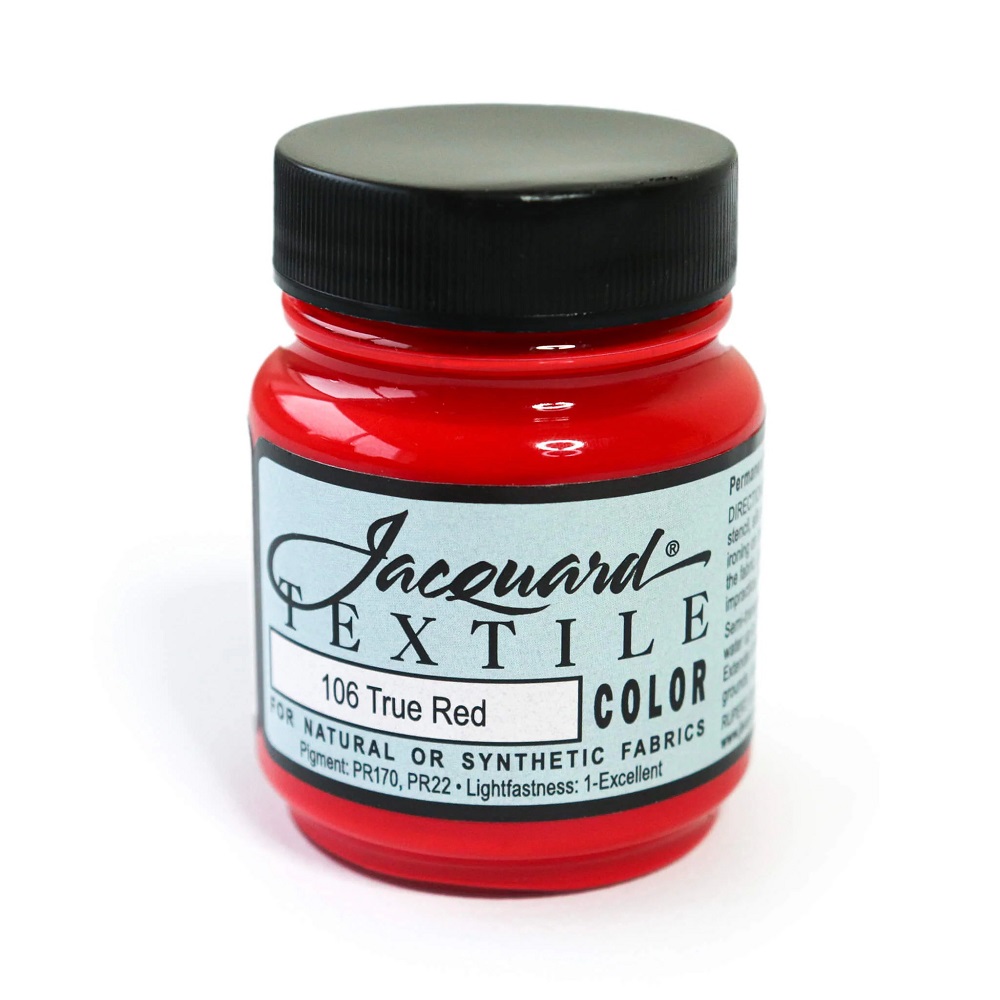
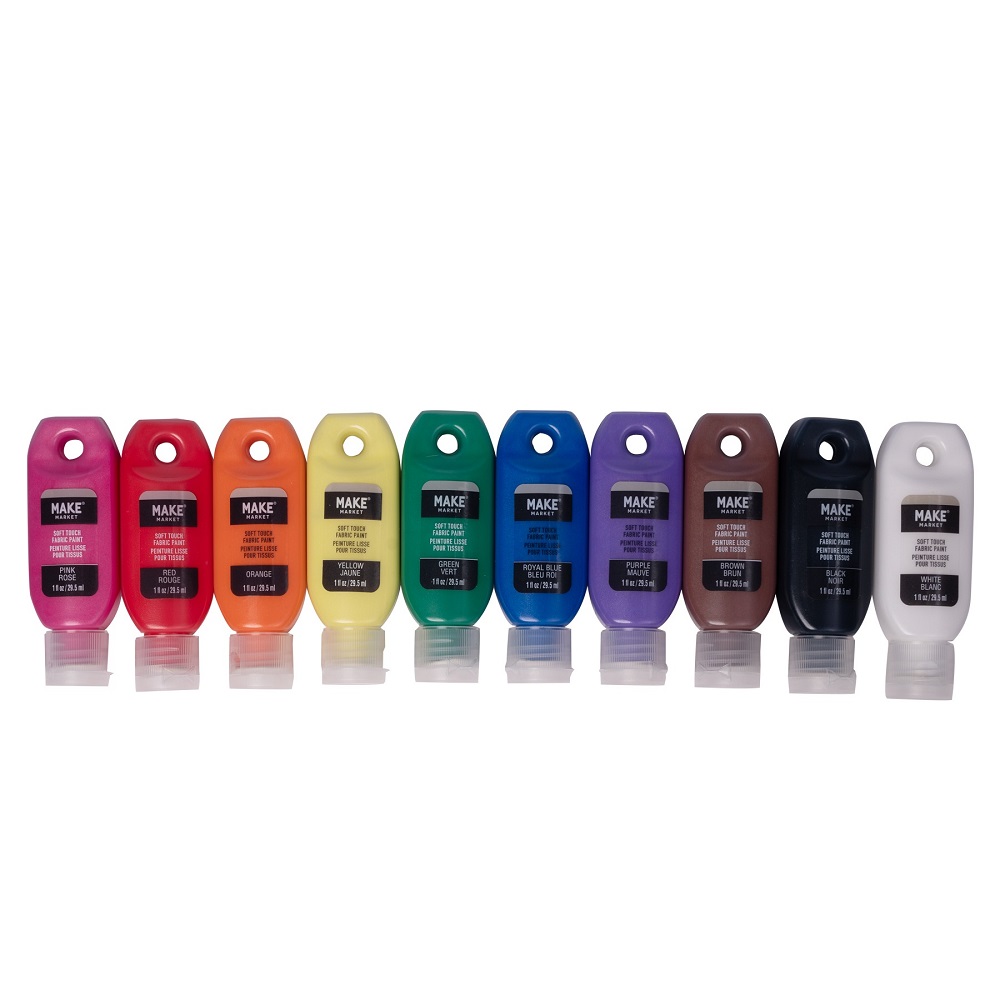
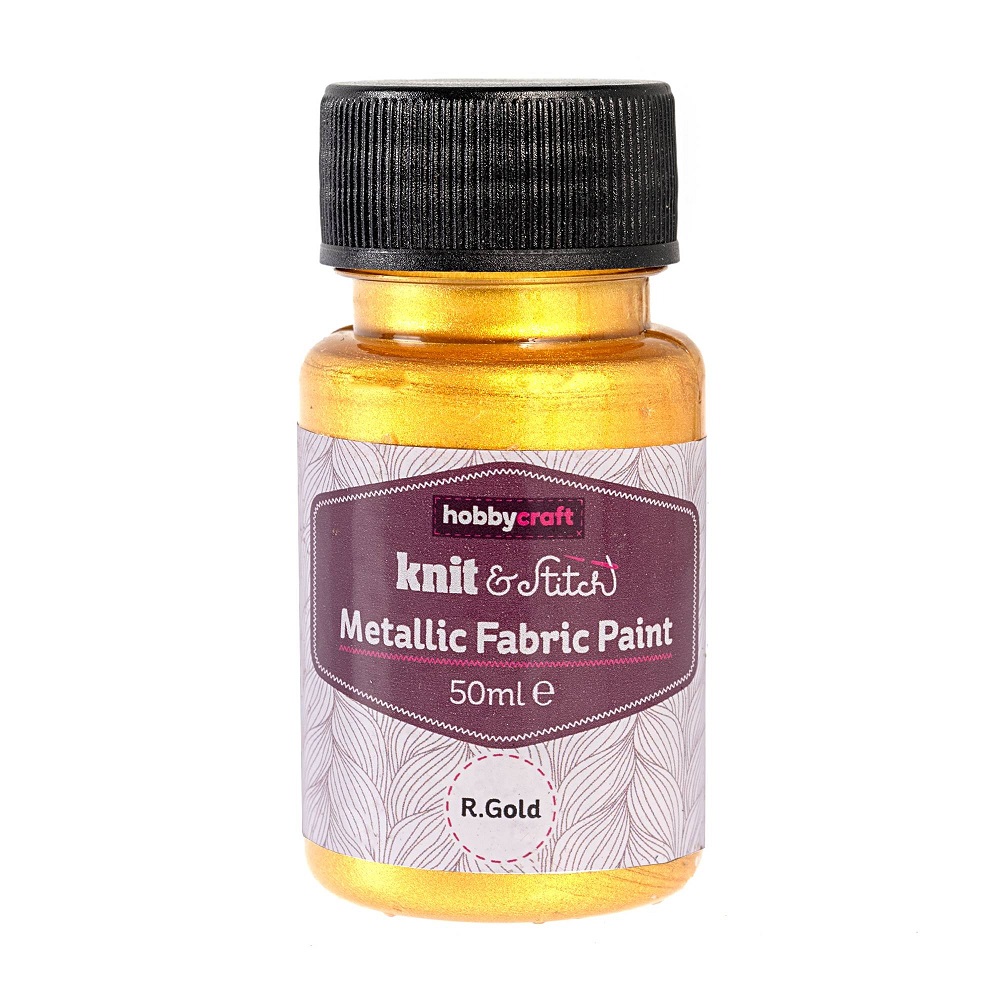
Before diving into the painting process, it’s important to gather all the necessary tools and supplies. The basic materials include fabric paint, brushes, stencils, sponges, and a palette. Fabric paint comes in various types, such as acrylic, dye-based, and fabric medium. Acrylic paint is versatile and easy to use, while dye-based paint provides a softer, more flexible finish. Fabric medium can be mixed with regular acrylic paint to make it suitable for fabric. Brushes come in different sizes and shapes, so choose ones that fit the design you have in mind. Stencils and sponges are great for creating patterns and textures, adding depth and interest to your projects.
Choosing the Right Fabric
Types of Fabrics Suitable for Painting
Not all fabrics are created equal when it comes to painting. Natural fibers like cotton, linen, and silk are generally the best choices because they absorb paint well and hold up over time. Synthetic fabrics, such as polyester and nylon, can be more challenging to work with, as the paint may not adhere as well. If you’re working with a blend, aim for a higher percentage of natural fibers. Pre-washing the fabric is also crucial, as it removes any sizing or finishes that could interfere with the paint. Once washed, iron the fabric to remove wrinkles and create a smooth surface for painting.
Preparing Your Workspace
Setting Up a Clean and Organized Area
Tips for a Productive Environment
Creating a dedicated workspace is essential for a successful and enjoyable painting experience. Start by choosing a well-lit area with plenty of space to spread out your materials. Cover your work surface with a drop cloth or newspaper to protect it from spills and stains. Make sure you have good ventilation, especially if you’re using paints with strong odors. Organize your supplies in a way that makes them easily accessible. Having everything within reach will help you stay focused and efficient. Finally, wear old clothes or an apron to protect your clothing from paint splatters.
Protecting Your Fabric
Techniques to Prevent Bleeding and Smudging
To ensure your painted design stays vibrant and crisp, it’s important to take steps to prevent bleeding and smudging. One effective technique is to apply a layer of fabric medium to the fabric before painting. This helps the paint adhere better and prevents it from soaking through. Another method is to place a sheet of cardboard or a plastic bag inside the fabric, especially if you’re painting on a T-shirt or a pillowcase. This creates a barrier that stops the paint from seeping through to the other side. For detailed work, you can also use painter’s tape to create clean lines and sharp edges.
Creating Your Design
Brainstorming and Sketching Ideas
Finding Inspiration and Planning
The first step in creating a design is to find inspiration. Look to nature, art, fashion, or even your favorite movies and books for ideas. Pinterest, Instagram, and design blogs are great resources for finding visual inspiration. Once you have a general idea, sketch it out on paper. This doesn’t need to be a perfect drawing; it’s just a rough outline to help you visualize the final product. Consider the size and placement of the design on the fabric. Think about whether you want a bold, large-scale pattern or something more subtle and delicate. This planning phase is crucial for ensuring that your finished project meets your expectations.
Transferring the Design to Fabric
Methods for Accurate Placement
Transferring your design to the fabric can be done in several ways, depending on the complexity of the design and your personal preference. One common method is to use a lightbox or a window. Place your sketch under the fabric and trace the design onto it using a pencil or a fabric marker. Another option is to use carbon paper. Simply place the carbon paper between your sketch and the fabric, and trace the design with a pen or stylus. For more intricate designs, you can create a stencil. Cut out the design from a piece of cardboard or plastic, and use it to transfer the pattern to the fabric. This method ensures that the design is consistent and symmetrical.
Applying the Paint
Basic Techniques for Beginners
Brushstrokes, Sponging, and Stenciling
For those new to fabric painting, starting with basic techniques is a great way to build confidence. Brushstrokes are the most straightforward method, and you can achieve different effects by varying the pressure and angle of the brush. Sponging involves dabbing a sponge loaded with paint onto the fabric, creating a textured, mottled effect. This technique is particularly useful for backgrounds and large areas. Stenciling is another beginner-friendly method. Place the stencil on the fabric, secure it with tape, and apply paint with a brush or sponge. Lift the stencil carefully to reveal a crisp, clean design. These techniques are versatile and can be combined to create more complex and layered designs.
Advanced Techniques for Experienced Crafters
Ombre, Marbling, and Freehand Painting
Experienced crafters can explore more advanced techniques to add depth and dimension to their projects. Ombre, or gradient, is a popular technique that involves blending colors seamlessly from one shade to another. Start by applying the lightest color at the top and gradually add darker shades, blending them together with a dry brush. Marbling creates a swirled, organic pattern. Mix a small amount of paint with water and pour it onto the fabric. Use a comb or a stick to swirl the colors, then let it dry. Freehand painting allows for the greatest artistic freedom. Use a fine-tipped brush to create intricate details, such as floral motifs or geometric patterns. These techniques require practice and patience, but the results are often breathtaking.
Drying and Curing the Paint
Proper Drying Techniques
Air Drying vs. Heat Setting
Once you’ve applied the paint, it’s important to allow it to dry properly. The most common method is air drying, which involves letting the fabric sit undisturbed until the paint is completely dry. This can take anywhere from a few hours to a full day, depending on the thickness of the paint and the humidity. To speed up the process, you can use a hairdryer on a low, cool setting. However, be careful not to apply too much heat, as it can cause the paint to bubble or crack. Another option is to heat set the paint, which involves ironing the fabric or placing it in a dryer. This helps to seal the paint and make it more durable. Follow the manufacturer’s instructions for the specific type of paint you are using.
Curing the Paint for Longevity
Ensuring Durability and Washability
Curing the paint is the final step in the process and is crucial for ensuring the longevity of your design. Most fabric paints need to be cured to make them washable and resistant to fading. The curing process varies depending on the type of paint. For some, it’s as simple as letting the paint dry for 24 hours. Others may require heat setting, which involves ironing the fabric on the highest setting that is safe for the material. Some paints can also be cured in a dryer. Always check the label for specific instructions. Once the paint is cured, you can wash the fabric as usual, but it’s best to turn it inside out and use a gentle cycle to extend the life of your design.
Finishing Touches and Care
Adding Final Details
Embellishments and Sealing
After the paint is dry and cured, you can add finishing touches to enhance the overall look of your project. Embellishments like beads, sequins, or embroidery can add texture and sparkle. Use a strong fabric glue or a needle and thread to attach these elements securely. If you want to add an extra layer of protection, you can apply a clear fabric sealant. This will help to preserve the paint and make the fabric more resistant to wear and tear. Apply the sealant in a thin, even layer and let it dry completely. Be sure to test the sealant on a small, inconspicuous area first to ensure it doesn’t alter the appearance of the paint.
Caring for Your Painted Fabric
Washing and Maintenance Tips
Proper care is essential for maintaining the quality and vibrancy of your painted fabric. When washing, always turn the item inside out to protect the design. Use a gentle detergent and cold water, and avoid using bleach or fabric softener, as these can damage the paint. It’s best to wash the item separately or with similar colors to prevent color transfer. Hang the fabric to dry or tumble dry on a low, no-heat setting. Avoid ironing directly over the painted areas, as the heat can cause the paint to melt or crack. With the right care, your painted fabric can last for years, providing a beautiful and personalized touch to your home or wardrobe.
Conclusion: Embrace Your Creativity
Reflecting on the Journey
The Rewards of DIY Fabric Painting
Revamping your fabric with DIY paint is more than just a craft; it’s a journey of self-expression and creativity. From gathering your materials to adding the final touches, each step is an opportunity to bring your vision to life. The process may seem daunting at first, but with practice and patience, you’ll find it to be a rewarding and enjoyable experience. Not only will you save money and reduce waste, but you’ll also create unique, one-of-a-kind pieces that are a true reflection of your personal style. So, embrace your creativity, and let your imagination run wild. The possibilities are endless, and the results are sure to be stunning.


