The Basics of Sewing Two Pieces of Fabric Together
When starting a sewing project, the primary skill you’ll need is how to sew two pieces of fabric together. This fundamental technique is crucial for creating everything from clothing to quilts. To ensure success, you must understand the basics of fabric alignment, pinning, and stitching.
Here are the essential steps to keep in mind for seamless fabric joining:
- Prepare Your Fabric: Begin by washing and drying your fabric to prevent any future shrinkage after sewing. Iron out any wrinkles to ensure a smooth surface.
- Measure and Cut: Accuracy is key. Measure your fabric pieces twice and cut once to ensure they match up perfectly.
- Pin the Fabric: Align the two pieces of fabric with the ‘right’ sides facing each other. Secure them with pins to prevent them from shifting while you sew.
- Choose the Right Stitch: For most projects, a straight stitch will suffice. However, consider a zigzag stitch for stretch fabrics.
- Begin Sewing: Start sewing from one edge, removing the pins as you go. Maintain a consistent seam allowance for a professional look.
- Check Your Work: After sewing, check the seam to ensure there are no gaps. Gently pull apart the fabric to test the strength of the stitch.
Understanding these basics will set the foundation for more complex sewing projects. Always remember to practice your technique, as precision and patience are vital when learning how to sew two pieces of fabric together.
Tools and Materials Needed for Seamless Joining
Having the right tools and materials is essential for a successful sewing project. Before diving into how to sew two pieces of fabric together, make sure you have the following items:
- Fabric Scissors: These are crucial for making clean and precise cuts on your fabric.
- Measuring Tape: It ensures that you measure pieces accurately before cutting.
- Straight Pins: Use these to hold the fabric in place while you sew.
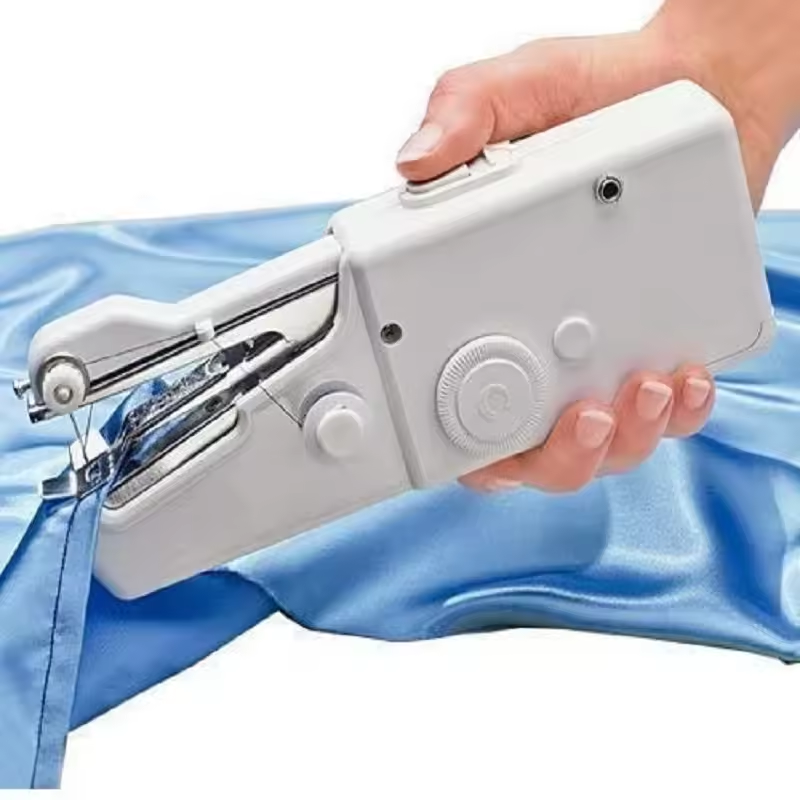
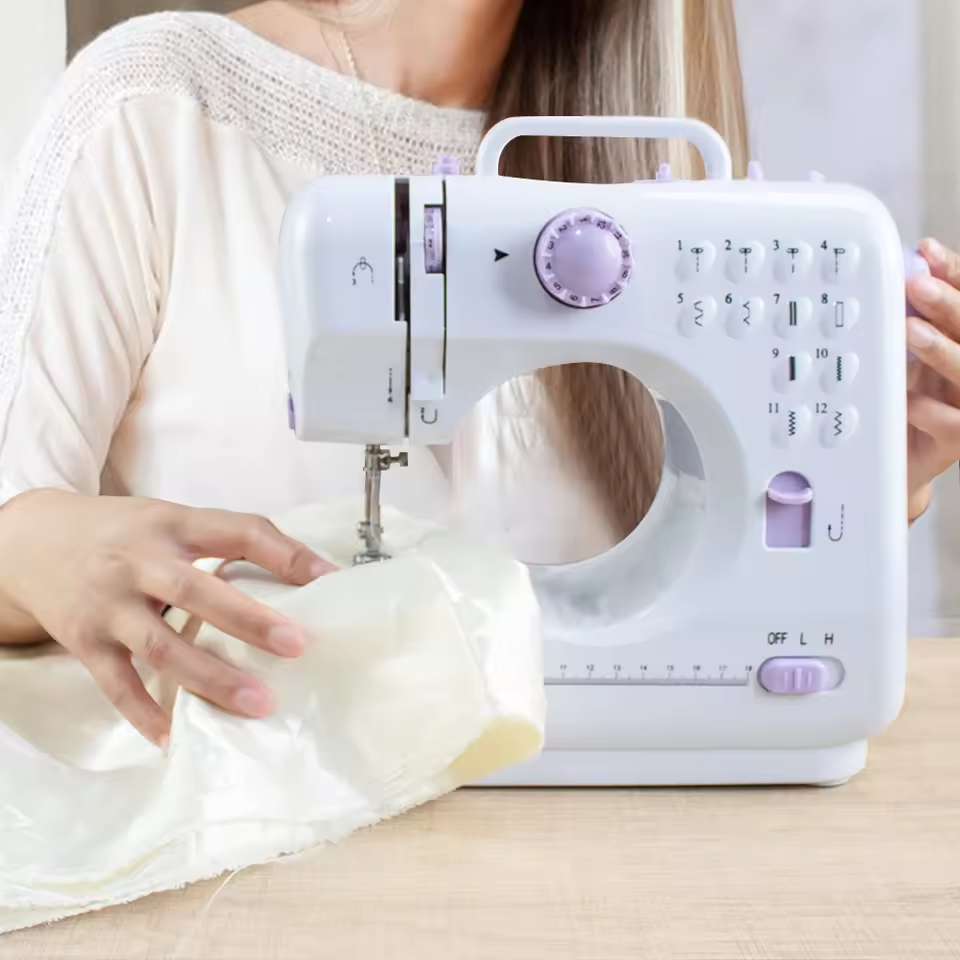
- Sewing Machine: A basic sewing machine with adjustable stitch settings will work for most projects.
- Thread: Select a thread color that matches or complements your fabric.
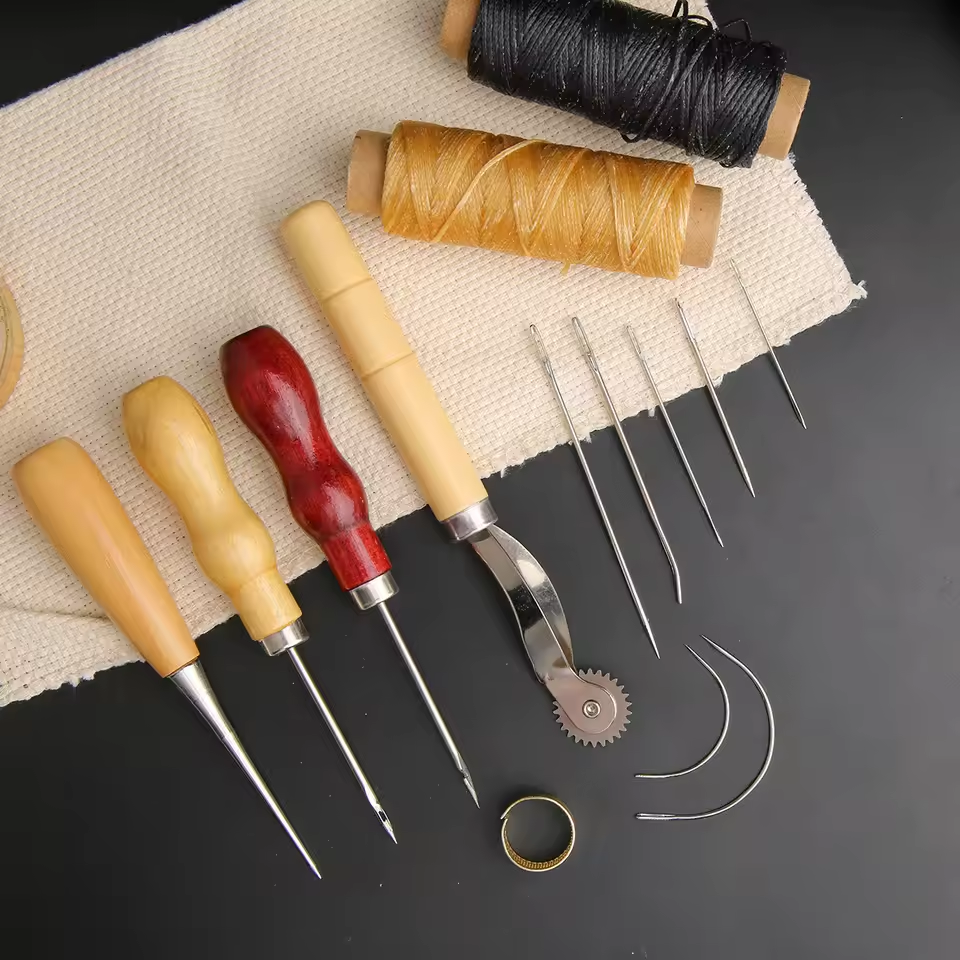
- Needles: Have a variety of sewing needles on hand for different types of fabric.
- Seam Ripper: A must-have for correcting any mistakes and opening seams when needed.
- Iron and Ironing Board: Pressing fabric before and after sewing helps to achieve a flat and professional seam.
Gathering these tools and materials prior to starting ensures a smoother sewing process and contributes to the quality of the finished product. Don’t skip this step, as each tool plays a critical role in achieving a seamless join.
Step-by-Step Guide to Sewing Fabric Together
Now that you have your tools and materials ready, let’s delve into a detailed step-by-step guide on how to sew two pieces of fabric together.
- Align the Fabric: Place the two pieces of fabric right sides together. Make sure the edges align perfectly.
- Secure with Pins: Pin the fabric along the edge you plan to sew. Place the pins about an inch apart.
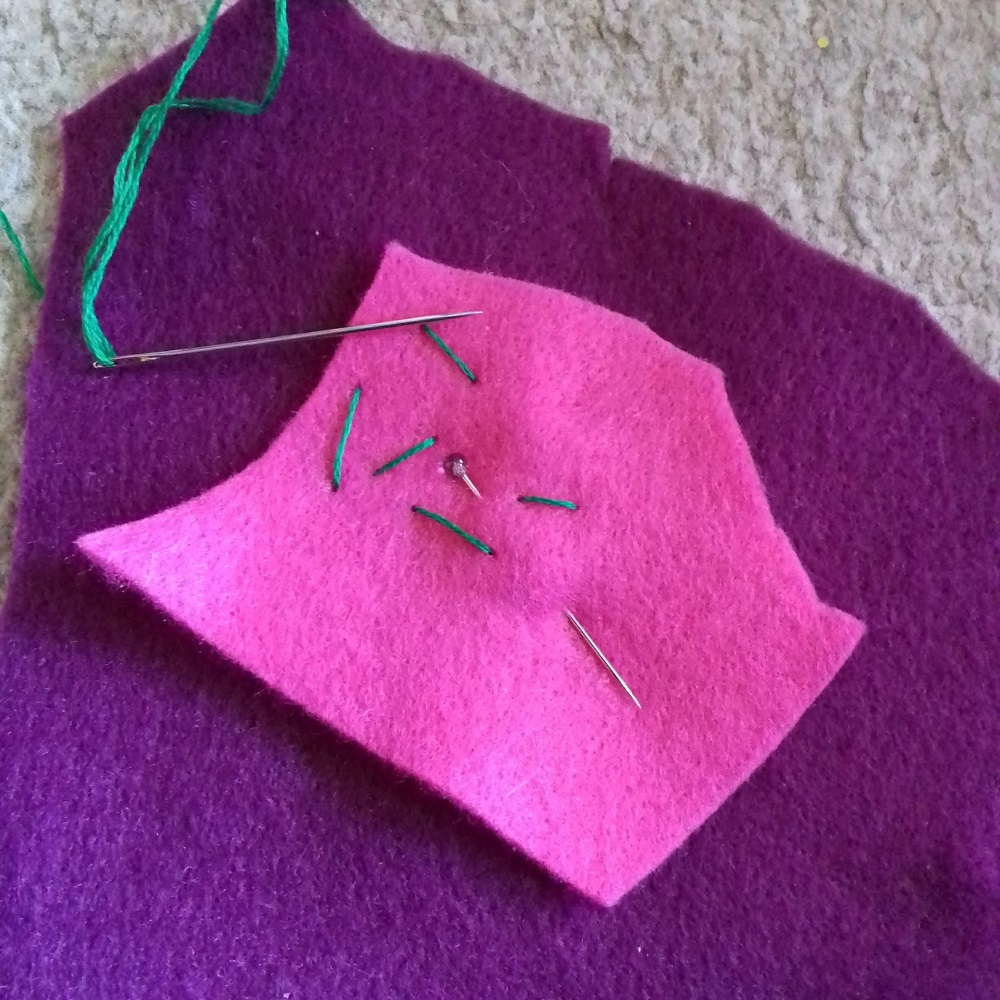
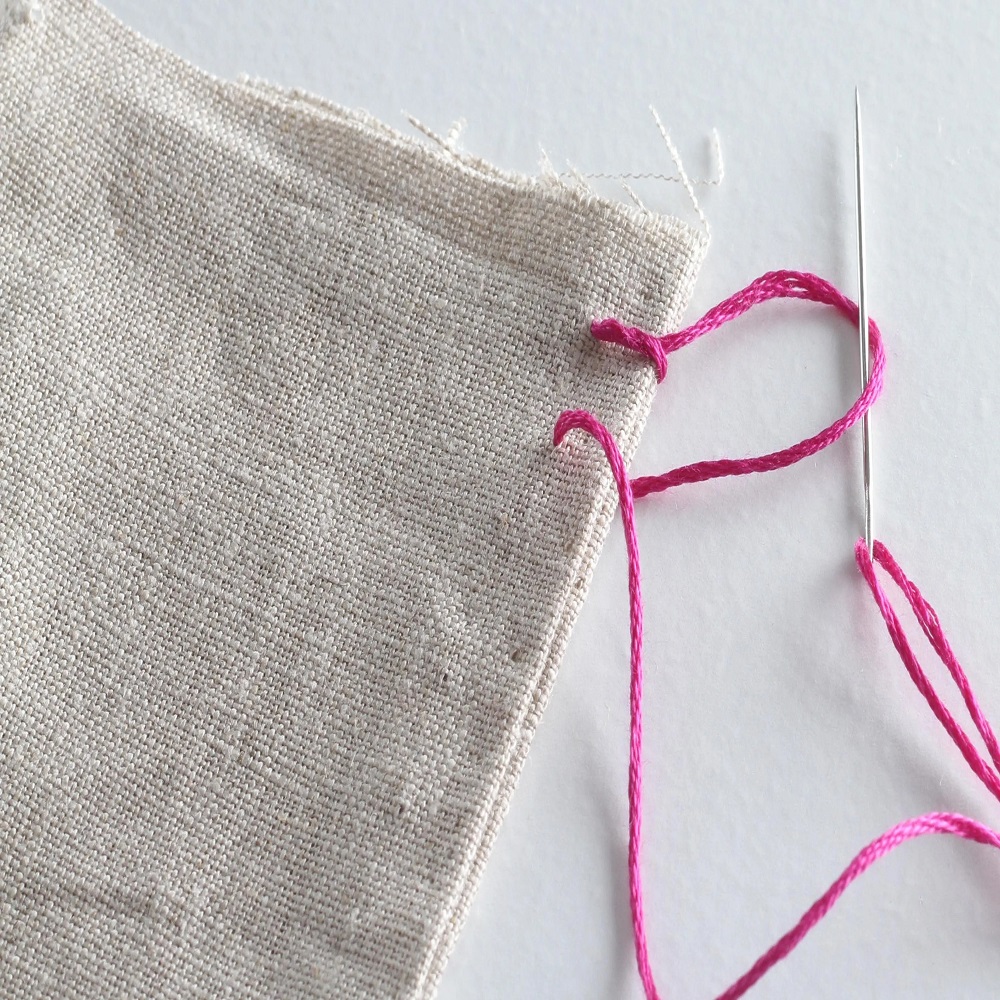
- Thread the Needle: If you’re hand-sewing, thread your needle with a length of thread suitable for the task. If you’re using a sewing machine, set up the thread according to the machine’s manual.
- Choose Your Stitch: Pick a straight stitch for stable fabrics. Use a zigzag stitch if you’re working with stretchy material.
- Start Sewing: Begin at one corner and sew along the pinned edge. Remove the pins as you sew past them. Keep your seam allowance consistent throughout.
- Backstitch at the Start and End: To secure your stitching, backstitch a few times at the beginning and end of your seam.
- Press the Seam: Use an iron to press the seam open or to one side. This flattens the seam for a neater appearance.
- Finish the Edges: Prevent fraying by finishing the edges with a serger, zigzag stitch, or seam binding.
By following these simple steps, you will have joined two pieces of fabric together with a strong and clean seam. Remember to keep your stitches even and don’t rush the process for the best results.
Different Types of Seams and Their Uses
Seams are the building blocks of any sewing project and come in various types to meet different needs. Here’s a brief overview of some common seams and what they’re best used for:
Plain Seam
The most basic and commonly used seam, a plain seam is simply how to sew two pieces of fabric together with their right sides facing each other, and a straight stitch. It’s versatile and can be used for most projects.
French Seam
Perfect for lightweight and transparent fabrics, this seam encloses the raw edges completely, offering a clean finish. It’s often used in delicate clothing.
Flat-Felled Seam
Strong and durable, this seam is often found in denim and work clothing. It involves folding the edges of the fabric over themselves, resulting in a tidy, fray-proof finish.
Overlock Seam (Serger)
An overlock seam, created with a serger machine, is great for knit fabrics or any material prone to fraying. It can both seam and finish an edge in one step.
Zigzag Stitch
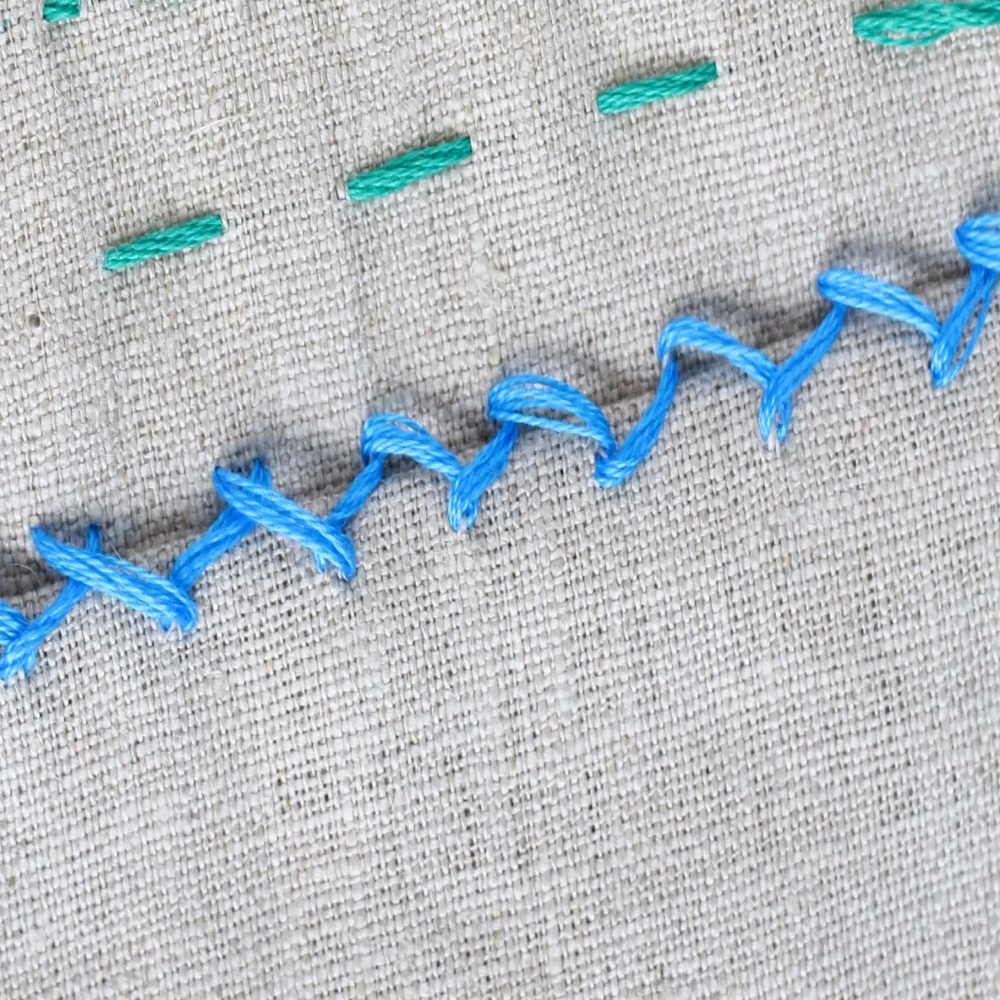
Although not a seam per se, using a zigzag stitch is a way of finishing raw edges or sewing stretchable fabrics to prevent them from unraveling.
Each type of seam has its own suitability and purpose in the art of sewing. Choose the right one based on the fabric type, the garment’s design, and durability needs. Remember to keep practicing how to sew two pieces of fabric together to master these various seams.
Tips for Achieving a Professional Look
Achieving a professional look when learning how to sew two pieces of fabric together goes beyond following basic steps. Here are some tips to elevate your sewing projects:
- Press as You Go: Regularly iron seams during the sewing process.
- Use Quality Thread: Invest in good quality thread that won’t break easily.
- Maintain Tension: Keep an even tension on your thread to avoid puckering.
- Test Stitch Length: Always test your stitch length on a scrap of your fabric.
- Trim Seams: Carefully trim your seam allowances for less bulk.
- Be Patient: Take your time with each step for neater results.
- Consistent Seam Allowances: Use a seam guide to help maintain even seam allowances.
- Check Needle Position: Ensure your needle is correctly positioned for straight stitching.
- Match Patterns: If working with patterned fabric, take care to match patterns at seams.
- Finish Edges: To prevent fraying, finish your fabric edges with a zigzag stitch or serger.
By incorporating these practices, your sewing will look more polished and hold up better over time. Remember, the key is to practice regularly and be diligent about the small details. They make a big difference in the final presentation of your work.
Common Mistakes to Avoid When Joining Fabric
Learning how to sew two pieces of fabric together is not without its challenges. Here are some common pitfalls that every sewer should be aware of to prevent frustration and wasted materials:
- Not Pre-Washing Fabric: Skipping the pre-wash can lead to shrinkage and misaligned seams after the project is complete.
- Incorrect Fabric Alignment: Always ensure the ‘right’ sides are facing each other unless the pattern specifies otherwise.
- Using Dull Scissors: This can lead to uneven cuts and potentially damage the fabric.
- Insufficient Pinning: Not using enough pins can cause the fabric to shift and result in uneven seams.
- Ignoring Seam Allowances: Consistent seam allowances are vital for a uniform look. Measure them carefully.
- Mismatched Thread and Fabric: Using thread that’s too weak for your fabric can cause seams to break.
- Rushing the Process: Sewing too quickly can lead to mistakes. Take it slow and steady for precision.
- Neglecting to Backstitch: Not securing the ends of your seam can lead to unraveling. Always backstitch.
- Forgetting to Press Seams: Ironing seams flat helps to shape and set them, providing a clean finish.
- Skipping Test Stitches: It’s important to test your stitches on a scrap piece of fabric first.
By being mindful of these errors and taking the necessary steps to avoid them, you’ll improve the quality and durability of your sewing projects.
How to Choose the Right Thread and Needle
When engaging in the art of sewing, selecting the appropriate thread and needle is as critical as mastering how to sew two pieces of fabric together. Here are straightforward tips to help you make the best choices:
- Match Thread to Fabric: Pick a thread that complements the weight and texture of your fabric. For example, a lightweight thread suits delicate fabrics, whereas a heavier-duty thread is perfect for denim.
- Check Thread Tensile Strength: Ensure the thread you choose has sufficient strength to hold the seam, especially when sewing stretchy or heavyweight fabrics.
- Choose the Right Needle Size: Needles vary in size. Fine fabrics require a smaller needle, while thick fabrics need larger, more robust needles.
- Consider Needle Point: The point of the needle should suit the fabric type. Sharp points are ideal for woven fabrics, and ballpoint needles work best for knits to avoid snagging.
- Test on Scrap Fabric: Always perform a test on a piece of scrap fabric to check the interaction between your needle, thread, and fabric. Adjust if necessary before beginning your project.
- Watch for Thread Shading: Select a thread color that blends well with your fabric, or opt for a shade that forms a nice contrast, depending on the design.
- Regular Needle Replacement: Change needles frequently. A dull needle can damage fabric and affect the quality of your seam.
- Avoid Old Thread: Old thread can become brittle and break easily. Always use fresh thread for a new project for best results.
By considering these aspects, you’ll be well on your way to creating beautiful, durable seams with a professional finish. Remember, the right thread and needle can significantly impact the integrity and appearance of your sewing projects.
Finishing Techniques for a Durable and Aesthetic Seam
Once you know how to sew two pieces of fabric together, the last step is finishing the seam. This step is essential for durability and aesthetics. Follow these techniques for a polished look that lasts.
- Trim and Grade Seams: Reduce bulk by trimming seam allowances to different widths. This is known as grading.
- Use Pinking Shears: Pinking shears create a zigzag edge that helps prevent fraying without sewing.
- Seam Binding: Bind seam edges with fabric tape for a neat finish that also reinforces the seam.
- French Seam Finish: This technique encloses the raw edges, making it perfect for sheer or fine fabrics.
- Flatten with Topstitching: Sew a line of stitching close to the seam on the right side of the fabric. It flattens the seam and adds a design element.
- Add a Clean-Finish Edge: Tuck in the raw edges and stitch close to the fold for a clean look.
- Overcast the Edges: Hand or machine stitch over the edge to prevent fraying if you don’t have a serger.
- Use Double-fold Hem: Fold fabric edges twice and stitch for a robust, clean finish, especially on hems.
- Apply Bias Tape: For a decorative and durable edge finish, sew bias tape around the seam margins.
- Serging: If available, use a serger for professional, stretch-resistant seams on various fabrics.
To ensure quality, test these techniques on fabric scraps before applying them to your project. With these finishing touches, your seams will not only look better but also withstand wear and tear over time.
