Introduction to Block Printing
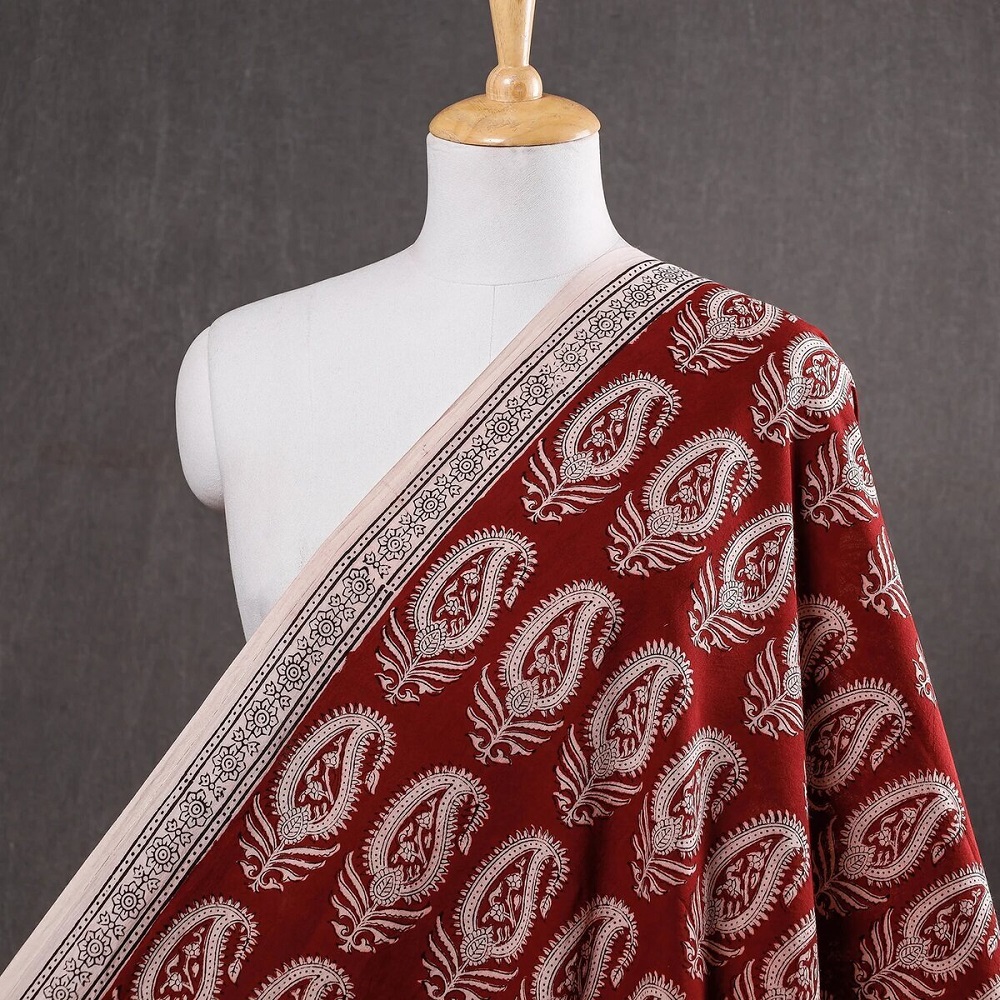
Transform your textiles with the ancient art of block printing. This traditional technique allows for personal expression through custom-designed fabrics.
Historical roots and cultural significance
Block printing boasts a storied past, with deep roots in cultures around the world. It’s been a form of expression for generations, with each culture adding its unique mark to the craft.
The basic materials needed for block printing
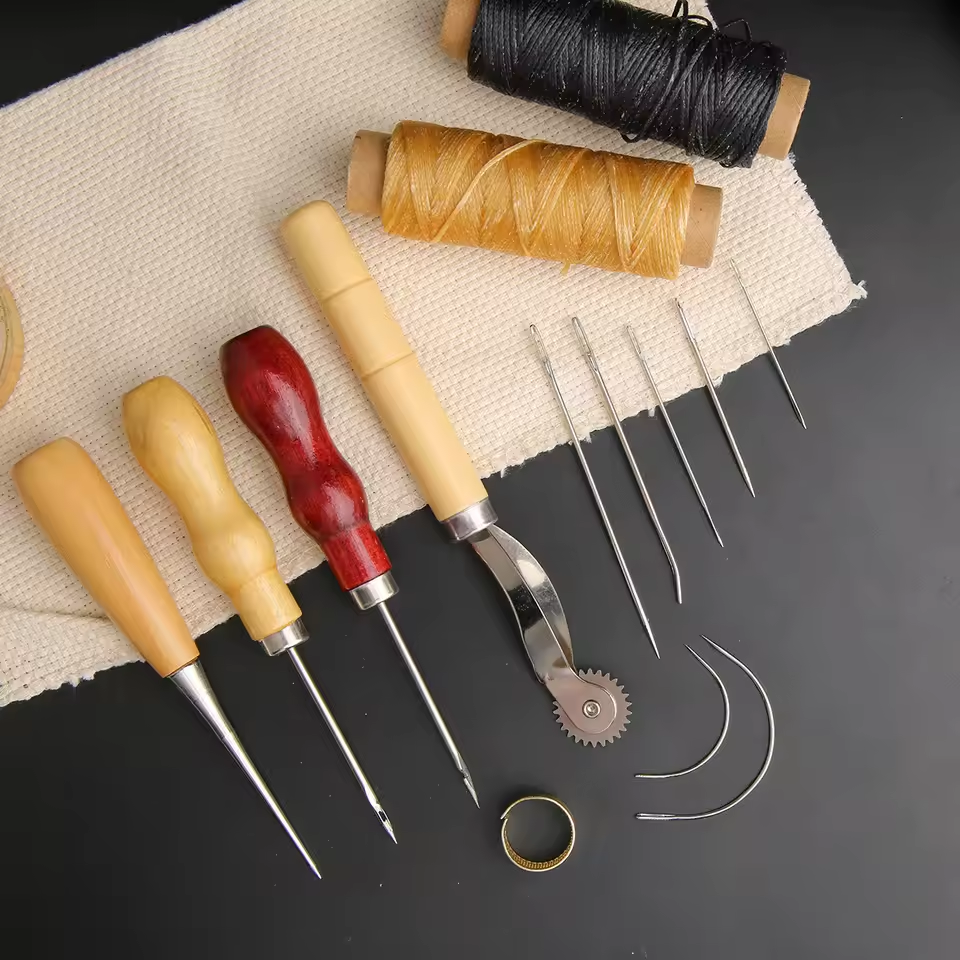
Embarking on your block printing journey? You’ll need a few essentials: a carving block, special inks, carving tools, and a chosen fabric. These tools will be your companions as you bring your artistic visions to life on textiles.
Choosing Your Fabric
Embark on your block printing project by selecting the perfect fabric. This is where your creative process truly begins.
Types of fabrics suitable for block printing
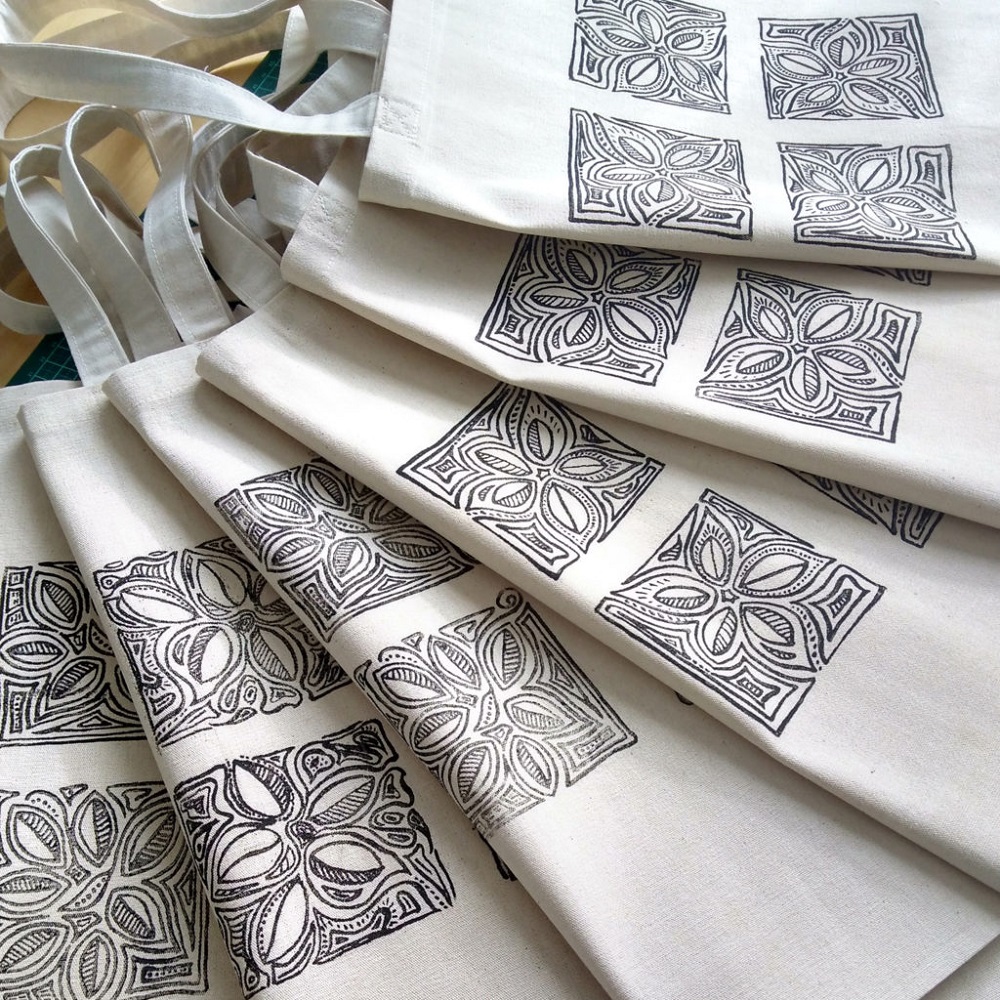
When it comes to choosing fabrics for block printing, the options are vast. Natural fibers like cotton, linen, and silk take to block printing particularly well due to their absorbent qualities. Smooth fabrics provide a better surface for intricate designs, while textured fabrics can add interesting depth to your prints.
Factors to consider when selecting fabric (color, texture, usage)
Selecting the right fabric involves more than just picking a pattern or color. Consider the end use of your printed fabric. Home decor items and clothing have different needs in terms of durability and washability. Light-colored fabrics will show off your designs more vividly, but don’t shy away from experimenting with darker hues for dramatic effects. Also, keep in mind that fabric texture can influence the outcome of your prints, adding subtle variance or bold definition.
Carving Your Blocks
Crafting your design starts with carving your blocks – an exciting step in fabric block printing.
Types of blocks (linoleum vs rubber)
Start by choosing between two common types: linoleum and rubber. Linoleum blocks are stiff and great for detailed work. Rubber blocks are softer and easier to carve, ideal for beginners.
Techniques for detailed carving
Use sharp tools for precision. Carve away areas that won’t receive ink. Start with the outline and move to detailed parts. Always carve in the opposite direction of your body to avoid injuries.
Tips for beginners on block carving
Begin with simple designs. Practice on scrap blocks first. Keep tools sharp. Don’t rush; take your time to avoid mistakes. Use a bench hook to hold the block stable while carving.
Inks and Their Applications
When diving into block printing on fabric, ink choice is crucial. You’ll encounter two main types: oil-based and water-based inks.
Oil-based vs water-based inks
Oil-based inks are durable and vivid, making them great for paper projects. They need more time to dry but last well after washing. These inks can be smelly and require more clean-up effort. Water-based inks, on the other hand, are user-friendly and quick to dry. They’re excellent for fabric, as they’re easy to wash out of tools and generally have fewer fumes.
Selecting the right ink for your project
Choose oil-based inks for strong, permanent designs on paper. Use water-based inks for fabrics like curtains or clothes you plan to wash. Think of your project’s final use. Will it face many washes, or is it more decorative? This will guide your ink choice.
Techniques for applying ink evenly
For even ink application, use a smooth, flat surface and work methodically. Spread the ink on a glass or plexiglass palette with a roller to get a thin, consistent layer. Test on scrap fabric first to ensure proper ink coverage. For rubber blocks, less ink works best to avoid blotchy prints. And remember, practice makes perfect; try different amounts of ink to see what works best for your design and fabric type.
Printing Techniques
Transform plain textiles into works of art with a few simple block printing steps.
Step-by-step guide to block printing on fabric
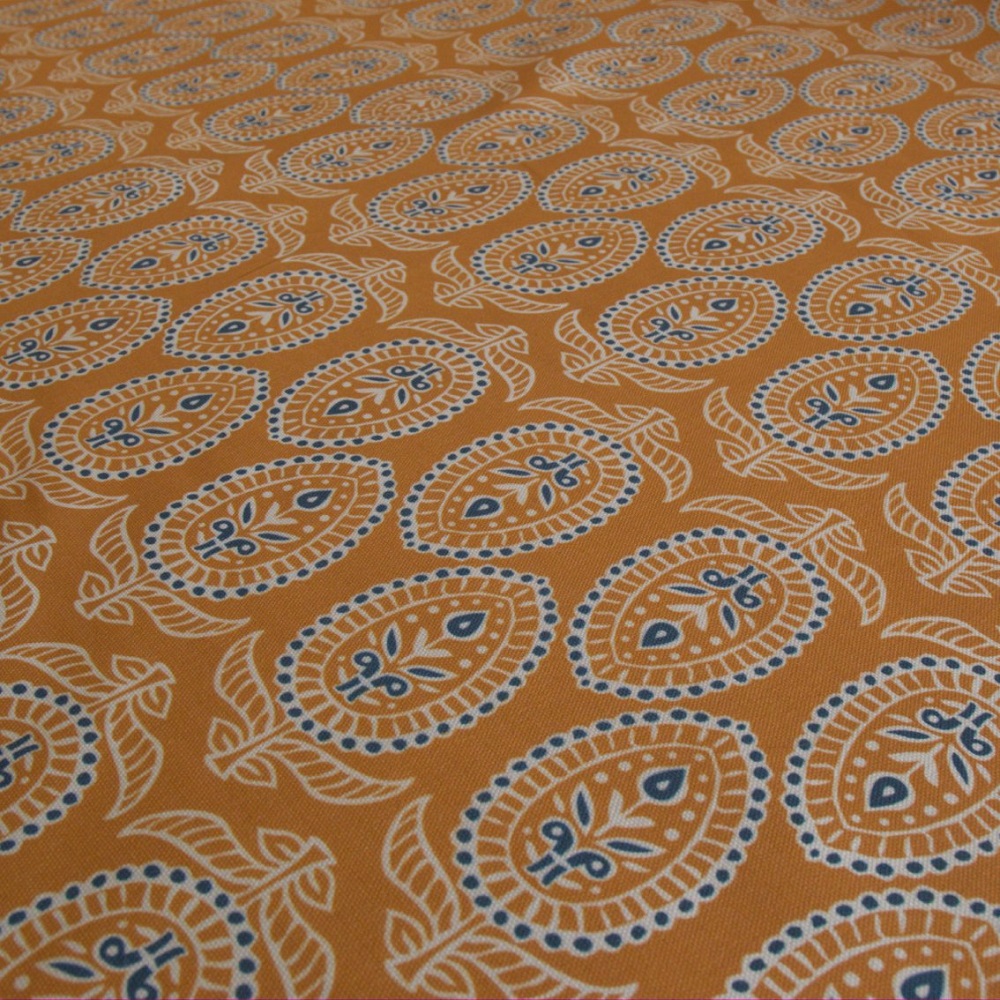
Prepare your workspace, ensuring it is clean and flat. Place a cloth or board underneath for a slight cushion. Mix your ink with textile medium, if using acrylics, as per the product instructions. Coat your carved block evenly by pressing it onto a sponge pad soaked with ink. Position the block on your fabric and apply firm pressure. Carefully lift it to avoid smudging, and repeat to continue the pattern. Allow the print to dry before heat setting with an iron.
Creating consistency in your designs
To maintain uniformity in your printed designs, use spacers or markings as guides. Consistently reapply the same amount of ink and pressure with each stamp. Periodically check your blocks for excess ink, which can cause blotches.
Advanced techniques: layering and texture effects
Introduce complexity by layering multiple prints. Use less ink for a faded effect or different blocks for texture variety. Test on scraps before attempting on the final piece to perfect your technique.
Caring for Your Block Printed Fabrics
Ensuring the longevity and vibrancy of your block printed fabrics involves proper setting and maintenance. Here are essential steps and tips on caring for your prints effectively.
Setting and curing your prints
After the printing process, setting and curing the ink on your fabric is vital for durability. If you’ve used water-based inks, iron the fabric on a high setting (use a protective cloth to prevent direct contact) to cure the ink. For oil-based inks, simply allow them to dry thoroughly, as they typically dry hard and fast. Ensure your workspace is well-ventilated during curing.
Tips for laundering and maintenance
Washing your block printed fabrics correctly is crucial in maintaining their appearance. Use cold water and a gentle washing cycle for the first wash to set the prints. Avoid harsh detergents; opt for mild ones and avoid using fabric softeners which can affect the ink. For best results, hand wash the fabrics gently if possible, and always air dry rather than using a tumble dryer. Regular care will keep the prints vibrant and extend the life of your beautiful creations.
Creative Project Ideas
Explore the endless possibilities of block printing on fabric with these creative project ideas, perfect for personalizing your living space or gifting something special.
Home decor items you can revamp with block printing
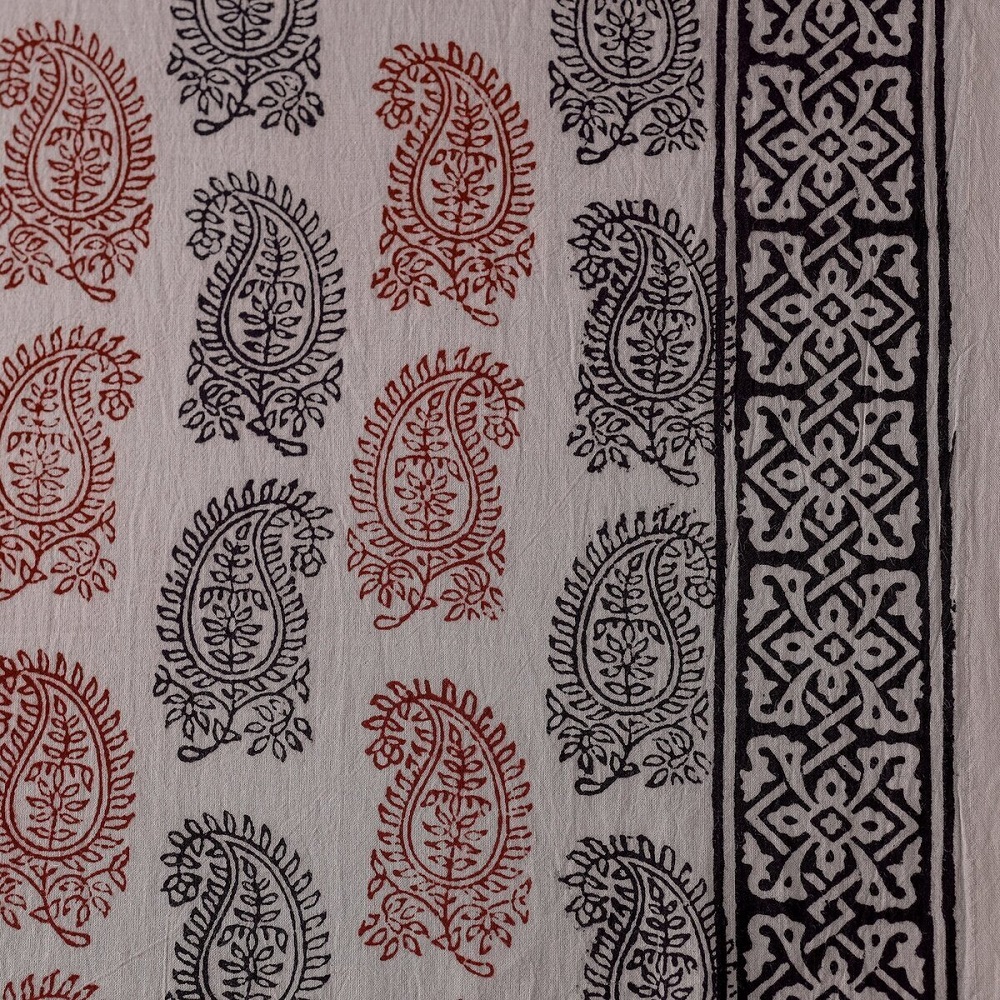
Dive into the world of DIY decor by block printing on a variety of home textiles. Here are some ideas:
- Cushion covers: Start with plain covers and print unique patterns to match your decor.
- Curtains: Add a personal touch to windows with custom designs that catch the light beautifully.
- Table linens: Napkins, runners, and tablecloths with chic prints elevate any dining experience.
- Wall art: Create fabric panels to hang for an artistic focal point in any room.
- Lampshades: Revitalize old shades with subtle prints for a fresh, new look.
Embrace the imperfect beauty of handmade prints to infuse character into your home.
Personalized gifts using block printing
Block-printed fabrics make heartfelt gifts. Consider these custom creations:
- Tote bags: Provide a practical, stylish gift with personalized prints.
- Apparel: Scarves, t-shirts, and aprons become treasured items with custom designs.
- Baby items: Blankets and onesies with soft prints are perfect for little ones.
- Stationery: Print on fabric to cover journals or pouches for a personal touch.
Personalize each gift with the recipient in mind for that special, thoughtful edge.
Mixing colors and patterns for unique designs
Experiment with color theory and pattern combinations to craft standout textiles. Tips for mixing:
- Start with a color palette: Choose complementary or contrasting colors for visual impact.
- Vary scale: Combine large and small prints for depth and interest.
- Layer prints: Use transparency and overlaying to create multidimensional designs.
- Play with texture: Mix smooth and textured fabrics for tactile variety.
The key is to have fun—blend, contrast, and invent as you go for results that are uniquely yours.
