Creating colorful designs on fabric can be a rewarding and fulfilling activity. With DIY fabric paint, you have the flexibility to express your unique creativity and personalize your items. This guide will take you through everything you need to know to create your own fabric paint and use it effectively. Let’s dive in!
Understanding Fabric Paint
What is Fabric Paint?
Fabric paint is a specially formulated paint designed for application on textiles. It adheres to fabrics differently than regular paint, which allows it to remain flexible and durable after washing and wearing. Fabric paint is available in a variety of types, including acrylic, watercolor, and puffy paint. Each type has its own unique qualities and application methods; for instance, puffy paint creates a raised effect, while acrylic tends to dry flat but can offer vibrant color saturation.
Why Use DIY Fabric Paint?
One of the best aspects of creating your own fabric paint is the customization. Store-bought fabric paints often come in limited color ranges and finishes, whereas DIY fabric paint allows you to experiment with mixing colors, varying textures, and creating unique effects that fit your vision. Additionally, making fabric paint at home can be significantly more cost-effective, especially if you’re planning on undertaking a large-scale project or working frequently with textiles.
Materials You’ll Need
Basic Supplies for DIY Fabric Paint
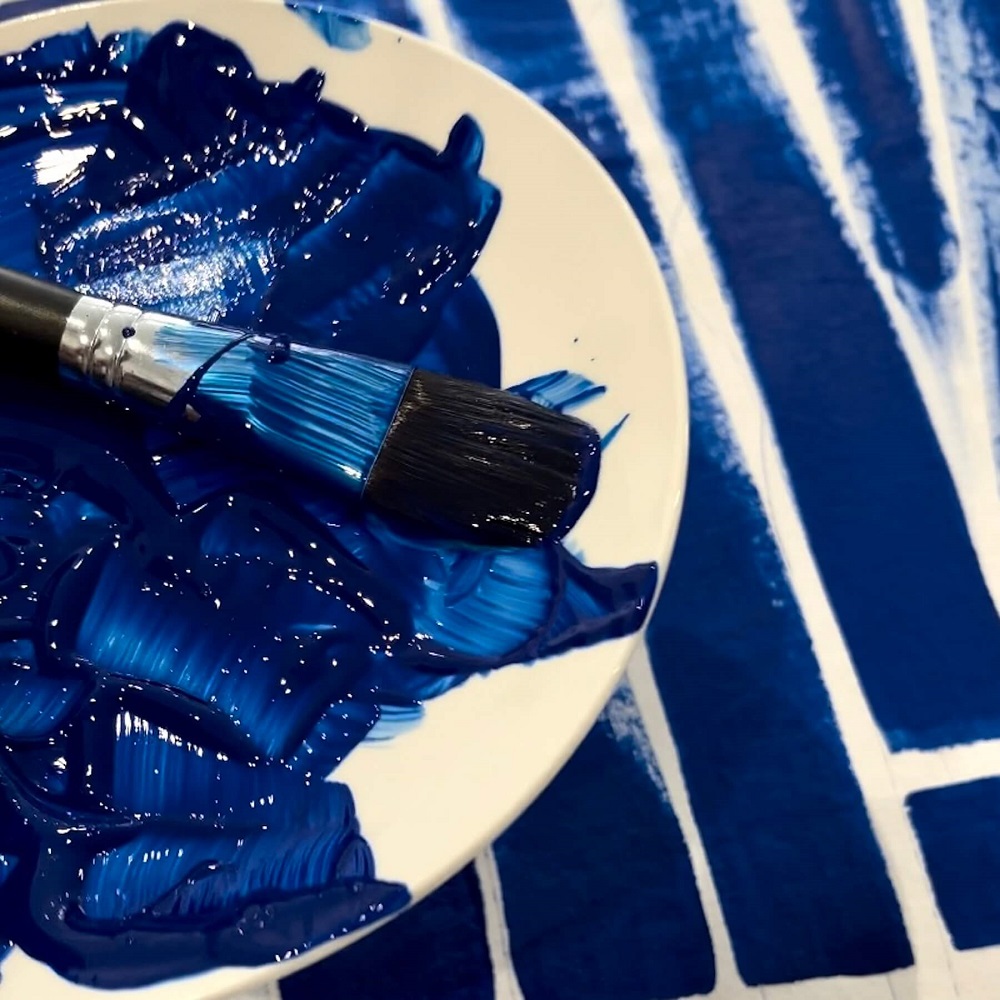
To create your own fabric paint, you will need specific materials to ensure the best results. At a minimum, you’ll require fabric medium, the base that modifies regular paint to become fabric-friendly; acrylic paint; water; mixing containers; and paintbrushes or sponges for application.
Optional Supplies to Enhance Your Project
Depending on your specific design intentions, you might also consider additional supplies. Stencils can help create uniform patterns, while screen printing tools allow for more complex designs. Fabric fixative can enhance durability, especially if you want your artwork to last wash after wash without fading. Gloves are essential if you want to keep your hands clean, and protective covering for your workspace can save time and effort during cleanup.
Creating Your DIY Fabric Paint
Mixing the Perfect Formula
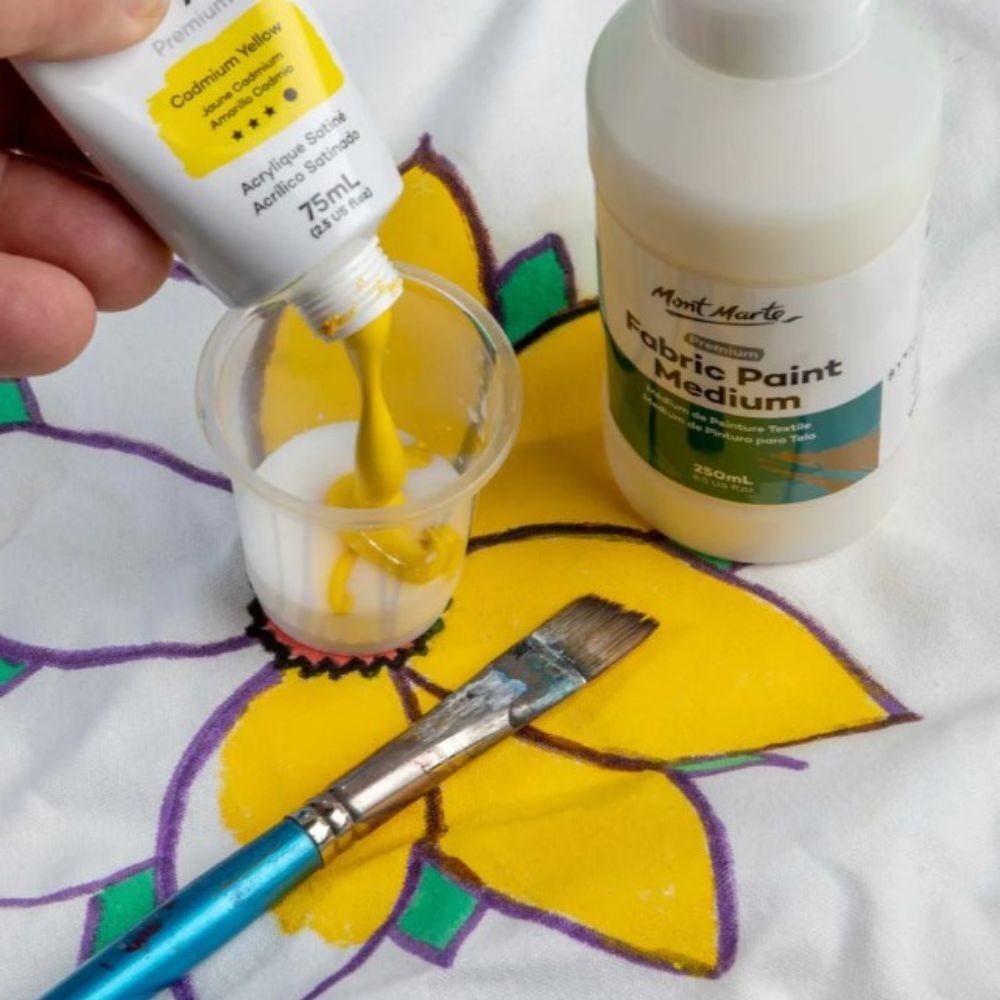
Creating your own fabric paint involves mixing standard acrylic paint with a fabric medium. The basic ratio is about 1 part fabric medium to 1 part acrylic paint. However, you can adjust the proportions according to your desired opacity and texture. A little experimentation here is key; start small, and gradually mix larger quantities as you find a formula you like.
Adding Color Variations
If you want more than just a single hue, you can create your own color variations by mixing two or more acrylic colors together. This not only allows for the creation of custom shades that match your vision but can also lead to interesting effects when layered on the fabric. For example, blending blue and yellow gives you a bright green, but mixing two shades of blue can produce a visually stunning gradient. It’s also wise to test any mixed color on a scrap piece of fabric before committing to your final project.
Preparing Your Fabric
Selecting the Right Fabric
Your choice of fabric can influence how the paint adheres and appears. Cotton and cotton blends are excellent options for DIY fabric painting, as they absorb paint well and allow it to dry evenly. Synthetic fabrics like polyester can also be used but may require special types of paint or additional preparations to ensure adherence.
Prepping Your Fabric for Painting
Before applying your DIY fabric paint, it’s crucial to prepare the fabric properly. Start by washing it to remove any factory residues or coatings that could affect paint adhesion. Avoid using fabric softeners, as they can create a barrier on the fabric that prevents paint from sticking. Once cleaned, thoroughly dry and iron your fabric to eliminate wrinkles. If you’re planning intricate designs, consider using a fabric stabilizer or an old cardboard piece to support the fabric and prevent distortion while painting.
Techniques for Applying DIY Fabric Paint
Brush Techniques
Using brushes is one of the most straightforward ways to apply your DIY fabric painting. Different brushes—flat, round, or detail—allow you to achieve various effects, such as broad strokes or intricate patterns. To apply, dip the brush into the paint and start on a scrap piece of fabric to get a feel for how much paint to use.
Stenciling for Precision
Stenciling is an excellent way to create sharp, clean lines. You can either purchase templates or make your own from cardboard or plastic sheets. Secure the stencil onto the fabric with painter’s tape, then use a sponge or brush to apply paint over the opening. This method is perfect for achieving repeatable designs, whether you want a singular pattern or a series of replicated motifs.
Creative Design Ideas
Tie-Dye Techniques
One way to utilize DIY fabric painting is by incorporating tie-dye techniques. Unlike traditional tie-dye which uses dyes, you can create interesting effects with your fabric paint by twisting, folding, and binding the fabric. Then, apply your paint at various points, allowing for a vibrant blend of colors that mimic classic tie-dye looks. This method invites creativity since you can experiment with the patterns and colors.
Abstract and Freehand Designs
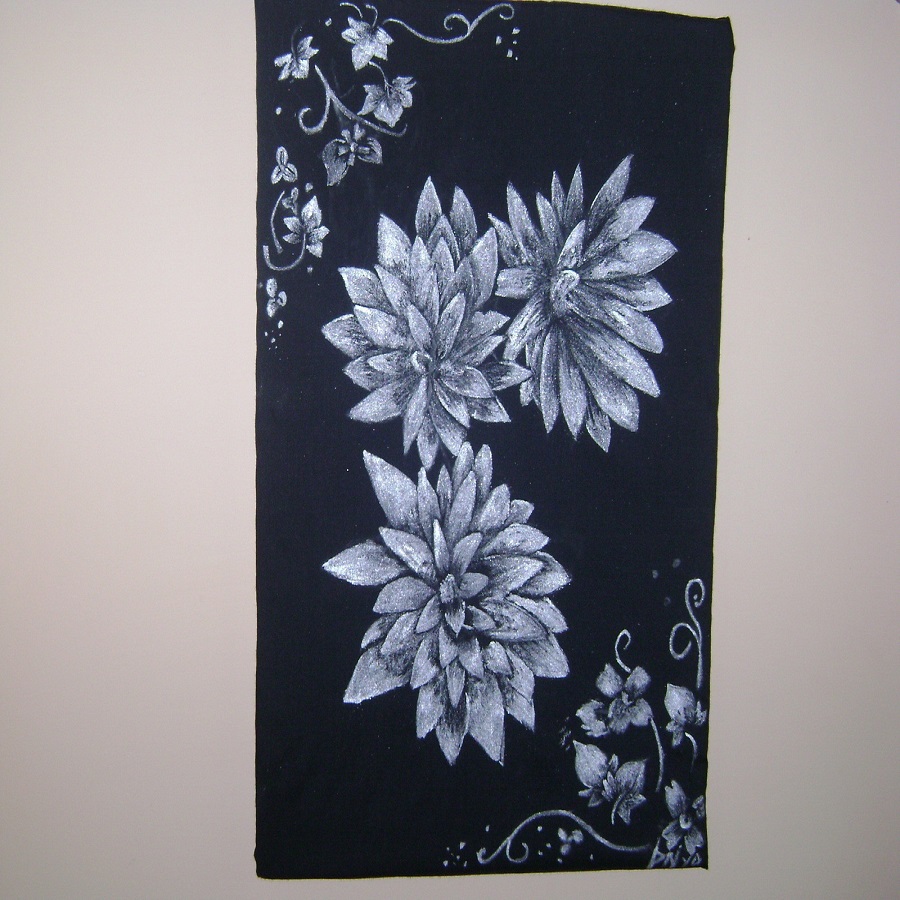
If you want to go for a more spontaneous route, consider abstract designs or freehand painting. This approach allows complete freedom without the constraints of stencils or pre-planned patterns. Use various brushes or even your fingers to apply paint and create unique textures. You can also layer paints to add depth and dimension, encouraging creativity to flow naturally as you work.
Drying and Setting Your Fabric Paint
Importance of Drying Time
Once you’ve completed your design, the next step is to allow the paint to dry completely. Drying time can vary based on your paint’s thickness and the type of fabric used. Generally, leave your fabric undisturbed for at least 24 hours. Proper drying helps prevent smudging and ensures paint durability, so resist the temptation to rush this process.
Setting the Paint for Longevity
To ensure that your fabric painting remains vibrant after washing and wearing, it’s essential to set it. You typically set the paint with heat; for this, you can either iron the painted area using a clean cloth as a barrier or place the fabric in a dryer on low heat for 30 minutes. This step solidifies the paint’s adherence and contributes to its longevity, making it less susceptible to fading and peeling.
Caring for Your Painted Fabric
Washing Instructions
Proper care for your painted fabric is vital to maintain its colors and designs. Always turn the fabric inside out before washing to protect the paint. Use cold or lukewarm water with a gentle detergent, and avoid bleach or harsh chemicals that could degrade the paint. Hand washing is often the best option, but if using a washing machine, select a delicate cycle.
Storing Your Painted Fabrics
Store your painted fabrics in a dry, cool place away from direct sunlight to limit exposure to conditions that may fade the colors. When folding your fabric, avoid creating creases over painted designs, as this could crack or damage them over time. If your fabric is part of a larger project, such as a garment or home décor piece, protect it with appropriate storage solutions.
Conclusion
Embracing Your Creativity
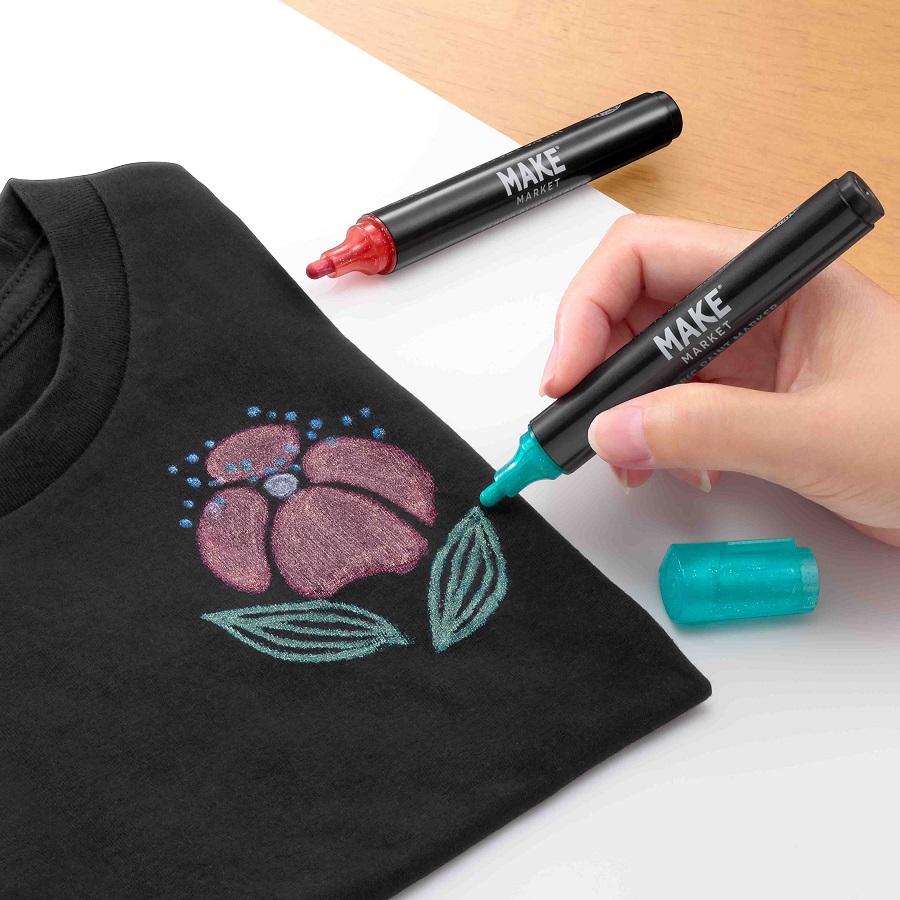
DIY fabric painting opens up a world of possibilities for self-expression and creativity. By understanding the materials, techniques, and care tips outlined in this guide, you can confidently create beautiful designs on your chosen textiles. Whether you’re decorating clothes, making unique gifts, or crafting home décor, the art of fabric painting allows you to infuse your individual style into every piece.
Continue Experimenting
As you become more comfortable with DIY fabric painting, don’t hesitate to keep experimenting with different colors, techniques, and surfaces. The beauty of fabric painting is the ability to learn and grow as an artist, allowing each project to teach you something new. Embrace the creative process and enjoy the colorful journey that lies ahead!


