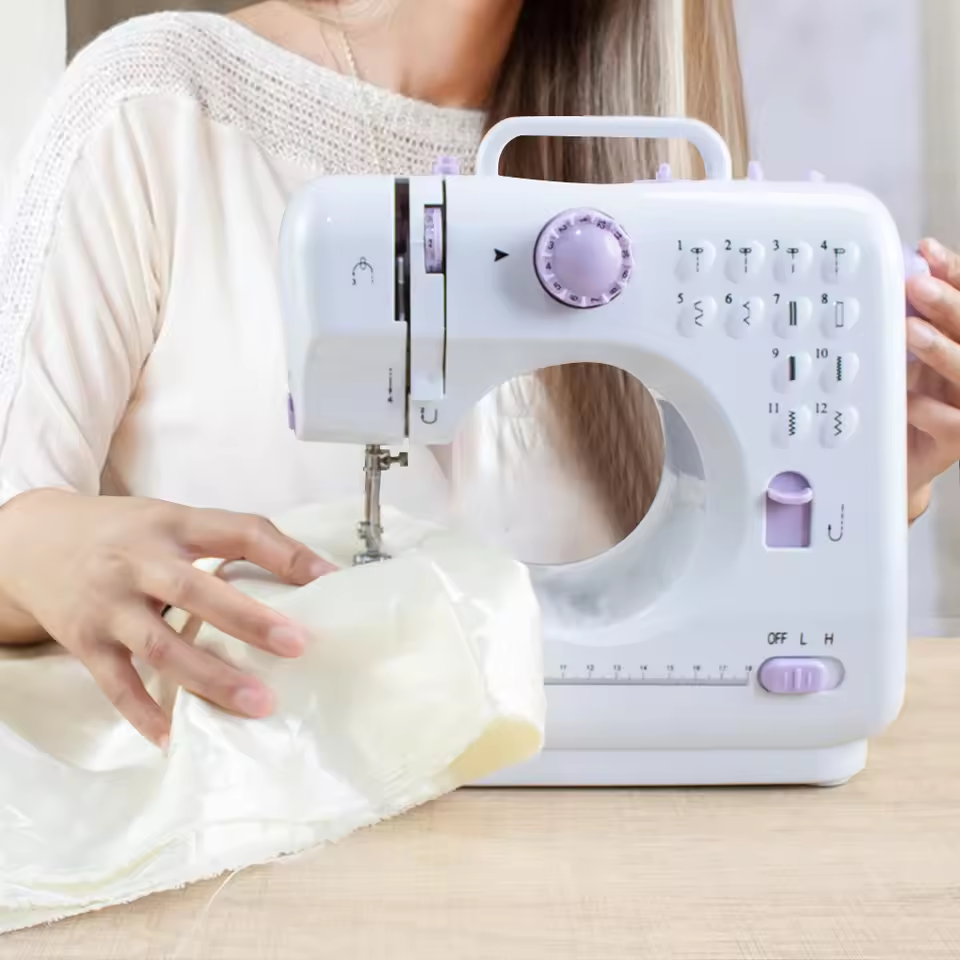
Sewing two pieces of fabric together is a fundamental skill for anyone interested in sewing, whether you’re crafting a quilt, making clothes, or repairing items around the house. While the task may seem simple at first glance, there are many details to consider, from choosing the right fabric to selecting the best stitches for the job. This guide will walk you through the process of sewing two pieces of fabric together, step by step, with clear instructions and tips to ensure you get professional-looking results.
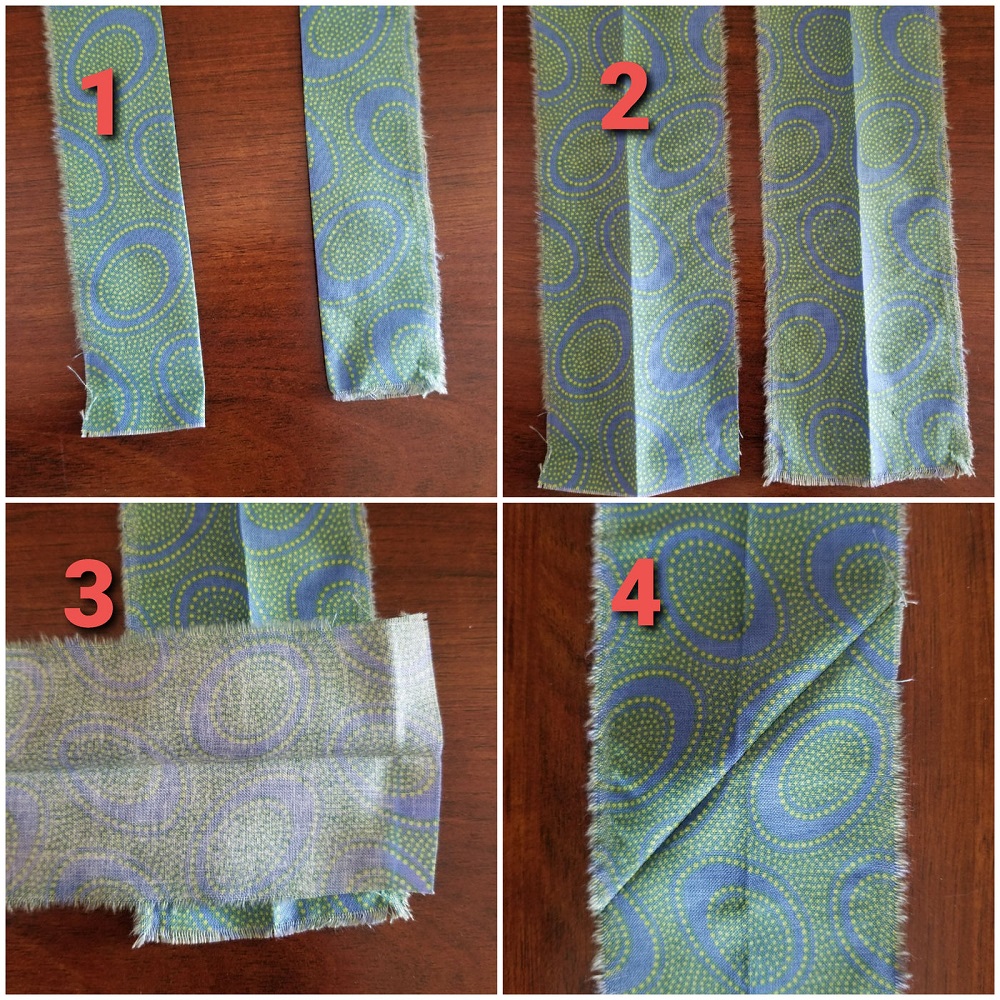
Understanding the Basics of Sewing Fabric Together
Before diving into the process of sewing fabric, it’s important to understand a few basics. When you sew two pieces of fabric together, you are essentially joining them in a way that will make them more durable and usable for your project. Whether you’re using a sewing machine or sewing by hand, the primary goal is to align the edges of the fabrics in a way that creates a strong and even seam.
Choosing the Right Fabric
The first step in sewing two pieces of fabric together is choosing the right fabric for your project. Different fabrics have different textures, weights, and characteristics, which will affect how they sew together. For example, lightweight fabrics like cotton are easier to sew and manipulate, while heavier fabrics like denim or canvas may require stronger threads and different sewing machine settings.
Make sure that the fabrics you choose are compatible with each other in terms of their stretch, weight, and texture. This will ensure that when sewn together, the seams will hold well and the fabrics won’t shift or warp. Always check the manufacturer’s instructions for fabric care and handling, as this can affect the way they respond to stitching.
Selecting the Right Tools for the Job
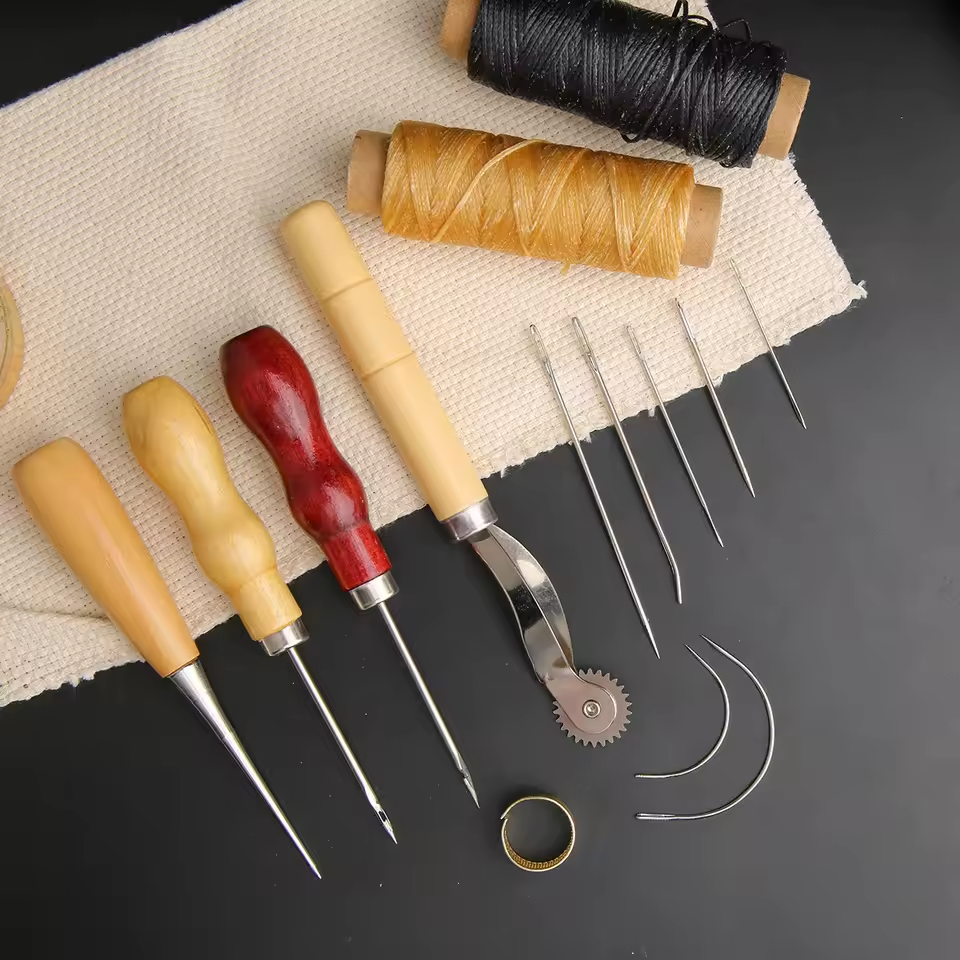
To sew two pieces of fabric together properly, you’ll need a few basic tools, which include:
- Needles: Make sure you choose the appropriate needle for the type of fabric you’re working with. For example, use a ballpoint needle for knits or a universal needle for woven fabrics.
- Thread: Pick a thread that matches the weight of your fabric. Cotton threads work well with cotton fabrics, while polyester threads are more durable and versatile for various fabric types.
- Scissors: A good pair of fabric scissors is essential for cutting the fabric neatly and accurately.
- Pins or Clips: These help hold the fabric pieces together as you sew, preventing them from shifting out of place.
Having these tools ready will set you up for success and make the sewing process smoother and more efficient.
Preparing Your Fabric for Sewing
Before sewing the two pieces of fabric together, proper preparation is key. You want the fabric to be neat and ready for the sewing process.
Pre-Washing the Fabric
Pre-washing your fabric is a good practice to avoid any shrinkage later on. Some fabrics, especially cotton, tend to shrink when exposed to water or heat, which can distort the fit of your final project. Wash and dry the fabric according to the manufacturer’s instructions to prevent unexpected shrinkage after you’ve sewn the pieces together.
Cutting the Fabric to Size
Once your fabric is clean and dry, the next step is cutting it to the desired shape and size. Use fabric scissors for clean, sharp cuts to ensure that the edges are straight and even. You can use a rotary cutter for more precise cuts, especially when working with multiple layers of fabric. Make sure to measure and mark the fabric before cutting, using a ruler or measuring tape to achieve accurate dimensions.
Pressing the Fabric
After cutting the fabric, press it with an iron to remove any wrinkles. Smooth, flat fabric is much easier to work with and will lead to more accurate seams. Pay attention to the fabric’s care instructions when setting your iron’s temperature, as some fabrics can scorch or become damaged by too much heat.
Aligning the Fabric Pieces for Sewing
Properly aligning the two pieces of fabric before sewing is essential for creating neat seams. Misalignment can lead to uneven stitching, puckering, and unwanted gaps.
Pinning the Fabric Together
Once your fabric pieces are properly cut and pressed, place them right sides together (the sides of the fabric that will be on the outside of your project). Align the edges of the fabric and use pins or fabric clips to secure them in place. Be sure to pin or clip along the entire edge that you will be sewing, spacing the pins or clips evenly to hold the fabric in place.
Checking for Evenness
After pinning the fabric together, check to ensure the edges are aligned properly. Smooth out any wrinkles or folds that may have formed while handling the fabric. Even small misalignments can affect the final result, so take the time to get it right. A good way to check for evenness is to lightly tug on the fabric as you pin it, ensuring that the edges remain flush with each other.
Marking the Seam Allowance
A seam allowance is the extra fabric on the edges of your project that will be sewn and then trimmed. Typically, a ¼-inch to ½-inch seam allowance is common, but the size depends on your project. Use a fabric marking tool, like chalk or a fabric pencil, to mark where the seam will be sewn. This step ensures that your seams will be consistent throughout the project.
Sewing the Fabric Together
Now that the fabric pieces are aligned and pinned, it’s time to start sewing. Whether you’re using a sewing machine or sewing by hand, the technique is similar, but the speed and precision will differ.
Machine Sewing
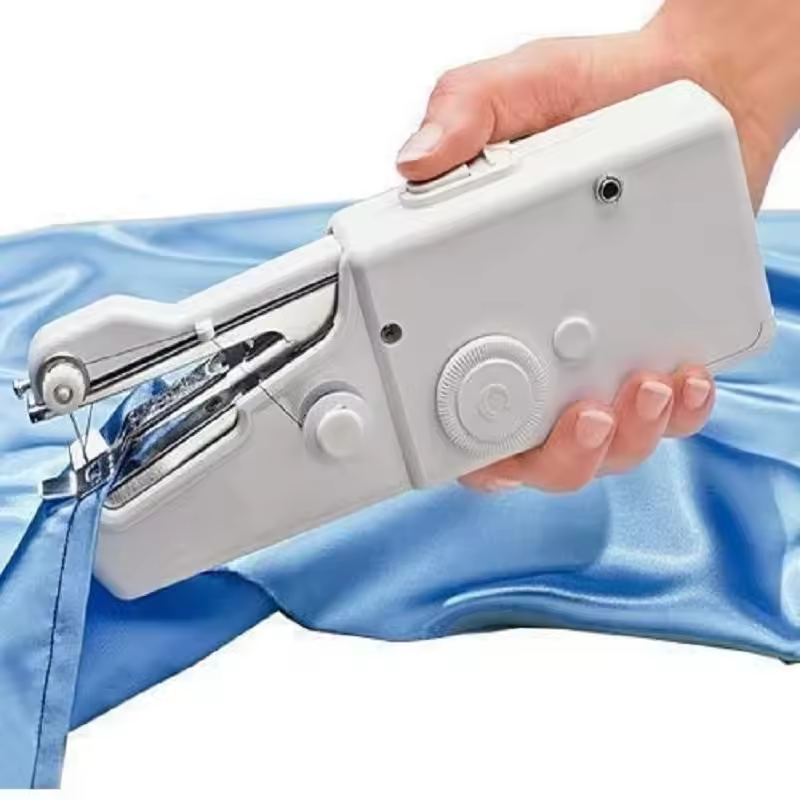
If you’re using a sewing machine, set up the machine with the appropriate needle and thread. Start by placing the fabric under the presser foot, aligning the edge with your marked seam allowance. Begin sewing slowly, guiding the fabric through the machine while maintaining a steady pace. As you sew, remove the pins one by one to avoid hitting them with the needle.
If you’re working with thicker fabrics, such as denim or leather, you may need to adjust the stitch length or pressure settings on your machine to avoid damaging the fabric. For a simple, strong stitch, a straight stitch is usually the best option, but some projects may benefit from a zigzag stitch or reinforced stitching for added durability.
Hand Sewing
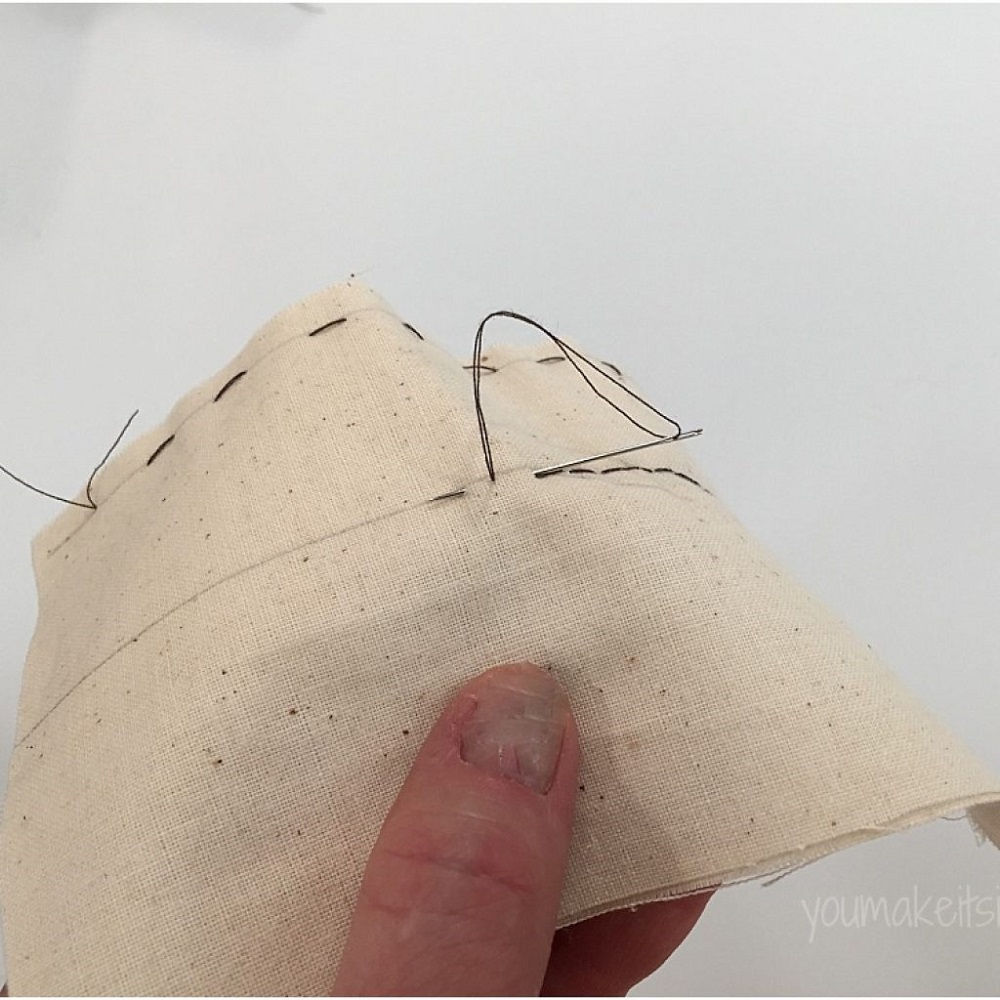
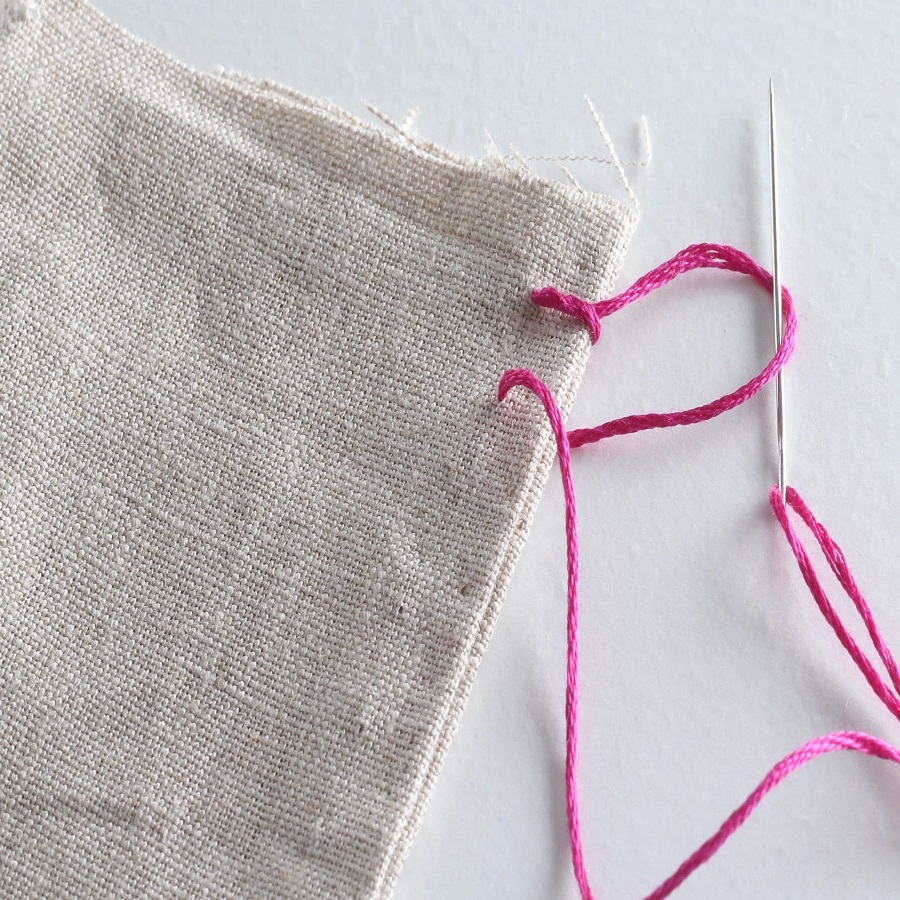
If you don’t have access to a sewing machine or prefer hand sewing, you can sew the pieces together with a needle and thread. Begin by inserting the needle from the back side of the fabric, pulling it through to the front. Use small, even stitches along the seam line, keeping the stitches straight and consistent. Hand sewing can be slower than machine sewing but gives you more control over the stitch placement and is ideal for delicate fabrics or smaller projects.
Backstitching for Strength
Whether machine sewing or hand sewing, backstitching at the beginning and end of your seam will provide extra strength and prevent the seam from unraveling. To backstitch on a machine, sew forward a few stitches, then reverse back over them before continuing forward. If hand sewing, work a few stitches in reverse direction at the start and end of the seam.
Finishing the Seams
After sewing the fabric pieces together, it’s essential to finish the seams properly to ensure that the edges don’t fray or unravel over time.
Trimming the Excess Fabric
If your seam allowance is too wide or if you want to reduce bulk, trim any excess fabric. Use a pair of sharp scissors to carefully cut away the extra fabric, making sure not to cut into the stitches. For a cleaner finish, you can use pinking shears or a zigzag stitch along the raw edges of the fabric to prevent fraying.
Pressing the Seams
Once you’ve sewn the pieces together, press the seams with an iron to set the stitches. Press the seam allowances to one side (typically towards the back of the project or in the direction that makes the most sense for the design). Pressing the seams will help to flatten them, making the finished product look more polished and professional.
Using a Serger for a Clean Finish
If you want a more professional finish, consider using a serger to trim and finish the raw edges of the fabric. A serger creates a clean, strong finish that prevents fraying and adds a decorative edge to the seams. This is particularly useful for fabrics that are prone to fraying, like lightweight cotton or linen.
Final Thoughts
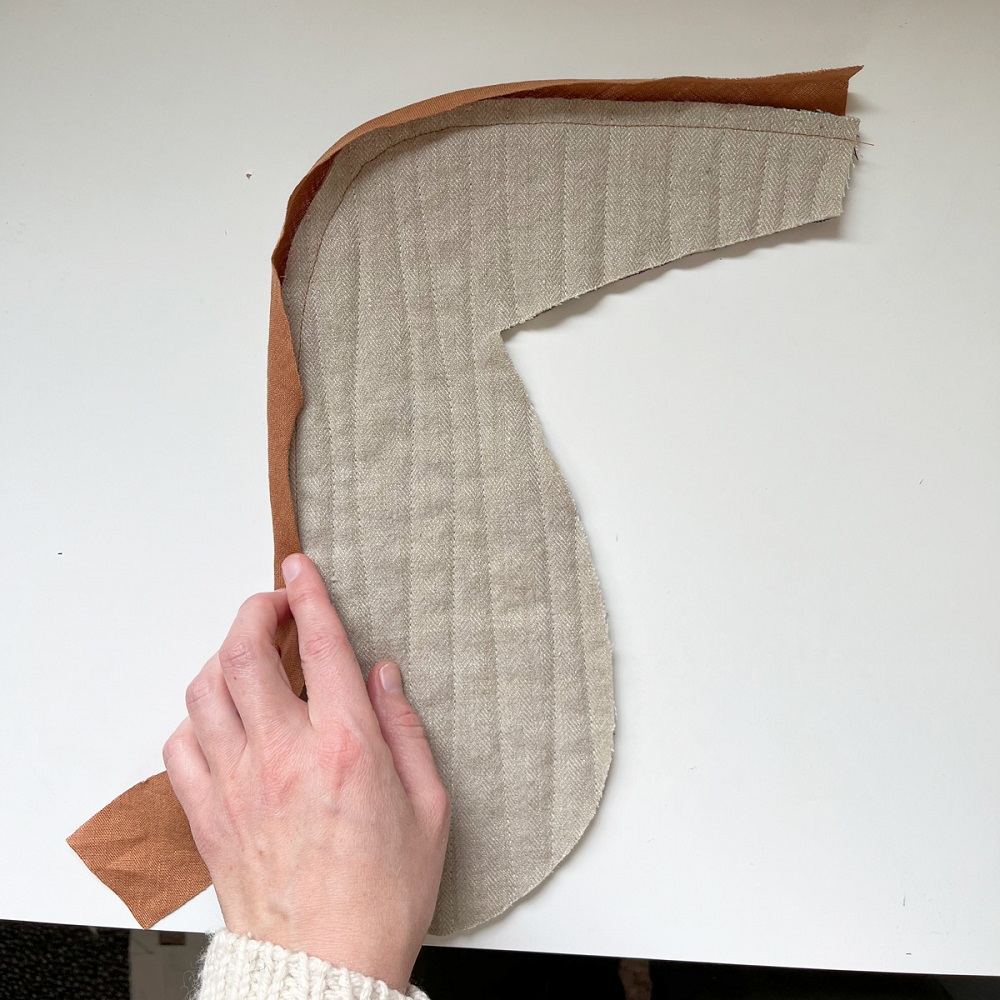
Sewing two pieces of fabric together is a basic yet essential skill that every beginner seamstress or tailor should master. By choosing the right fabric, aligning the pieces properly, and sewing with care, you can create strong, durable seams that will last. Whether you are making clothes, accessories, or home décor items, learning how to sew fabric together will open up endless possibilities for your sewing projects.
With practice, you’ll become more comfortable with the process and develop the skills needed to tackle even more advanced techniques. So grab your fabric, your sewing machine (or needle and thread), and start sewing—there’s a whole world of creativity waiting for you!


