Waterproofing fabric is a crucial skill for maintaining the longevity and performance of your outdoor gear, whether it’s tents, backpacks, jackets, or any other fabric-based equipment. In this comprehensive guide, we’ll walk you through the process of waterproofing fabric, highlighting each step to ensure your gear stays dry and functional in all weather conditions.
Why Waterproofing Fabric is Essential for Outdoor Gear
Outdoor activities expose your gear to harsh weather conditions such as rain, snow, and humidity, which can degrade fabric and compromise its performance. Waterproofing fabric helps to prevent water from soaking into the material, which can lead to discomfort, damage, and reduced insulation. Additionally, fabrics that are not waterproof can become heavy when wet, making them cumbersome to carry or wear.
The primary function of waterproofing is to create a barrier that keeps water out while still allowing the fabric to breathe. Breathability ensures moisture from sweat can escape, which is especially important for outdoor clothing like jackets or pants. Waterproofing protects not just the fabric but also the gear’s insulation and functionality, making it essential for anyone who spends time outdoors in unpredictable weather.
Types of Waterproofing Methods for Fabric
When it comes to waterproofing fabric, several methods can be employed, depending on the type of material you’re working with and the level of protection you need. These methods can be divided into two broad categories: spray-on waterproofing treatments and liquid or paste treatments that require application with a brush or sponge.
Spray-on Waterproofing Treatments
Spray-on waterproofing products are among the easiest and most convenient methods to apply. These treatments typically come in aerosol cans or bottles and are designed to coat the fabric evenly. Spray-on waterproofing is ideal for gear like backpacks, tents, and jackets where a quick and thorough application is needed. The benefit of using a spray is that it is non-invasive, doesn’t require much setup, and is perfect for last-minute touch-ups.
Liquid or Paste Waterproofing Treatments
Liquid or paste waterproofing treatments tend to offer a more durable, long-lasting solution. These products are applied with a sponge or brush and require a little more time and effort to use. They tend to penetrate deeper into the fibers of the fabric, providing a robust, waterproof barrier. Liquid treatments are often preferred for heavy-duty outdoor gear such as tents, hiking boots, and outdoor furniture, as they provide superior protection and durability.
Step 1: Clean Your Fabric Thoroughly
Before applying any waterproofing treatment to fabric, it’s crucial to clean the fabric properly. Dirt, oil, and other debris can interfere with the waterproofing solution, leading to uneven coverage and reduced effectiveness. Cleaning the fabric ensures the waterproofing treatment will adhere better and provide the best results.
Pre-Treatment Cleaning Process
Start by checking the care instructions on the fabric to determine the best cleaning method. If the fabric is machine washable, you can use a gentle cycle with a mild detergent. For fabrics like Gore-Tex or other technical outdoor materials, opt for a cleaner that is designed for those specific fabrics, as standard detergent can damage performance materials. After washing, allow the fabric to air-dry completely before applying the waterproofing treatment.
For stubborn dirt or stains, consider spot cleaning with a brush and a diluted detergent solution. Pay extra attention to areas that are exposed to the most wear, such as the bottom of a tent or the sleeves of a jacket. Cleaning is a critical first step that should never be skipped to ensure your waterproofing treatment is as effective as possible.
Step 2: Choose the Right Waterproofing Product
The next step is to choose the right waterproofing product for your fabric and the level of protection you need. There are a variety of products on the market, each designed for different types of fabric and uses. When selecting a waterproofing treatment, consider the following factors:
Fabric Type
Make sure to choose a waterproofing product that is compatible with the specific material of your outdoor gear. For example, if you are treating a tent, you’ll want to use a product specifically designed for nylon or polyester fabrics. For jackets made from more technical fabrics, like Gore-Tex, be sure to select a product labeled as safe for use with breathable, high-performance materials.
Desired Level of Waterproofing
Some products are designed for light water resistance, while others offer full waterproofing capabilities. Depending on the activity and exposure to the elements, you may need a product that offers a higher level of protection. If you plan to use your gear in heavy rain or snow, opt for a stronger treatment. For items that will only see occasional drizzle or light moisture, a less intense treatment may suffice.
Environmental Considerations
Many waterproofing products contain chemicals that may be harmful to the environment. If you are concerned about environmental impact, look for eco-friendly, biodegradable products. There are several brands that offer environmentally-conscious options that are safe for both you and the planet.
Step 3: Apply the Waterproofing Treatment
Once you’ve chosen the right waterproofing product, it’s time to apply it to the fabric. The application process may vary slightly depending on whether you’re using a spray-on product or a liquid treatment, but the basic steps remain the same.
Preparing the Area
Before applying the waterproofing treatment, find a well-ventilated area to work in, preferably outdoors or in a garage. Lay the fabric flat on a clean surface such as a tarp, ensuring it’s free of any dust or dirt. For items like jackets or tents, make sure they are fully opened up to expose all areas that need treatment.
Spraying or Brushing
For spray-on treatments, hold the can or bottle about 6-8 inches away from the fabric. Spray in an even motion, ensuring that you cover the entire surface. It’s important to apply the product evenly, avoiding any missed spots or areas that are over-saturated. For liquid or paste treatments, dip your brush or sponge into the solution and gently apply it to the fabric in a thin, even layer. Be sure to follow the manufacturer’s instructions regarding application and drying time.
Pay Attention to Seams and Zippers
Special attention should be given to seams, zippers, and other areas where water is most likely to seep through. You can apply extra waterproofing treatment to these areas for enhanced protection. For tents or jackets, it’s often helpful to apply waterproofing treatment to the underside of seams and the edges of zippers, as these areas are particularly vulnerable.
Step 4: Allow the Treatment to Dry
After applying the waterproofing treatment, it’s essential to allow the fabric to dry completely. This step is crucial, as the waterproofing solution needs time to bond to the fibers and create a protective barrier. Follow the drying instructions provided by the product manufacturer, which may vary depending on the type of waterproofing treatment used.
Drying Time
In most cases, you’ll need to allow the treated fabric to dry for 24 to 48 hours before exposing it to water. Make sure the fabric is fully dry and that the waterproofing solution has set before you put your gear to use. It’s a good idea to hang the fabric in a well-ventilated area or outdoors in the shade to speed up the drying process. Avoid direct sunlight, as excessive heat can degrade the waterproofing product or cause it to peel off prematurely.
Heat Activation
Some waterproofing treatments require heat activation to fully bond to the fabric. If your product falls into this category, you may need to use a low-heat setting on a hairdryer or iron (with a protective cloth) to activate the treatment. Be sure to check the product instructions for specific details on heat activation.
Step 5: Test the Waterproofing Effectiveness
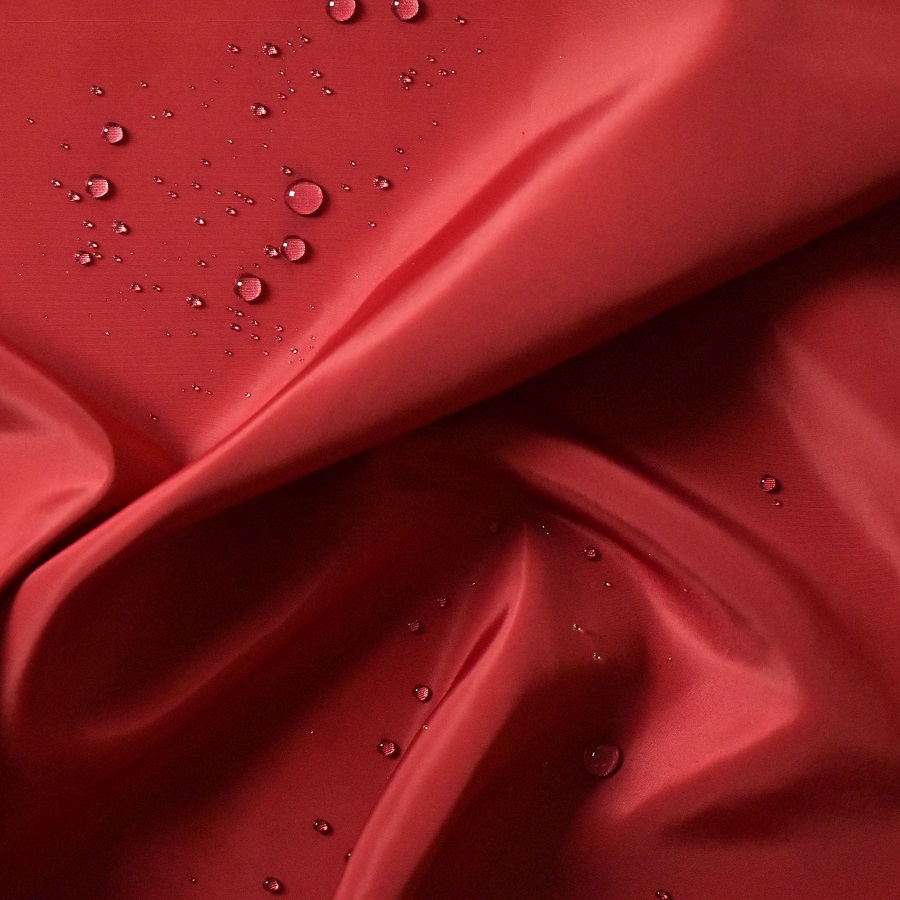
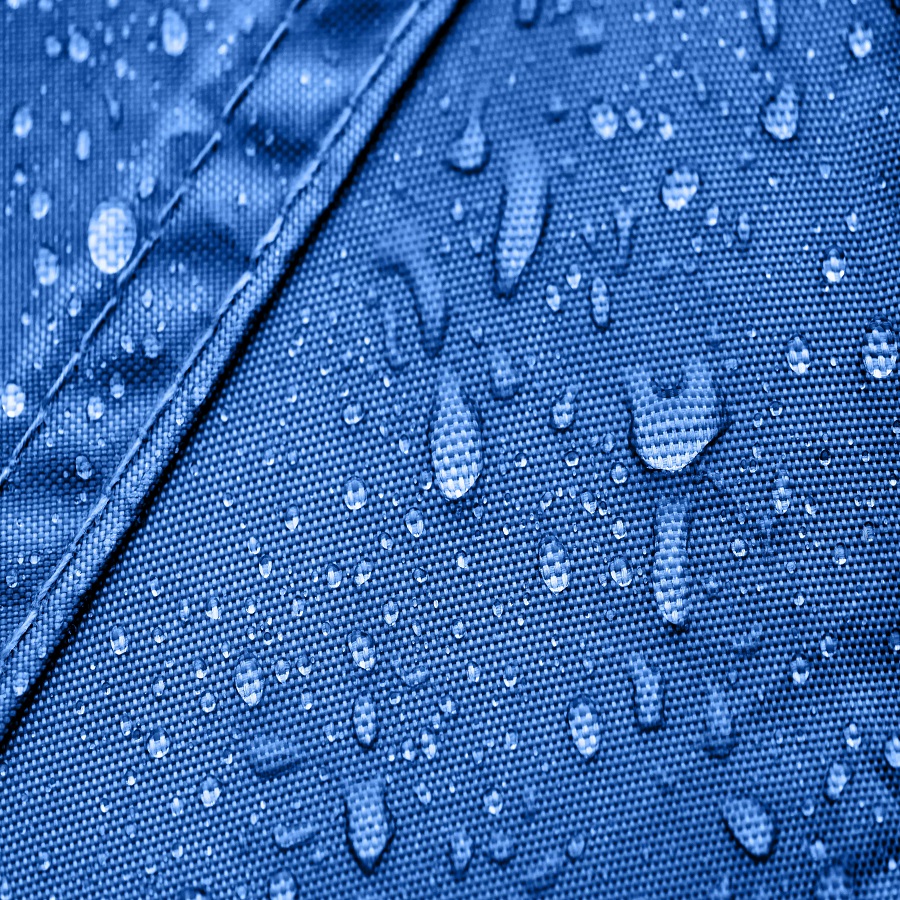
Once the fabric is dry, it’s important to test the waterproofing treatment to ensure it’s working properly. Lightly sprinkle or spray water on the fabric and observe how it behaves. If the water beads up and rolls off the surface, the treatment has been successful. If the water absorbs into the fabric or doesn’t bead, you may need to apply another layer of treatment.
Reapply If Necessary
If your first attempt at waterproofing didn’t yield the desired results, don’t be discouraged. Some fabrics may require multiple coats for full waterproofing, especially if the material is particularly absorbent or damaged. Simply repeat the process, ensuring each layer dries completely before adding the next.
Step 6: Maintain Your Waterproofed Fabric
To keep your outdoor gear in top shape, it’s important to maintain the waterproofing treatment. Over time, exposure to the elements, frequent washing, or wear and tear can break down the waterproofing barrier. Regularly inspect your gear for signs of water absorption, and if necessary, reapply the waterproofing treatment.
Regular Cleaning and Reapplication
As part of regular maintenance, clean your fabric gear periodically according to the manufacturer’s instructions. You can also reapply the waterproofing treatment once a season or after extended use in wet conditions. Keeping your gear clean and re-waterproofed will extend its lifespan and ensure that you stay dry during your outdoor adventures.


