The holiday season is a time of joy, creativity, and festive decor. One delightful project to add a personal touch to your Christmas decorations is crafting a fabric Christmas tree. This charming and versatile decoration allows you to infuse your home with seasonal cheer while showcasing your crafting skills. Whether you’re a seasoned DIY enthusiast or a beginner looking to try something new, this guide will walk you through the process of creating a fabric Christmas tree, offering tips and ideas to help you along the way.
Selecting the Right Fabric
Choosing Fabric Types
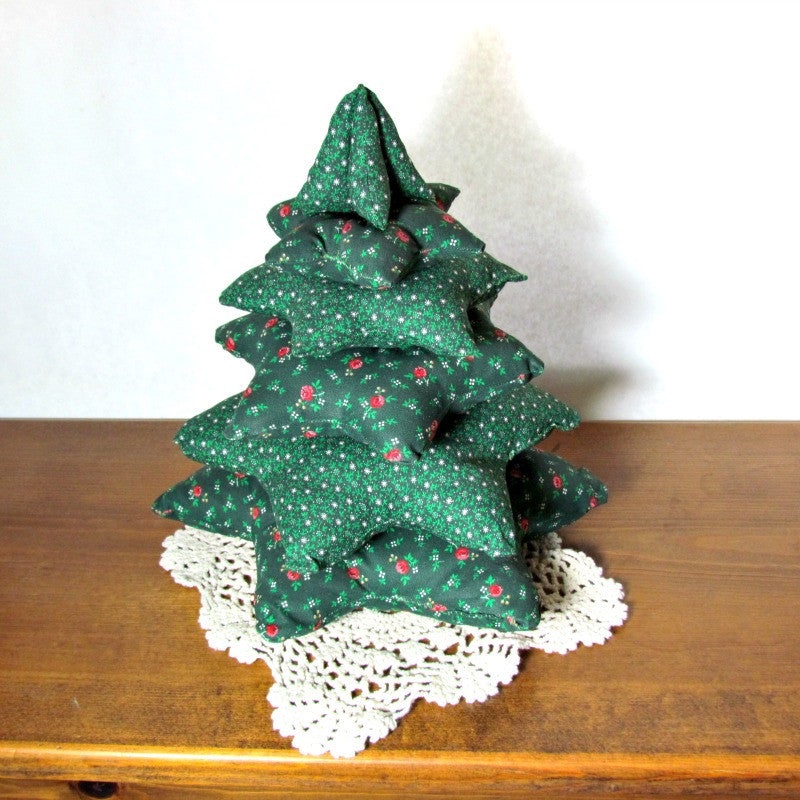
When embarking on your fabric Christmas tree project, the first step is selecting the right fabrics. The choice of fabric can significantly impact the overall look and feel of your tree. Opt for fabrics that have a festive and seasonal appeal, such as velvets, flannels, or patterned cottons. Velvet adds a touch of luxury and depth, while flannel provides a cozy, homey feel. Cotton fabrics with Christmas-themed prints, like snowflakes or holly, can enhance the holiday spirit of your creation.
Consider the texture and weight of the fabric as well. Heavier fabrics will provide structure and stability, making them suitable for larger or freestanding trees. Lighter fabrics, on the other hand, are ideal for smaller, tabletop versions or for adding embellishments. Mix and match fabrics for a varied and interesting appearance, ensuring that all selected fabrics complement each other in terms of color and design.
Color Coordination and Patterns
Color coordination is crucial when selecting fabrics for your Christmas tree. Traditional colors like red, green, gold, and silver evoke a classic holiday feel, but don’t be afraid to experiment with non-traditional palettes if they suit your style. Metallics and glittery fabrics can add sparkle and shine, enhancing the festive mood.
Patterns also play a significant role in the design of your fabric tree. From classic stripes and polka dots to intricate snowflake designs and festive plaid, patterns can contribute to the tree’s overall theme. Balance bold patterns with solid colors to prevent visual clutter and ensure a cohesive look. If you’re creating a more modern or whimsical tree, consider using fabrics with abstract patterns or unexpected colors.
Crafting the Base Structure
Choosing a Tree Shape
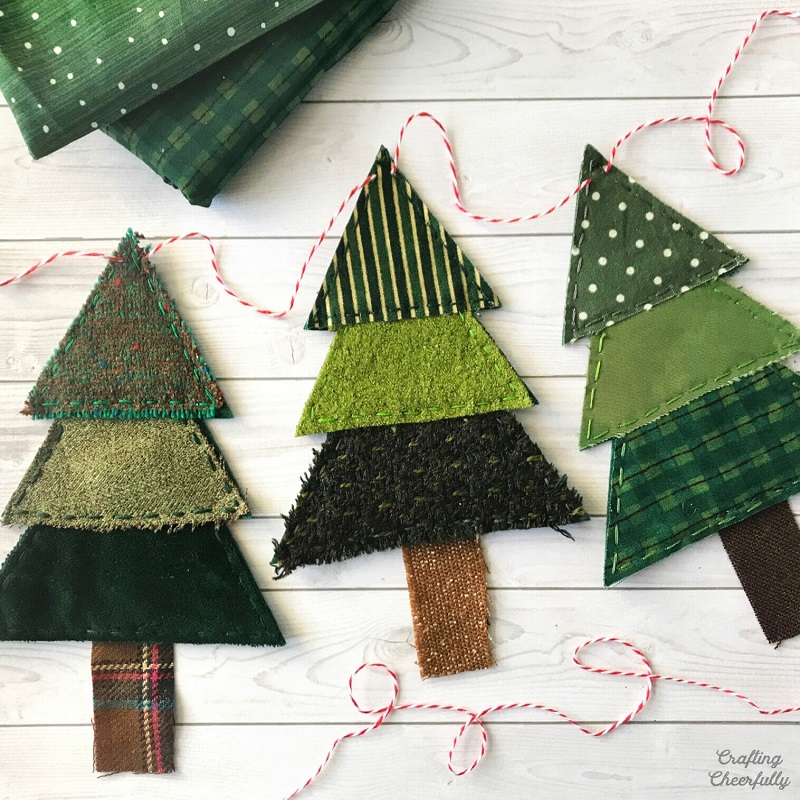
The shape of your fabric Christmas tree will determine its overall design and style. Decide whether you want a traditional triangular tree shape or something more unconventional. For a classic look, you might opt for a simple triangular structure that mimics the shape of a real Christmas tree. This shape is ideal for covering with fabric and can be easily customized with decorations.
Alternatively, consider creating a more modern or whimsical shape, such as a geometric design or a tree with asymmetrical layers. The shape you choose will guide the cutting and arrangement of your fabric pieces, so be sure to sketch out your design beforehand to visualize the end result.
Constructing the Frame
Once you’ve decided on the shape of your tree, it’s time to construct the frame. A simple and effective method is to use foam board or cardboard to create a sturdy base. Cut your chosen material into the desired tree shape and assemble it using glue or tape. For a freestanding tree, you may need to reinforce the base with additional supports or use a wooden dowel as a central pole.
If you’re aiming for a more dimensional tree, consider using a cone-shaped base made from wire mesh or a Styrofoam cone. These bases allow for easy attachment of fabric and provide a solid structure. Secure the fabric to the base using hot glue, fabric glue, or pins, ensuring that it is tightly adhered and free from wrinkles.
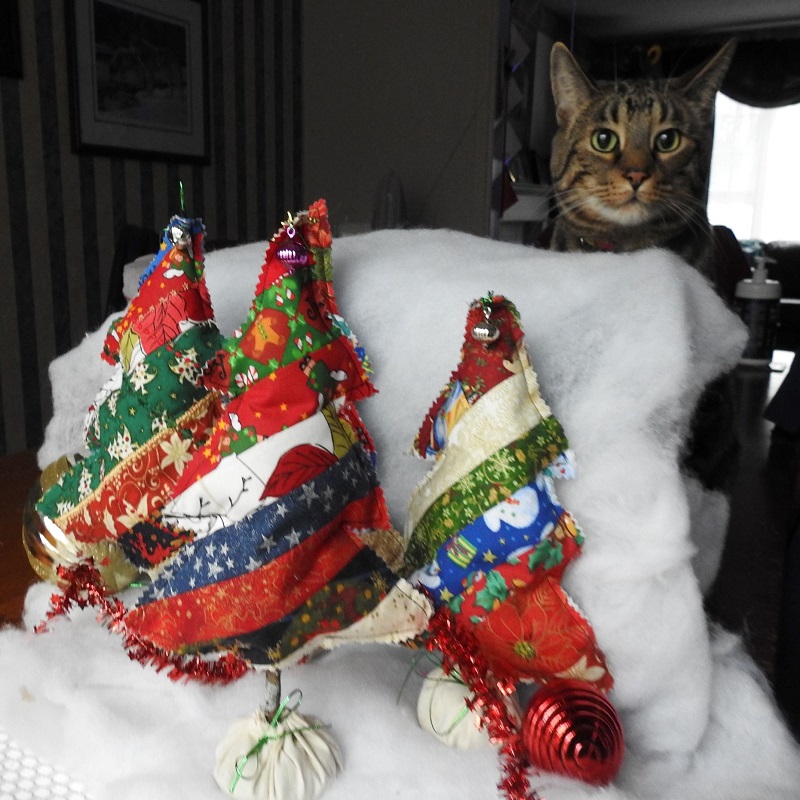
Cutting and Preparing Fabric Pieces
Measuring and Cutting Fabric
With the base structure in place, the next step is to prepare your fabric pieces. Measure the fabric according to the size of your tree and the design you’ve chosen. If you’re creating a tree with layered or tiered sections, cut the fabric into corresponding sizes and shapes. For a more intricate design, such as a patchwork pattern, cut the fabric into smaller pieces or squares.
Ensure that your fabric pieces are cut accurately to match the tree’s dimensions and shape. Use sharp fabric scissors or a rotary cutter for clean, precise cuts. If you’re working with multiple layers or patterns, consider laying out the pieces on a flat surface to plan the arrangement and ensure a harmonious design.
Preparing Fabric for Application
Before applying the fabric to the tree, prepare it by ironing out any wrinkles or creases. Smooth, wrinkle-free fabric adheres better and results in a cleaner finish. If your fabric is prone to fraying, apply a fabric stiffener or use pinking shears to prevent edges from unraveling.
For fabrics with intricate patterns or textures, it’s helpful to create a template or pattern to guide your cutting and application. This ensures consistency and precision, especially if you’re working with multiple pieces. Prepare all your fabric pieces before starting the assembly process to streamline the workflow and make the project more manageable.
Assembling and Decorating the Tree
Attaching Fabric to the Frame
With your fabric pieces cut and prepared, it’s time to attach them to the frame. Begin by securing the largest pieces first, covering the main sections of the tree. Apply fabric glue or hot glue to the back of the fabric and carefully position it on the frame. Smooth out any bubbles or wrinkles to ensure a flat, even surface.
For a layered or tiered tree, start from the bottom and work your way up, overlapping each layer slightly to create a seamless look. Secure each layer with glue or pins, adjusting as needed to achieve the desired shape and coverage. Continue attaching fabric until the entire frame is covered, making sure that all edges are neatly finished.
Adding Decorative Touches
Once the fabric is securely attached, it’s time to add decorative elements to enhance the tree’s appearance. Consider incorporating ornaments, ribbons, garlands, and other festive embellishments. Use small fabric ornaments or felt shapes to create a cohesive look, and add a star or angel to the top for a traditional touch.
For a more personalized touch, consider adding fabric flowers, bows, or handcrafted decorations. Glue or sew these elements onto the tree, arranging them in a balanced and aesthetically pleasing manner. Be creative with your decorations, and don’t be afraid to experiment with different styles and materials.

Displaying Your Fabric Christmas Tree
Choosing the Perfect Location
Selecting the right location to display your fabric Christmas tree is important for showcasing your creation and enhancing the holiday atmosphere. Consider placing the tree in a prominent spot, such as the entryway, living room, or dining area. Ensure that the tree is visible and well-lit to highlight its details and decorations.
If you’re creating a tabletop version, choose a surface that complements the tree’s size and style. A mantel, side table, or shelf can serve as an ideal display area. For freestanding trees, ensure that the base is stable and secure to prevent tipping or accidental damage.
Incorporating Additional Decor
To further enhance the festive ambiance, consider incorporating additional decorations around your fabric Christmas tree. String lights, garlands, and other holiday ornaments can complement your tree and create a cohesive holiday display. Arrange the decorations to draw attention to the tree and enhance the overall festive atmosphere.
In addition to traditional decor, you can also incorporate seasonal elements such as pinecones, berries, or faux snow to add texture and depth to the display. Ensure that all additional decor complements the style and color scheme of your fabric tree for a harmonious and visually appealing setup.
Final Thoughts
Creating a fabric Christmas tree is a wonderful way to celebrate the holiday season with a touch of creativity and craftsmanship. From selecting the right fabrics and constructing the base to decorating and displaying your tree, each step offers opportunities to personalize and enhance your festive decor. Whether you opt for a classic design or a modern twist, your handmade fabric Christmas tree will add a unique and heartwarming touch to your holiday celebrations.
Embrace the joy of crafting and let your creativity shine as you design and create a beautiful fabric Christmas tree. With careful planning, attention to detail, and a touch of holiday spirit, you’ll craft a memorable decoration that brings cheer and festivity to your home for years to come.
