Block printing is an ancient art form that has stood the test of time, captivating artists and crafters alike for centuries. With roots tracing back to China, India, and Egypt, this versatile technique allows for endless creative possibilities. Whether you’re a novice or a seasoned artist looking to explore new mediums, this beginner’s guide to block printing on fabric will walk you through the materials, techniques, and design ideas to get you started on your printing journey.
Understanding Block Printing: A Historical Perspective
Block printing has a rich history that dates back over 2,000 years. Initially developed in China for printing on textiles, the technique spread to other parts of Asia, such as India and Japan, where it evolved and flourished. In India, block printing became intricately linked with the production of stunning textiles, characterized by complex patterns and vibrant colors.
The method of block printing didn’t remain confined to Asia; it eventually found its way to Europe, where it was widely used to create decorative fabrics. The Industrial Revolution introduced mechanical processes, but the charm and artistry of hand block printing kept it relevant. Today, block printing is appreciated not just for its historical significance but also for its artistic precision and the unique textures it offers.
Essential Materials for Block Printing
Before diving into the techniques, having the right materials is crucial for a successful block printing project. Below is a comprehensive list of essentials you’ll need:
- Blocks: These are the stamps you will use for printing. Blocks can be made from various materials, including linoleum, wood, or rubber. Linoleum and rubber blocks are easier to carve and are recommended for beginners. Pre-made blocks with intricate designs are also available for those who prefer not to carve their own.
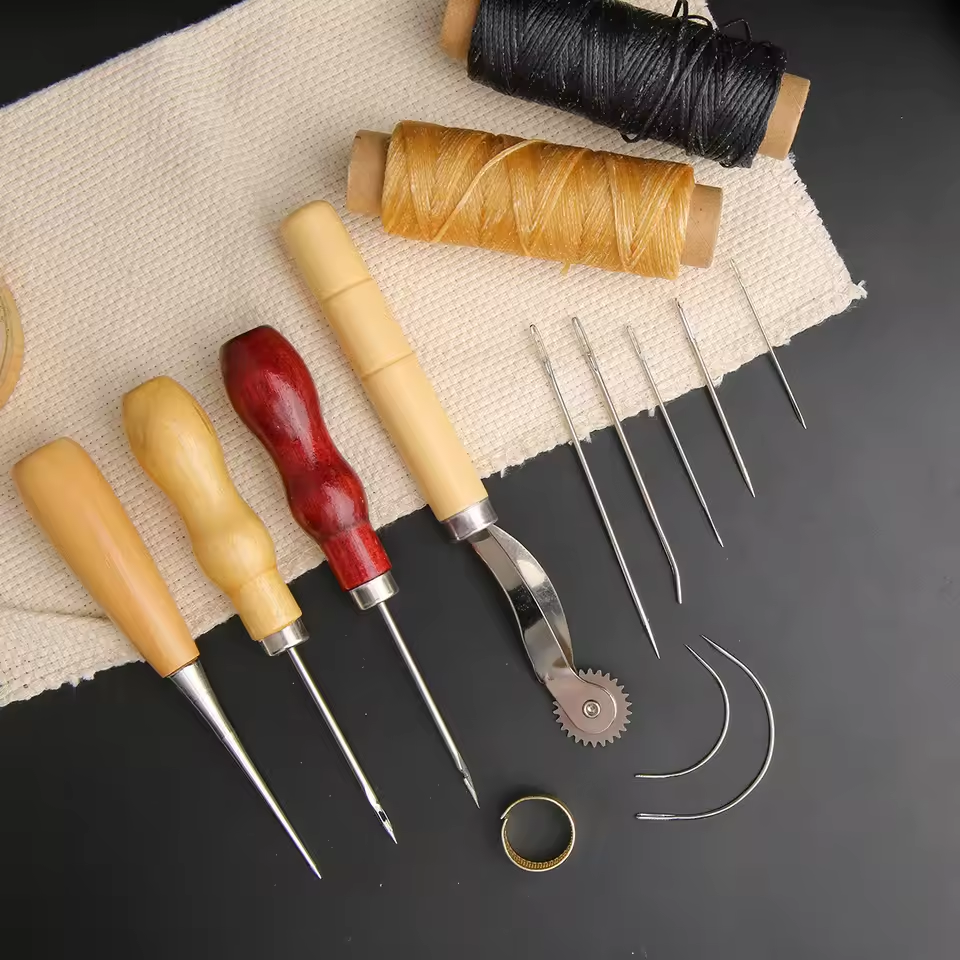
- Carving Tools: If you decide to create your own blocks, you’ll need a set of carving tools. These tools come in different sizes and shapes to help you achieve various line thicknesses and details in your design.
- Fabric: Select the fabric you wish to print on. Natural fibers like cotton, linen, and silk are excellent choices as they absorb the ink well and produce vibrant prints.
- Ink or Paint: Fabric ink or textile paints are necessary for transferring your design onto the fabric. Look for water-based, non-toxic options that are safe and easy to clean.
- Brayer: This is a small hand roller that helps evenly apply ink to your block. A smooth, consistent layer of ink is crucial for a clear print.
- Glass or Acrylic Sheet: Use this as a surface for rolling out your ink. A flat, non-porous surface helps in achieving an even application on the block.
Preparing Your Workspace
Setting up a comfortable and well-organized workspace is essential for any block printing project. Ideally, you should have a large, flat surface where you can lay out your fabric and work comfortably. Ensure that your space is well-lit so that you can see the fine details in your design and carving.
Place a protective covering on your work surface to catch any spilled ink or paint. You might also want to have paper towels and a bowl of water handy for quick clean-ups. Arrange all your materials within easy reach to minimize interruptions during your work.
Adequate ventilation is also essential, especially if you’re using solvents or other chemicals for cleaning your tools. Open windows or use fans to keep the air circulating. Taking these initial steps to prepare your workspace can make a tremendous difference in your overall printing experience.
Basic Techniques of Block Printing
Once your materials and workspace are ready, it’s time to dive into the techniques of block printing. Here are the basic steps to get you started:
- Designing Your Block: Begin with a simple sketch of your design. Transfer this sketch onto your block material using a pencil or carbon paper. For beginners, straightforward and bold designs are easier to execute.
- Carving Your Block: Using your carving tools, carefully remove the negative spaces of your design. Always carve away from your body and fingers for safety. Take your time with this step—precision is key.
- Inking the Block: Pour a small amount of fabric ink onto your glass or acrylic sheet. Use the brayer to roll out a thin, even layer of ink, then carefully roll the ink onto your carved block. Ensure the block is evenly coated but not oversaturated.
- Printing on Fabric: Lay your fabric flat and place the inked block face down onto the fabric. Apply even pressure across the back of the block, either with your hands or a clean brayer. Be consistent to avoid smudges and ensure the entire design transfers onto the fabric.
- Lifting the Block: Gently lift the block from one corner to reveal the print. If printing a repeated pattern, align your block carefully before making the next print.
- Drying and Setting the Ink: Allow the ink to dry completely. Most fabric inks require heat-setting to ensure the print is permanent. Follow the manufacturer’s instructions, typically involving pressing with a hot iron using a pressing cloth.
By mastering these basic techniques, you’ll be well on your way to creating stunning fabric prints. Remember, practice makes perfect, so don’t be discouraged by initial imperfections—they’re all part of the learning process.
Exploring Advanced Techniques
After you’ve mastered the basics, you might want to explore more advanced techniques to diversify your block printing projects. One popular method is multi-layer printing, which involves using multiple blocks and colors to create intricate, multi-colored designs. This technique requires precise alignment, often achieved by creating registration marks on your fabric and blocks.
Gradient prints can add a dynamic look to your designs. This involves blending two or more ink colors on your block using the brayer to create a gradient effect. Experimenting with different color combinations can yield striking results.
You can also experiment with mixed media by combining block printing with other fabric decoration techniques such as embroidery, fabric painting, or dyeing. This opens up a realm of creative possibilities, allowing for unique textures and complex designs that stand out.
Inspiration and Design Ideas
Now that you’re armed with the essential techniques, let’s explore some design ideas and sources of inspiration to kick-start your creative journey. Nature is a rich source of inspiration for many artists. Floral patterns, leafy vines, and animal motifs can bring a lively and organic feel to your prints. Look around your surroundings or snap photos during a nature walk to gather ideas.
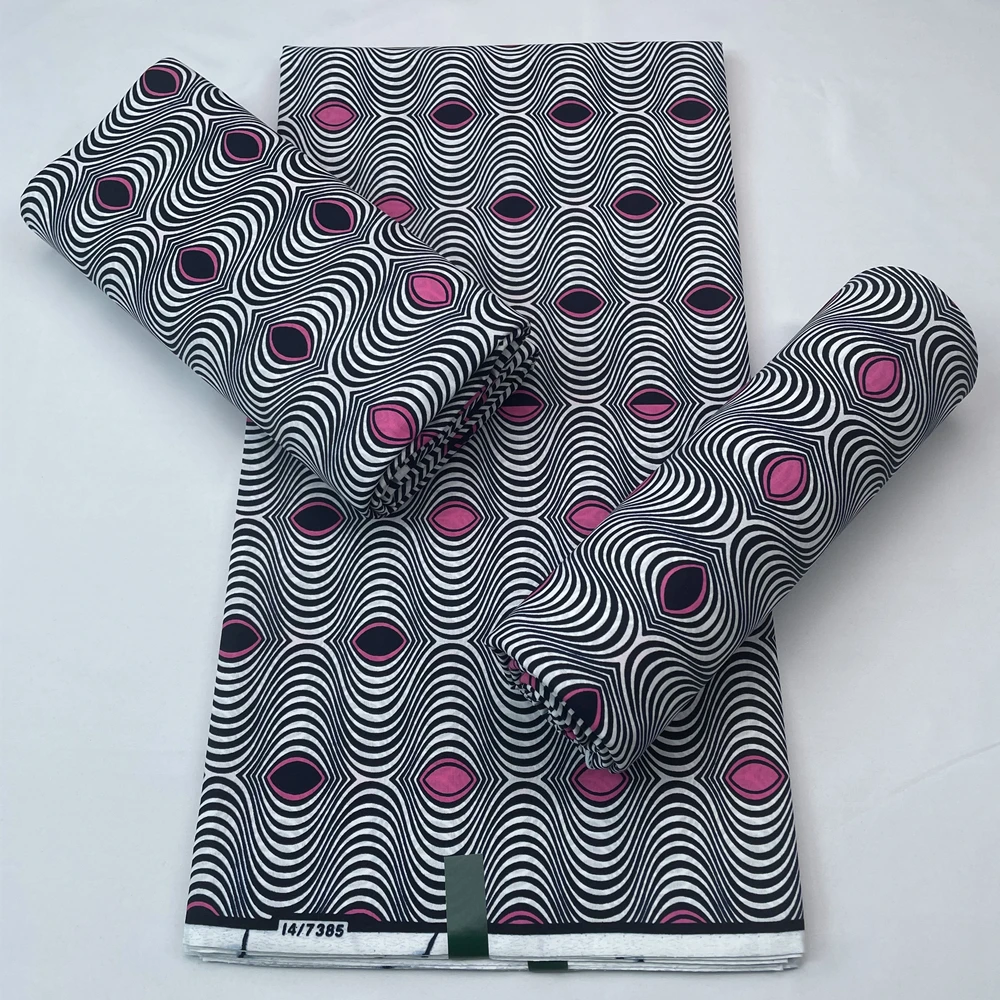
Geometric patterns are also popular in block printing due to their repetitive and symmetrical nature. Triangles, circles, and hexagons can be arranged in countless ways to create visually appealing designs. Combining geometric shapes with a harmonious color palette can result in modern and striking prints.
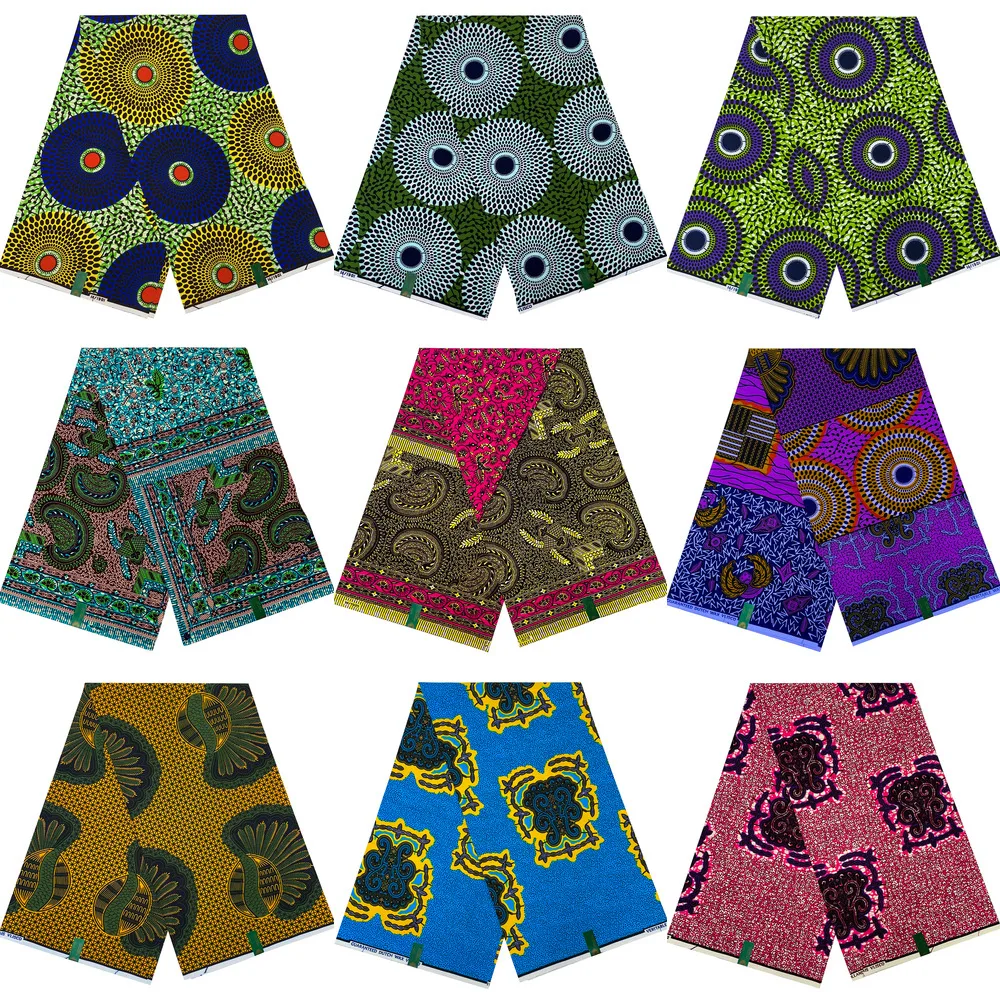
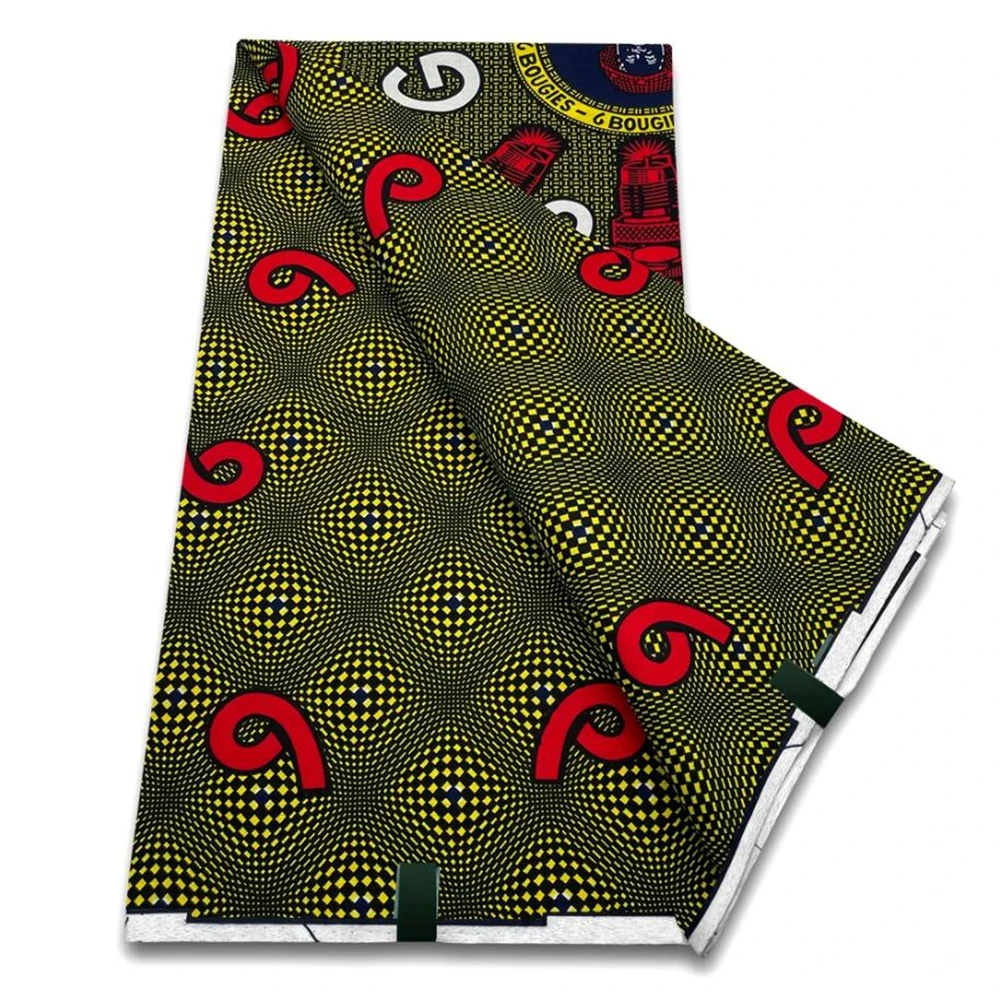
Cultural heritage can offer a wealth of inspiration as well. Traditional Indian motifs, Japanese Kimonos, or African tribal patterns can provide fresh perspectives and unique design elements. Respectfully incorporating elements from different cultures can add depth and richness to your work.
Practical Applications of Block Printing
Once you’ve mastered the art of block printing on fabric, the range of practical applications is extensive. You can create customized textiles such as tablecloths, curtains, or pillow covers. These personalized touches can transform your home decor, adding a unique and artisanal charm to your living space.
Fashion enthusiasts can venture into creating bespoke apparel. From t-shirts and scarves to tote bags and aprons, block printing allows you to wear your art. Handmade, printed apparel can also serve as meaningful gifts, showcasing your skills and offering a personal touch.
Art pieces and wall hangings are another way to employ your block printing skills. Printed fabric can be framed or stretched on canvas to create one-of-a-kind art that reflects your creative voice. Consider combining block prints with other art forms, such as embroidery or painting, to create mixed-media masterpieces.
Conclusion: Embracing the Art of Block Printing
Block printing on fabric is a rewarding and enriching craft that enables endless creative expression. From understanding its historical roots to mastering basic and advanced techniques, diving into this art form offers both challenges and triumphs. The process, while requiring patience and precision, results in beautiful, custom artwork that carries a piece of your creative spirit.
By carefully selecting your materials, setting up an efficient workspace, and practicing consistently, you can hone your skills and expand your artistic repertoire. Drawing inspiration from nature, culture, and personal interests can keep your creative journey dynamic and engaging.