Flower pounding, a delightful form of botanical art, allows you to capture the natural beauty of flowers and leaves onto fabric, creating unique and beautiful designs. This method is not only therapeutic but also results in stunning, one-of-a-kind artworks that can be used in various craft projects. Whether you’re a seasoned crafter or a beginner looking to explore a new technique, this comprehensive guide will walk you through the process of flower pounding on fabric, from selecting the right materials to preservation and creative applications.
What is Flower Pounding?
Flower pounding, also known as botanical printing, is a technique where flowers and leaves are hammered onto fabric, transferring their natural dyes and pigments to the material. The result is a delicate and intricate design that reflects the beauty of the original plant. This method leverages the inherent colors of the botanical specimens, creating a direct imprint that can be both vibrant and subtle, depending on the plant material used.
The practice of flower pounding dates back to ancient times when people used natural dyes for fabric decoration. Today, it is celebrated for its simplicity and the ability to connect crafters with nature. The process involves placing flowers on fabric, covering them with a protective layer, and hammering them until the pigments transfer. The resulting prints can range from detailed imprints to abstract patterns, depending on the technique and pressure applied.
Selecting the Right Materials
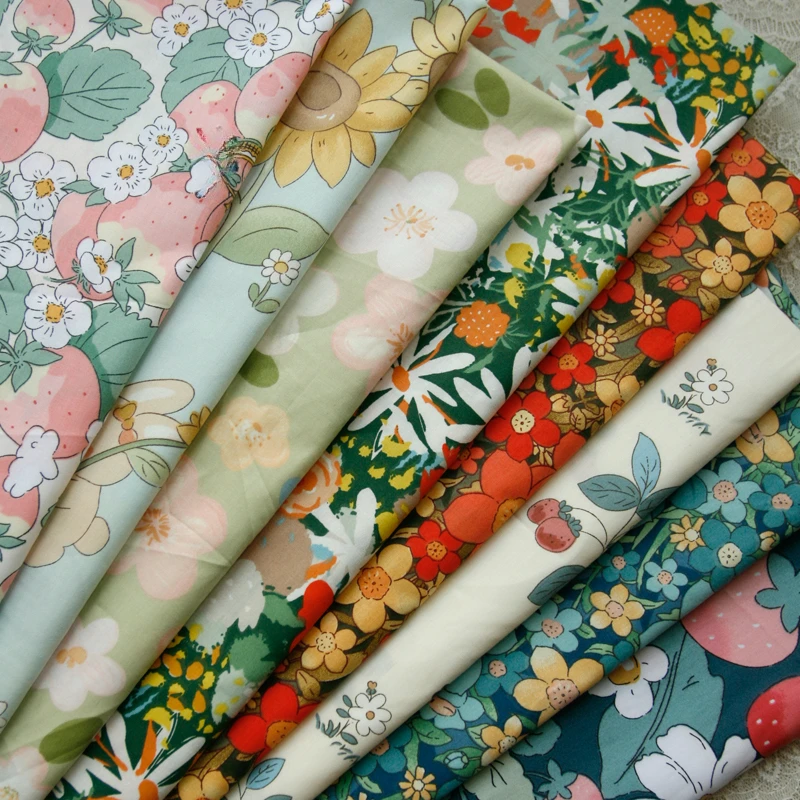
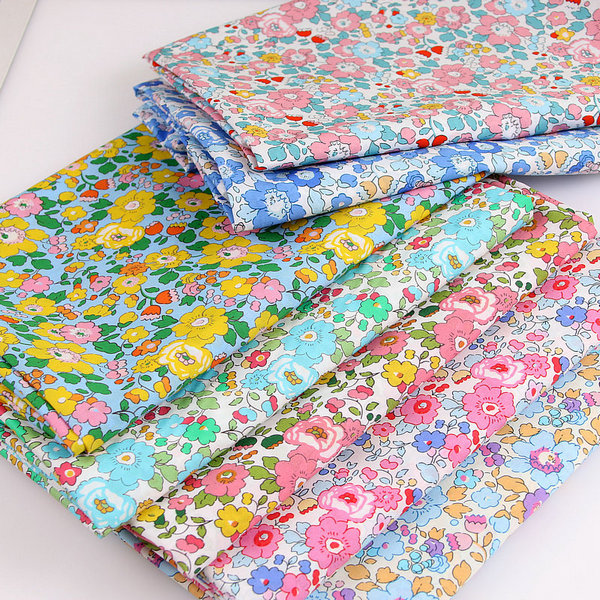
Choosing the right materials is critical for successful flower pounding. The fabric you select should be natural and porous to effectively absorb the plant pigments. Cotton, linen, and silk are excellent choices, with white or light-colored fabrics showcasing the colors most vividly. Avoid synthetic materials as they do not absorb dyes well and can hinder the transfer process.
Flowers and leaves should be fresh and vibrant, as their pigments are more likely to transfer well. Commonly used flowers include pansies, roses, marigolds, and daisies, while leaves from ferns, maples, and herbs like sage add interesting textures and shapes. Test a few flowers and leaves beforehand to see how their colors transfer to fabric, as vibrancy may diminish once pounded.
Additionally, you’ll need a hammer or mallet, a firm and flat surface for pounding, such as a wooden board or concrete slab, and a layer of parchment paper or wax paper to protect your hammer and workspace. Lastly, having a pair of tweezers and some protective gloves can help in handling delicate flowers and in safely managing the pounding process.
Preparing Your Fabric
Proper preparation of your fabric is essential to achieving the best results in flower pounding. Start by washing the fabric to remove any sizing or residues that might inhibit dye absorption. Avoid using fabric softeners, as they can leave a coating that prevents pigment adherence. Once washed, dry and iron the fabric to ensure it is smooth and wrinkle-free.
Next, decide on the design and layout of your flowers and leaves. You might choose to arrange them in a pattern or create a random, organic look. Place the fabric on your firm surface, ensuring it’s flat and taut to avoid any distortions during the pounding process. If you’re planning a complex design, sketch it out on paper first to guide your placement.
Some crafters opt to mordant the fabric before pounding. Mordants are substances used to fix dyes onto fibers, enhancing color retention and vibrancy. Common mordants include alum, which is safe and easy to use. Dissolve the mordant in water, soak the fabric, and then allow it to dry completely before starting your flower pounding process.
Pounding Techniques and Tips
The actual pounding technique influences the final outcome of your design. Start by placing your chosen flowers and leaves face down on the fabric. Cover them with a protective layer like parchment or wax paper to prevent plant debris from scattering and to protect your hammer. Begin pounding gently, increasing the intensity as needed to transfer the pigments from the plants to the fabric.
Ensure even pressure while pounding to achieve a consistent imprint. Too much force can crush the flowers excessively, resulting in blurred images, while too little force might not transfer the pigments effectively. Experiment with different pressures on a test piece before working on your final design.
Rotate and shift your hammer repeatedly to cover all parts of the flower or leaf, ensuring the entire pattern transfers to the fabric. Pay special attention to the edges and corners to capture fine details. If using multiple types of flowers or leaves, start with the smallest and most delicate ones to prevent them from being overpowered by larger and more robust specimens.
Another technique involves using a rolling pin instead of a hammer. This method can provide more control and create a different texture. Place a piece of heavy plastic or silicone mat over the parchment paper, then roll over the flowers and leaves firmly. This can be especially useful for creating subtle and large-scale designs.
Revealing and Fixing Your Design
After pounding, carefully lift the parchment paper and remove the plant material to reveal your design. This moment can be particularly rewarding as you see the intricate patterns and vibrant colors transferred onto your fabric. Gently brush off any plant debris, using tweezers if necessary to remove stubborn bits without damaging the print.
To ensure the longevity and color fastness of your design, it’s important to fix the pigments. One method is to gently steam the fabric using an iron or a garment steamer. Place a cloth between the fabric and the iron to protect the design and press for a few minutes. The heat helps set the pigments, making them more resistant to fading and washing.
Alternatively, some crafters use a vinegar and water solution to fix the dyes. Prepare a mixture of one part vinegar to two parts water, soak the fabric for about 15 minutes, then rinse with cold water to remove any excess dye. Allow the fabric to air dry completely before handling further.
Creative Applications of Flower Pounding Designs
The designs you create with flower pounding can be used in a variety of creative and functional ways. One of the most common uses is in home decor. Frame your botanical prints for wall art that brings a touch of nature indoors. Create unique table runners, placemats, or napkins that add an artistic and personal touch to your dining setup. Pillowcases and cushions can also be transformed with custom floral designs, enhancing the aesthetic appeal of any room.
In fashion, flower pounding can personalize clothing and accessories. Design unique patterns on scarves, T-shirts, or tote bags, creating wearable art that reflects your style. This technique is also a fantastic way to upcycle old garments, giving them a fresh, new look with natural prints.
For those who enjoy crafting, flower pounded fabric can be used in a variety of projects. Incorporate your botanical designs into quilts, patchwork, or textile art. Use smaller pieces for bookmarks, greeting cards, or gift wraps, adding a handmade and thoughtful touch to your creations. The possibilities are endless, limited only by your imagination and creativity.
Experimenting with Different Plants and Fabrics
One of the joys of flower pounding is the opportunity to experiment with different botanical materials and fabric types. Each flower and leaf has unique pigments and patterns, resulting in varied and interesting outcomes. Start by exploring your garden or local park for seasonal plants. Experiment with flowers like violets, hydrangeas, and coreopsis, and leaves from herbs, ferns, and deciduous trees.
Different fabrics can also yield different results. Experiment with various natural materials such as cotton, silk, and linen to see how each absorbs the pigments and showcases the designs. Some fabrics might hold colors more vividly, while others offer subtle, ethereal prints. Each combination of plant and fabric can result in a unique piece of art.
Another avenue for experimentation is to combine flower pounding with other techniques. For instance, layering flower pounding with fabric dyeing or painting can create complex and multilayered designs. Stitching or embroidering over the pounded prints can add texture and dimension, further enhancing the visual appeal of your creations.
Conclusion: Embracing the Beauty of Flower Pounding
Flower pounding on fabric offers a harmonious blend of art and nature, allowing you to create stunning, unique designs that capture the essence of the botanical world. Whether you are drawn to its simplicity, the therapeutic act of crafting, or the opportunity to connect with nature, flower pounding provides endless possibilities for creativity and expression.
By understanding the process, selecting the right materials, and experimenting with different techniques, you can master the art of flower pounding and create beautiful, lasting works of art. Embrace the imperfections and celebrate the unique outcomes of each piece, as they reflect the natural beauty and individuality of the plants themselves. Explore, experiment, and enjoy the journey of turning flowers into fabric masterpieces.