Introduction: The Importance of Clean Car Seats
Maintaining a clean and fresh interior is an essential part of car ownership, not only for aesthetics but also for hygiene and preserving the vehicle’s resale value. Among the various surfaces inside your car, fabric seats can be particularly challenging to keep clean due to their porous nature, which easily traps dirt, dust, and stains. Professional detailing services can be costly, making DIY cleaning methods a more budget-friendly alternative. This comprehensive guide will walk you through step-by-step instructions on how to effectively clean your fabric car seats, ensuring they look and smell as good as new.
Assessing the Damage: Identifying Stains and Soiling
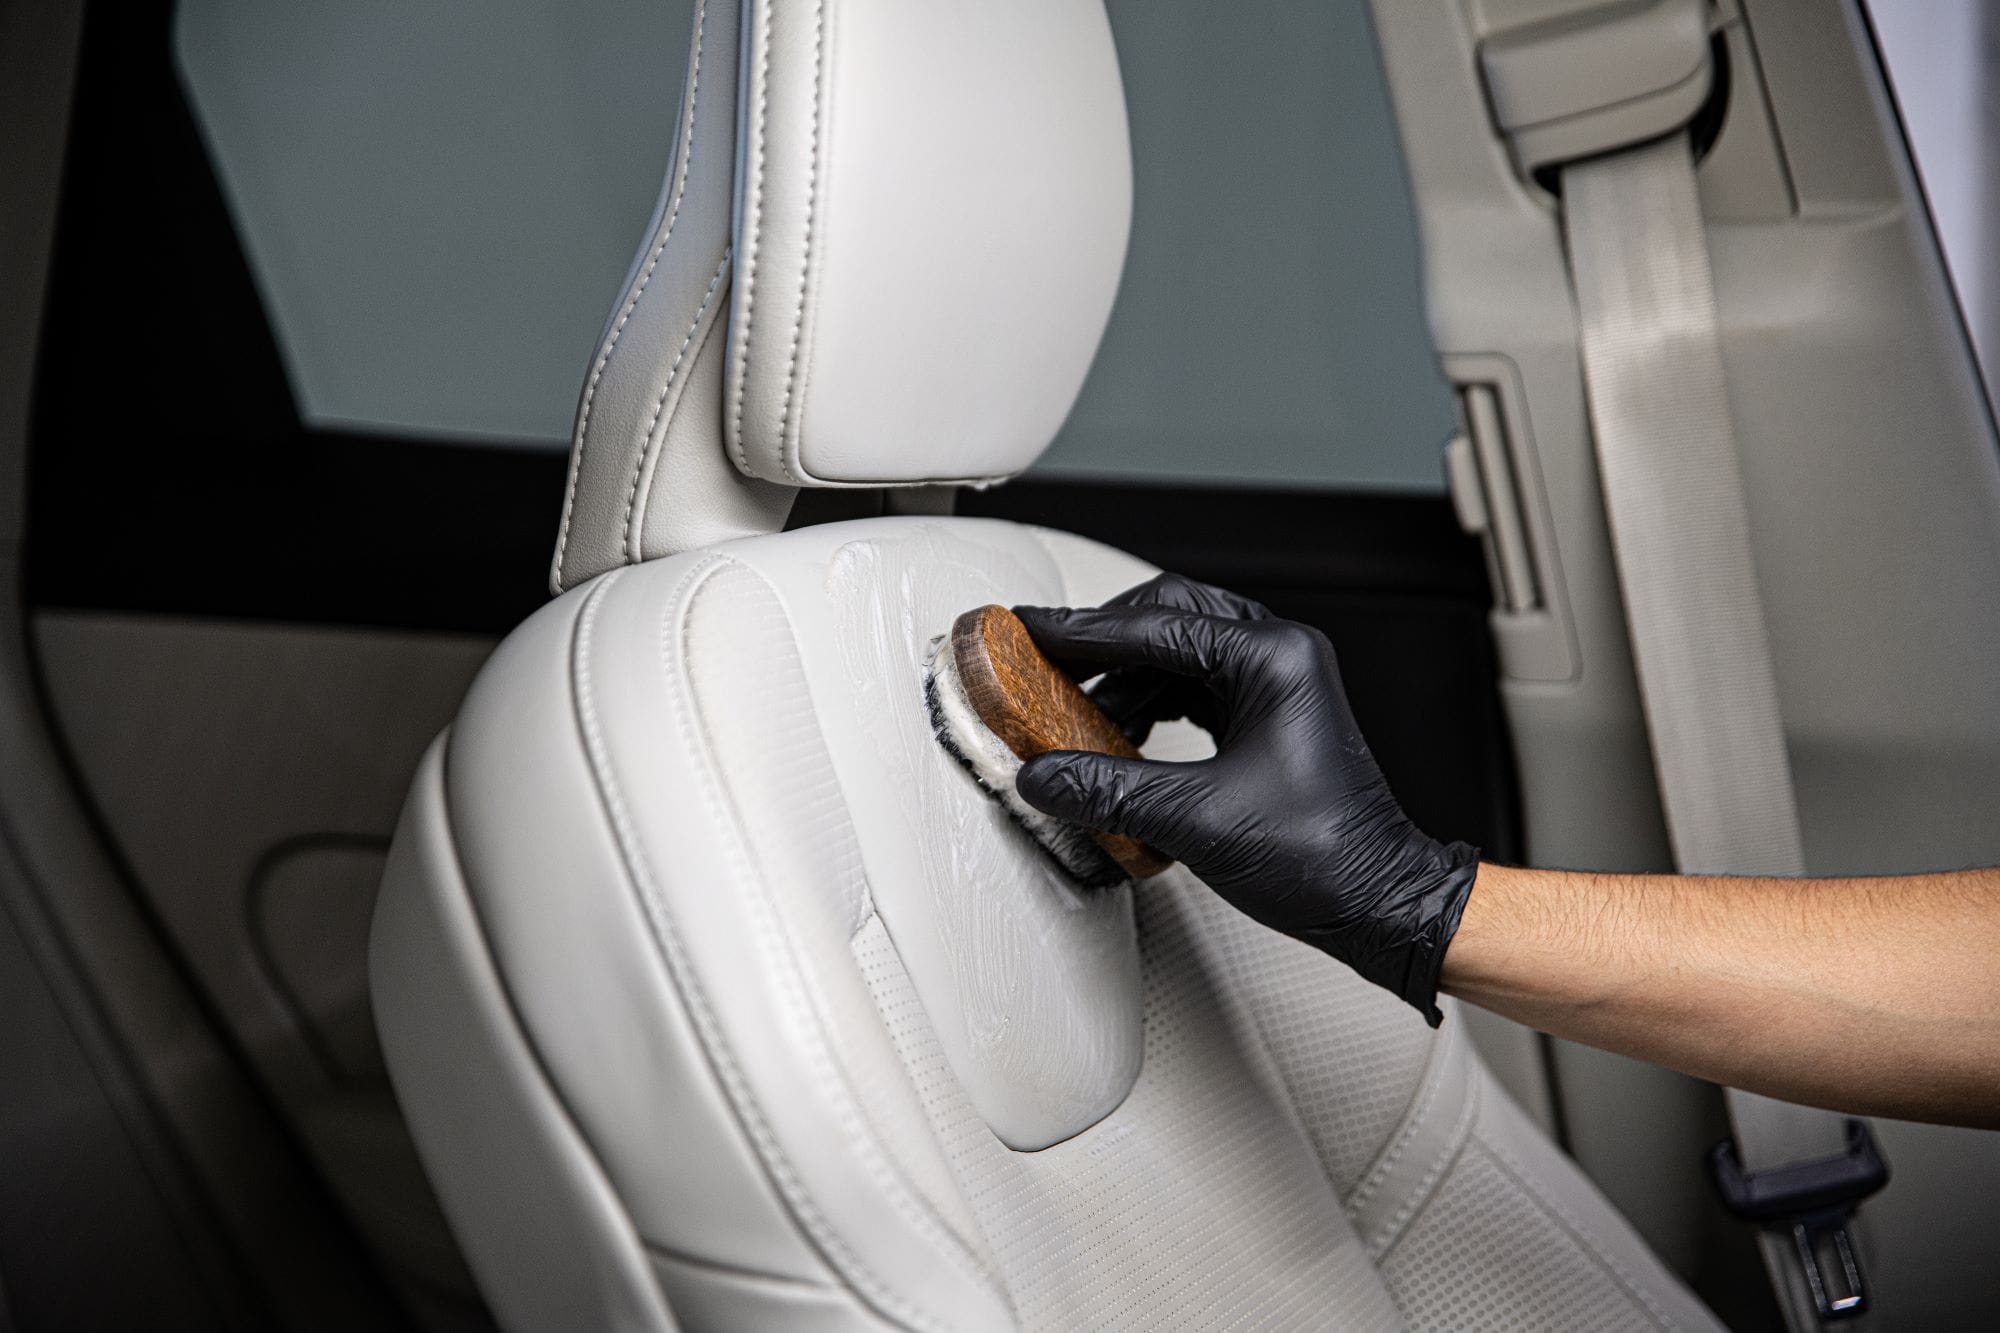
Before diving into the cleaning process, it’s crucial to evaluate the state of your fabric seats. Different types of stains require different cleaning approaches. Common stains include food and drink spills, oil from skin contact, pet hair and odors, and mud or dirt. Identifying these will help you choose the right cleaning agents and techniques. For instance, enzymatic cleaners are ideal for organic stains like food and pet messes, while a mild detergent solution works well for general soiling.
Gathering Your Tools and Materials
To embark on your DIY detailing journey, gather the following items:
- A vacuum cleaner with a brush attachment
- A soft-bristled brush or an upholstery brush
- White vinegar or an odor neutralizer
- Mild laundry detergent or a specialized fabric seat cleaner
- A bucket of warm water
- Microfiber cloths or towels
- A spray bottle
- Rubber gloves (optional)
- A fan or open windows for ventilation
Pre-Cleaning Preparation: Removing Loose Debris
Begin by thoroughly vacuuming your fabric seats to remove loose dirt, crumbs, and pet hair. Use the brush attachment to gently agitate the surface and lift embedded debris. Pay special attention to crevices, seams, and under the seats where dirt tends to accumulate unnoticed. Vacuuming first prevents rubbing dirt further into the fabric during the cleaning process.
Creating a Cleaning Solution
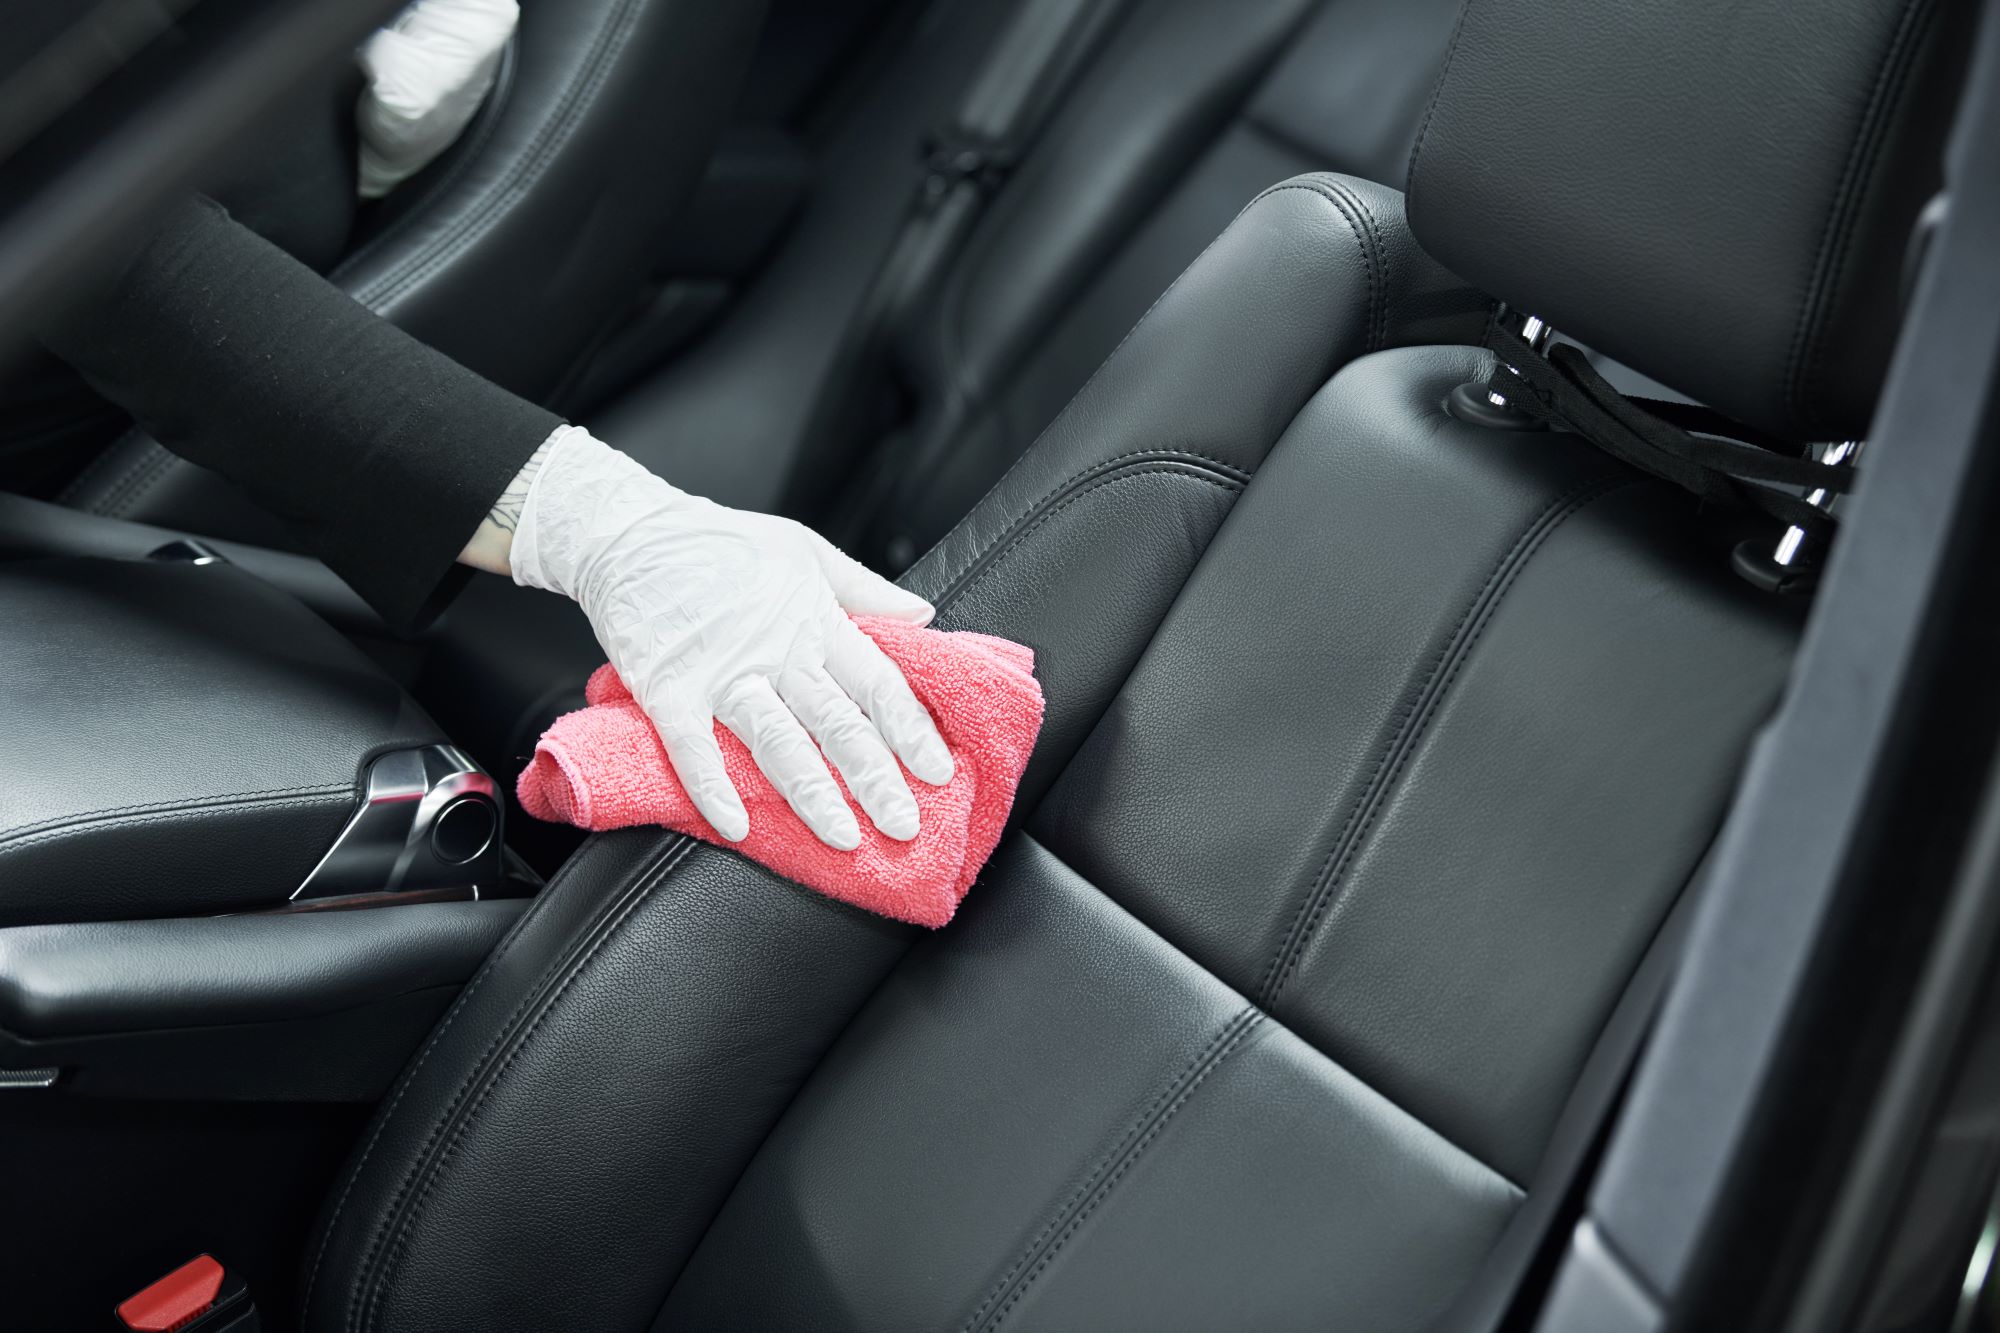
In a bucket, mix a small amount of mild laundry detergent (approximately one teaspoon per gallon of warm water) to create a gentle cleaning solution. Avoid using harsh detergents or bleach, as these can damage the fabric or cause discoloration. Alternatively, you can use a specialized fabric seat cleaner following the manufacturer’s instructions. Pour some of this solution into a spray bottle for easier application.
Spot Testing for Colorfastness
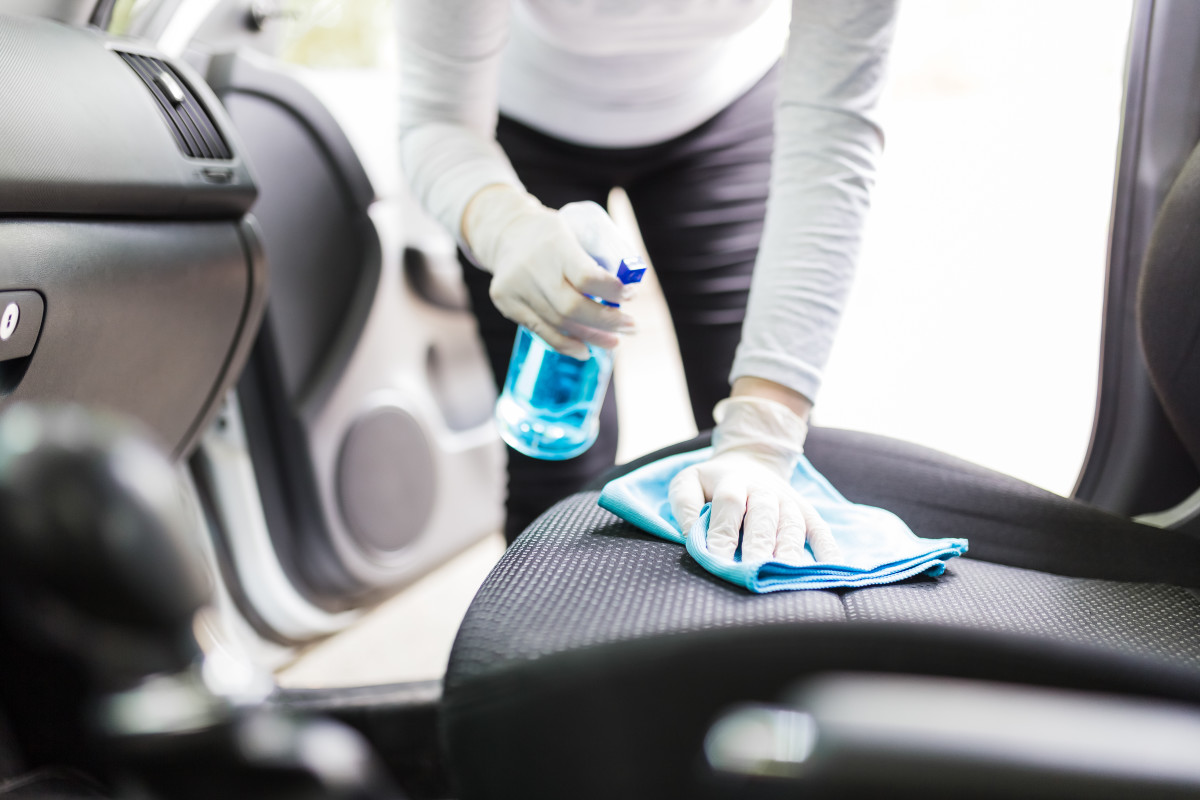
Before applying any cleaning solution to the entire seat, perform a spot test in an inconspicuous area. Spray a little of the solution onto the fabric and gently rub with a microfiber cloth. Let it sit for a few minutes, then check for color bleeding or damage. If the fabric remains unharmed, proceed with cleaning; otherwise, adjust your cleaning method or product.
Cleaning Strategy: Tackling Stains and General Soiling
Start with the least soiled areas and work your way towards the dirtiest spots to avoid spreading grime. Apply the cleaning solution directly onto stained areas, lightly spraying until the fabric is damp but not soaking wet. Allow the solution to dwell for a few minutes to loosen up the soil and stains. For stubborn stains, use a soft-bristled brush to gently scrub in a circular motion without damaging the fabric fibers.
Rinsing and Drying
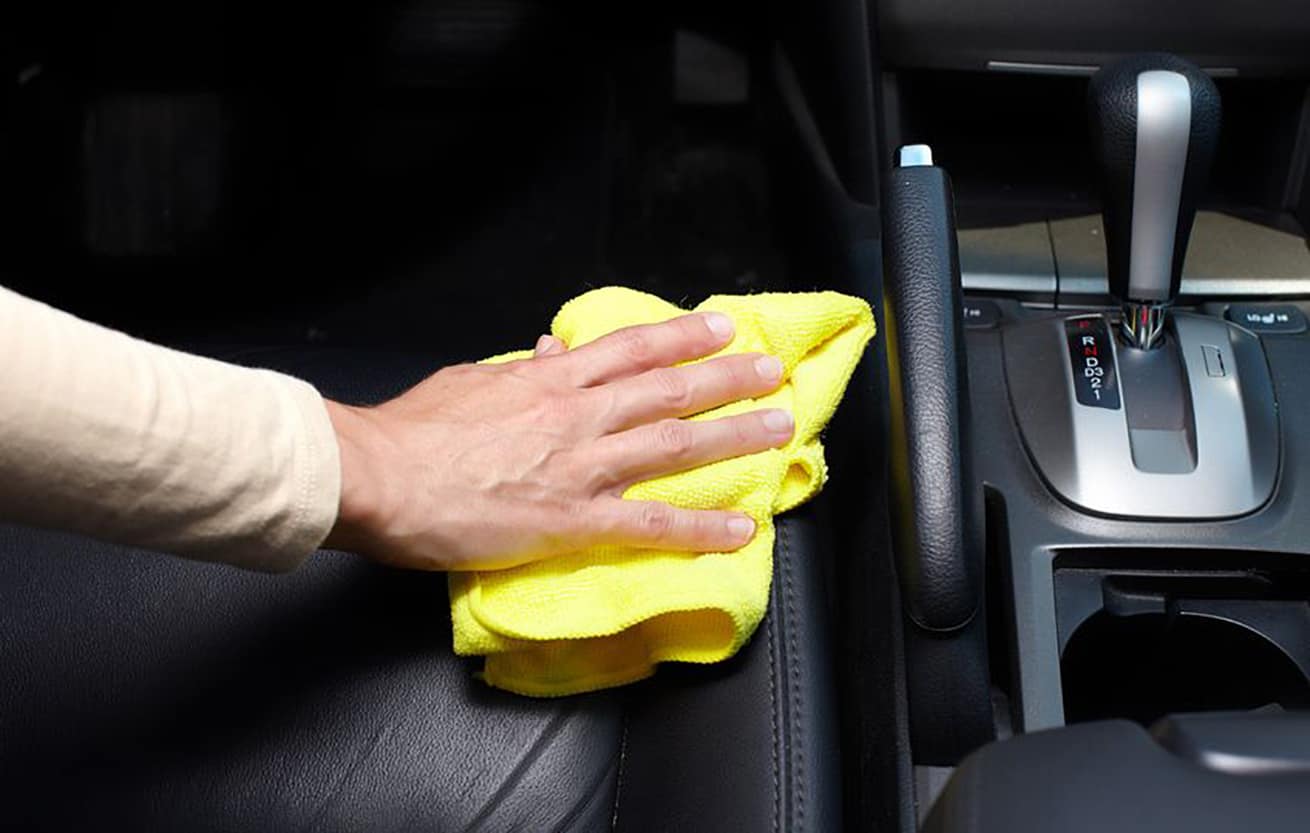
After cleaning, it’s essential to rinse off all soap residue to prevent attracting more dirt later. Dip a clean microfiber cloth into clean water, wring it out well, and gently wipe the seats to remove any remaining cleaner. For best results, repeat this process until no suds are visible. To expedite drying and prevent mold growth, use a dry towel to blot excess moisture, then open car doors or windows to facilitate air circulation. If possible, park your car in a shaded area to avoid direct sunlight, which can cause fading.
Deodorizing and Freshening Up
To eliminate lingering odors, mix equal parts white vinegar and water in a spray bottle and lightly mist over the fabric seats once they’re dry. Vinegar is a natural deodorizer that neutralizes odors without leaving a strong scent behind. Alternatively, you can use an odor neutralizer specifically designed for car interiors. For a pleasant aroma, consider using a fabric-safe freshener spray after the seats are fully dry.
Preventive Measures and Regular Maintenance
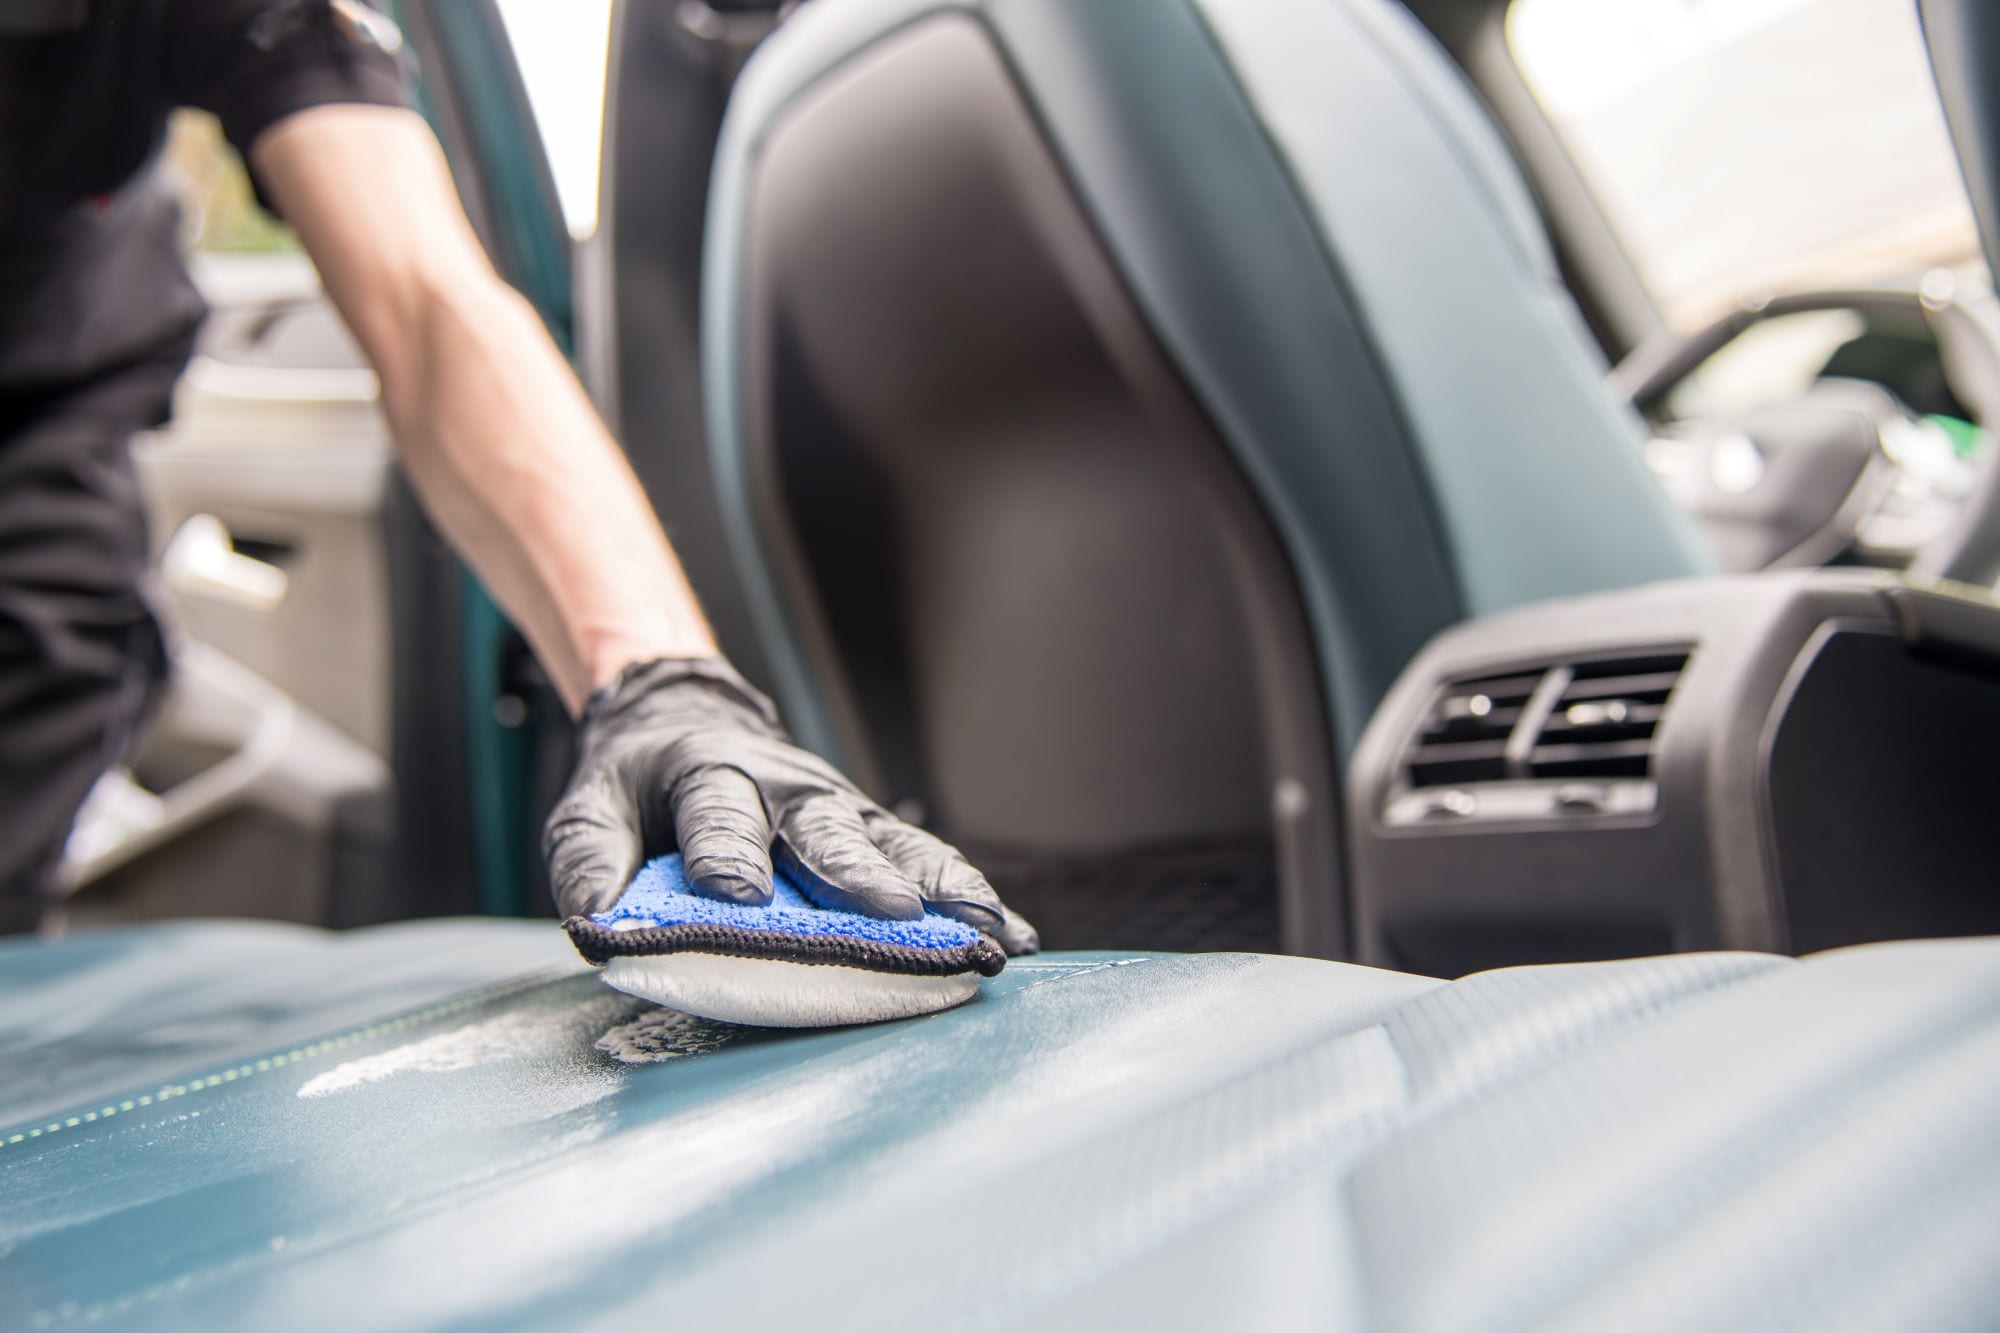
To keep your fabric seats looking and smelling fresh between deep cleans, follow these preventive tips:
- Regularly vacuum seats to remove loose dirt.
- Address spills and stains immediately to prevent them from setting in.
- Use seat covers, especially if you have pets or frequently transport children.
- Avoid eating in the car to minimize potential spills.
- Park in the shade or use sunshades to reduce fading and heat buildup, which can exacerbate odors.
Maintaining Your Car’s Fabric Seats: Long-Term Care Tips
Regular Maintenance Schedule Incorporate a regular cleaning routine into your car maintenance schedule to keep fabric seats looking fresh. Aim to vacuum your car seats weekly to remove loose dirt, dust, and debris that can embed into the fabric over time. Perform a thorough cleaning, as outlined above, every three to six months, or more frequently if needed based on usage patterns.
Protective Measures To prevent future stains and soiling, consider applying a fabric protectant specifically designed for automotive upholstery. These products create an invisible barrier that repels liquids and makes it easier to clean up spills. Reapply the protectant according to the manufacturer’s instructions, typically every six months or after deep cleaning sessions.
Managing Spills Promptly Spills are inevitable; the key is to address them immediately. As soon as a spill occurs, blot (do not rub) the affected area with a clean, dry cloth or paper towel to absorb as much of the liquid as possible. Avoid using hot water on fresh stains, as it can set some types of stains like coffee or blood. If necessary, apply a small amount of the cleaning solution and gently blot until the stain lifts, then proceed with rinsing and drying.
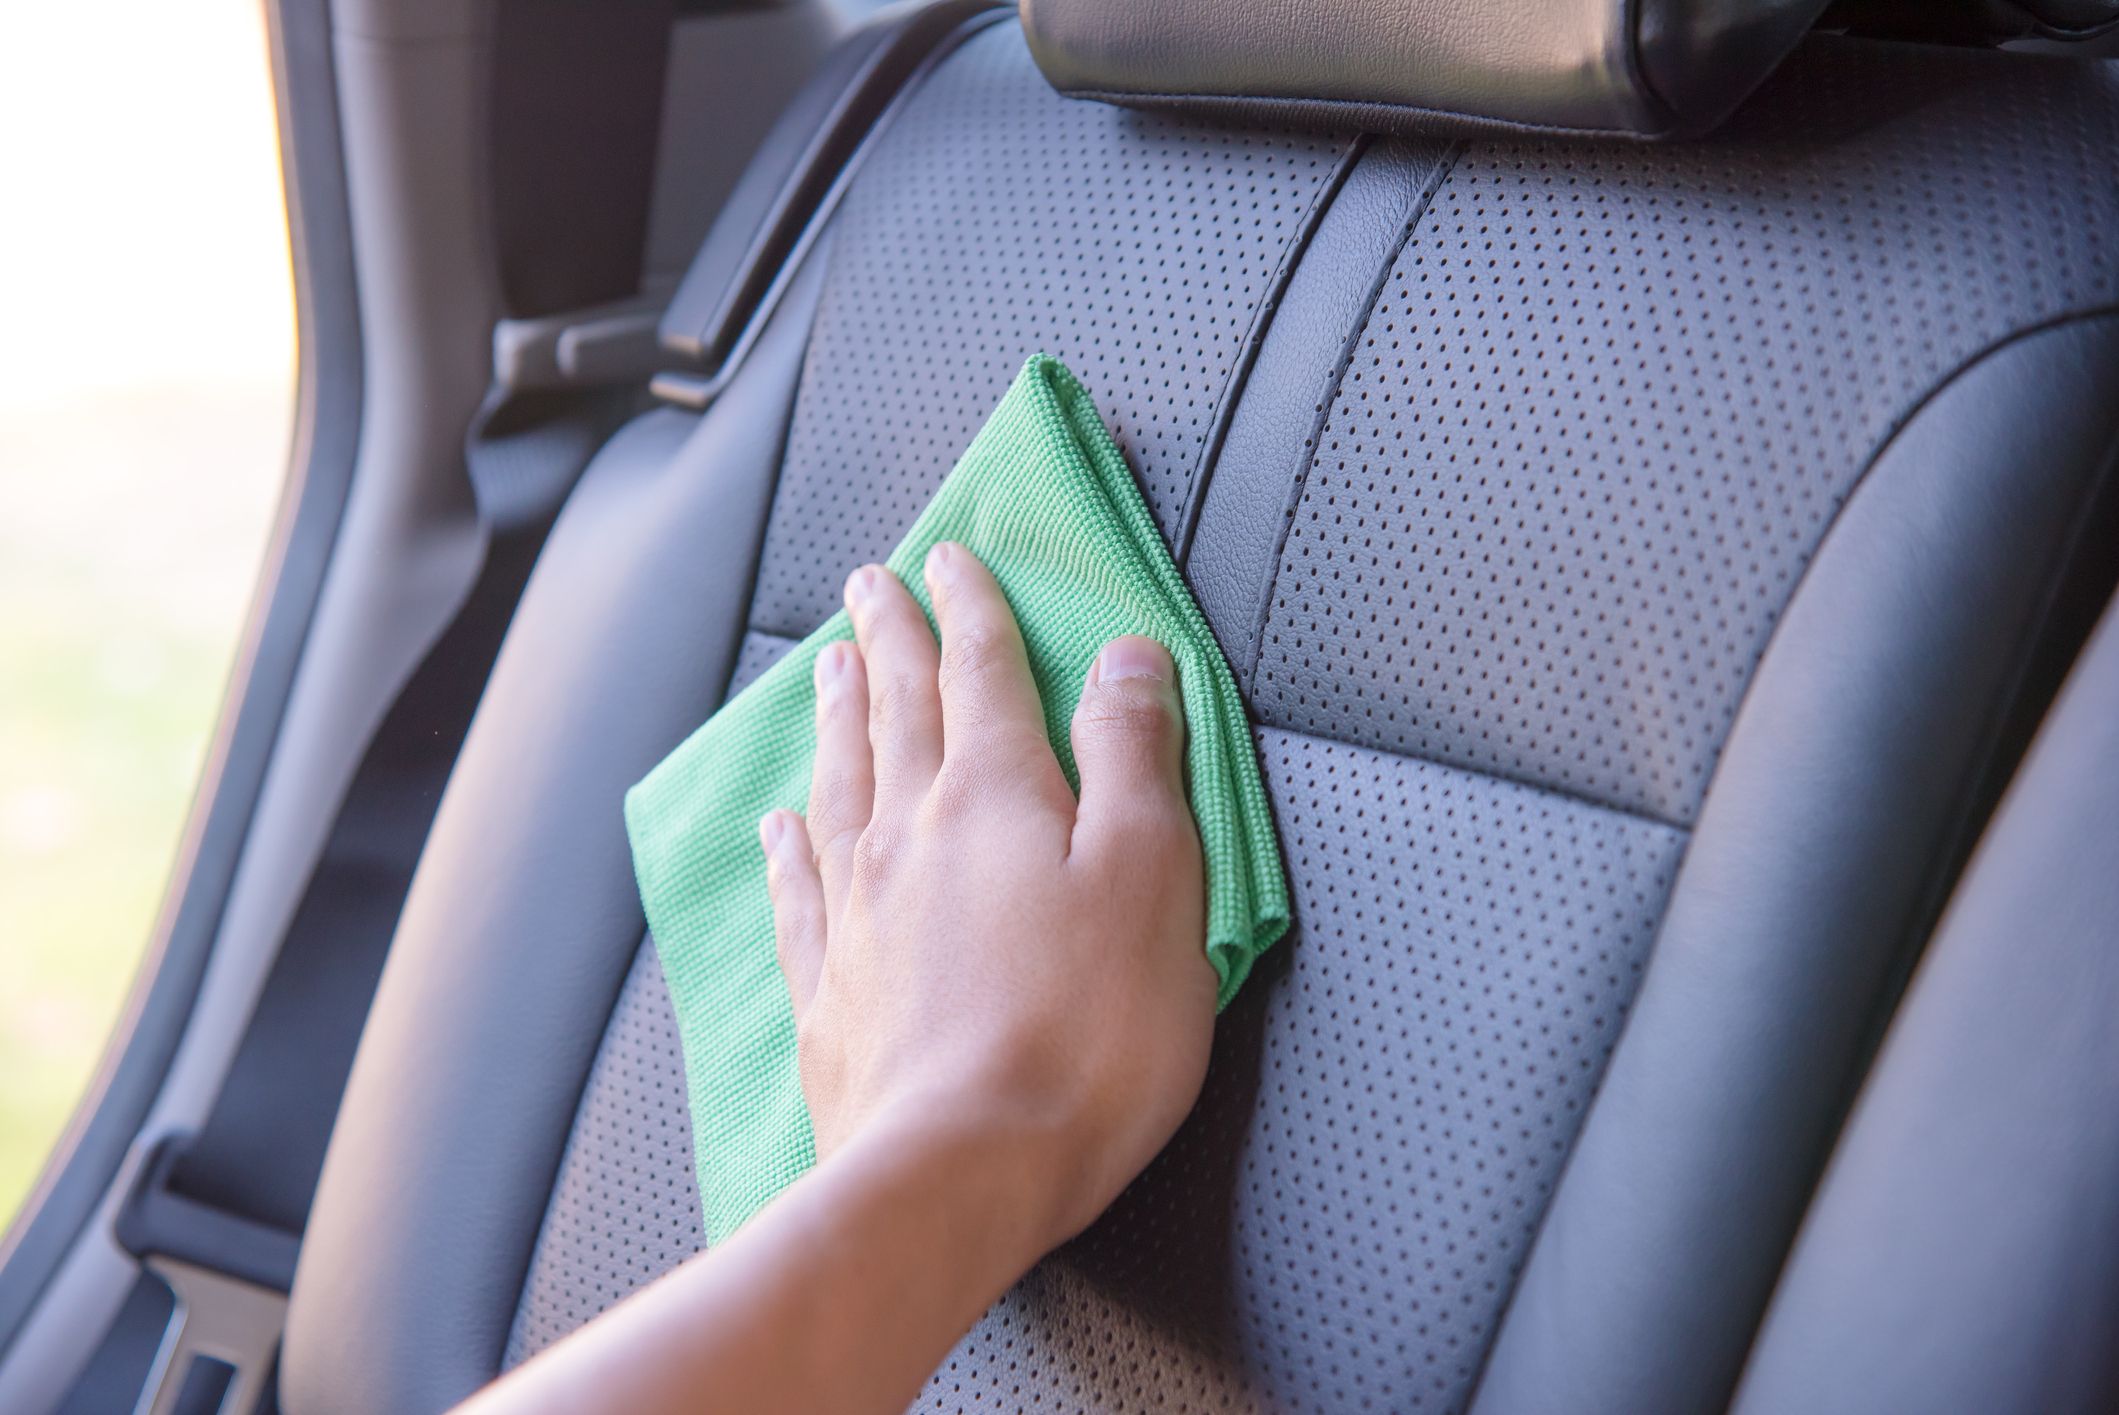
Handling Special Stains Some stains require special attention. For instance, ink stains can be treated with rubbing alcohol applied on a cotton swab, while greasy stains might benefit from a gentle dish soap solution before the general cleaning process. Always spot test a hidden area first to ensure the cleaning method won’t damage the fabric.
Conclusion: Enjoy Your Pristine Car Interior
By following these detailed steps, you can successfully restore your fabric car seats to a near-showroom condition. Not only does a clean interior enhance your driving experience, but it also demonstrates care and pride in your vehicle. Remember, regular maintenance is key to preventing stubborn stains and prolonging the life of your car’s upholstery. With a little elbow grease and the right tools, DIY car detailing becomes a rewarding and cost-effective endeavor.


